This was the beginning of a pretty bad Saturday...

That’s how long have had my latest iPhone.

I know, I dropped my original phone and had to deal with missing pixels for several months, then I dropped my 2nd iPhone into the toilet…and now this.

On Saturday morning Jacob and I were preparing to run at our local Relay for Life event (which ended up canceled due to poor weather)…I was putting the phone into a velcro sleeve so I could start running. And it fell to the ground. It landed squarely on its back. Hence the dramatic cracking you see here.

The good news is that the phone itself is still working perfectly fine. The phone, the GPS/location services, the camera, the motion sensors, leveling sensors, etc. It’s all good. Yay!

I do NOT have AppleCare. I had assumed the computer and media rider on my property insurance would take care of this, but it probably won’t. While on Saturday I was pretty nervous about having to spend $750 on a new replacement for this phone, it probably won’t be quite that bad.

The continued good news is that I can apparently bring the phone to an Apple Store and one can replace the back glass inexpensively. Anywhere from $29 to $100 based on assorted Apple support forums.

But wait. I don’t live near an Apple Store!  Never fear!  Next month I’ll be in Omaha and I think I’ll take my phone to the store out there and see what they can do.

In the meantime, I got my hands on a pretty substantial case. In part because I’m really paranoid now, but also because I need to protect that cracked back panel — there are slivers of glass that can cut up my fingers, and Dave reminded me that I needed to protect the phone more now from that pervasive Florida moisture!

Just call me “Butterfingers”.  Sigh…

17. April 2012 · 2 comments · Categories: Uncategorized · Tags: ,

I realized that I posted an incomplete paint job picture in that last post.

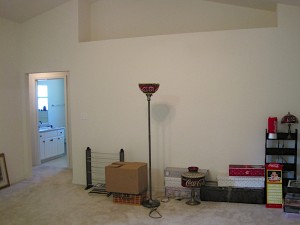
So here are some pictures of the finished walls.  Please note that every. single. wall. in this house was WHITE beforehand.

BEFORE:

The whiter-than-white kitchen.

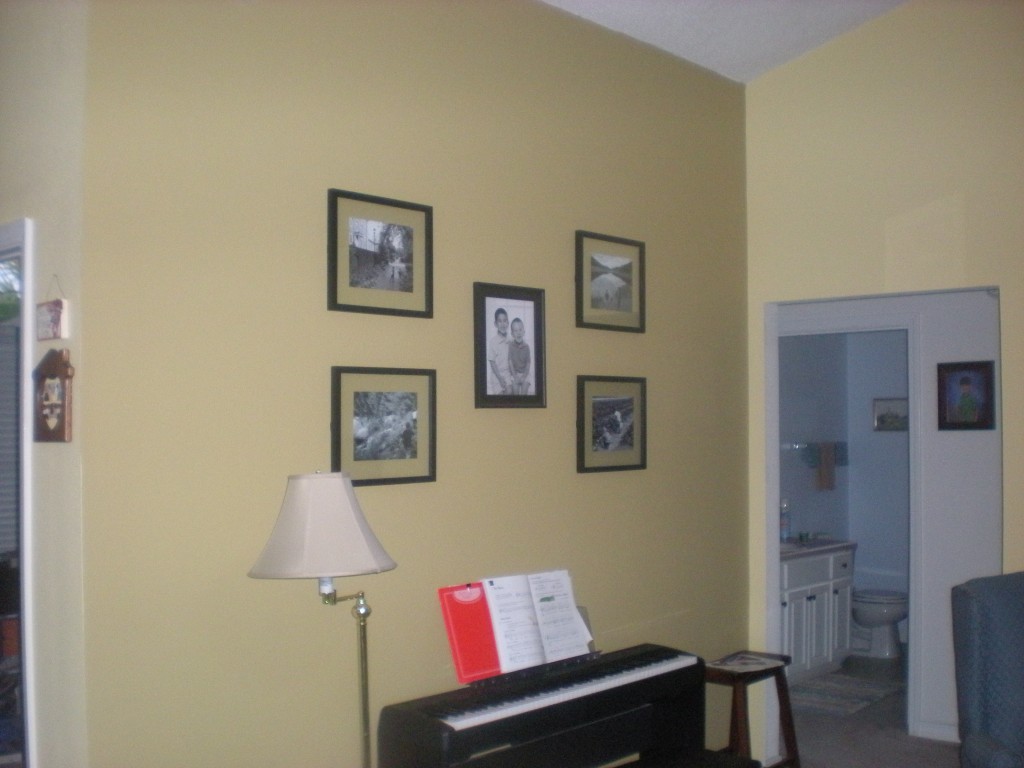
Whiter-than-white living room. This was taken just before the previous residents moved out.

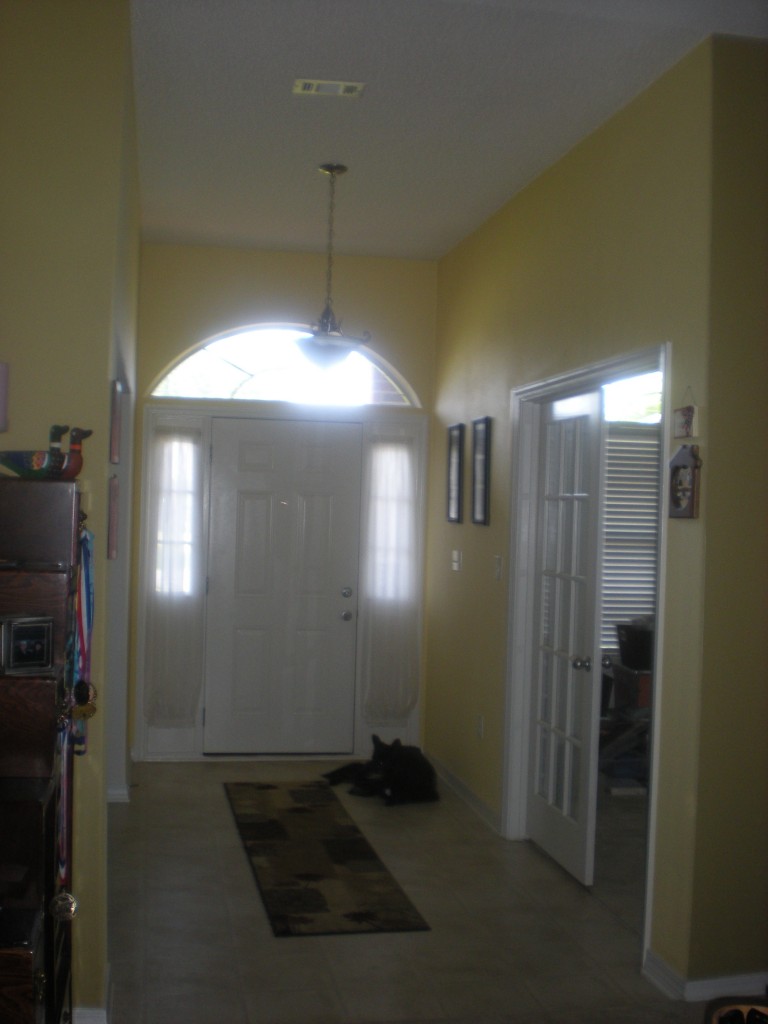
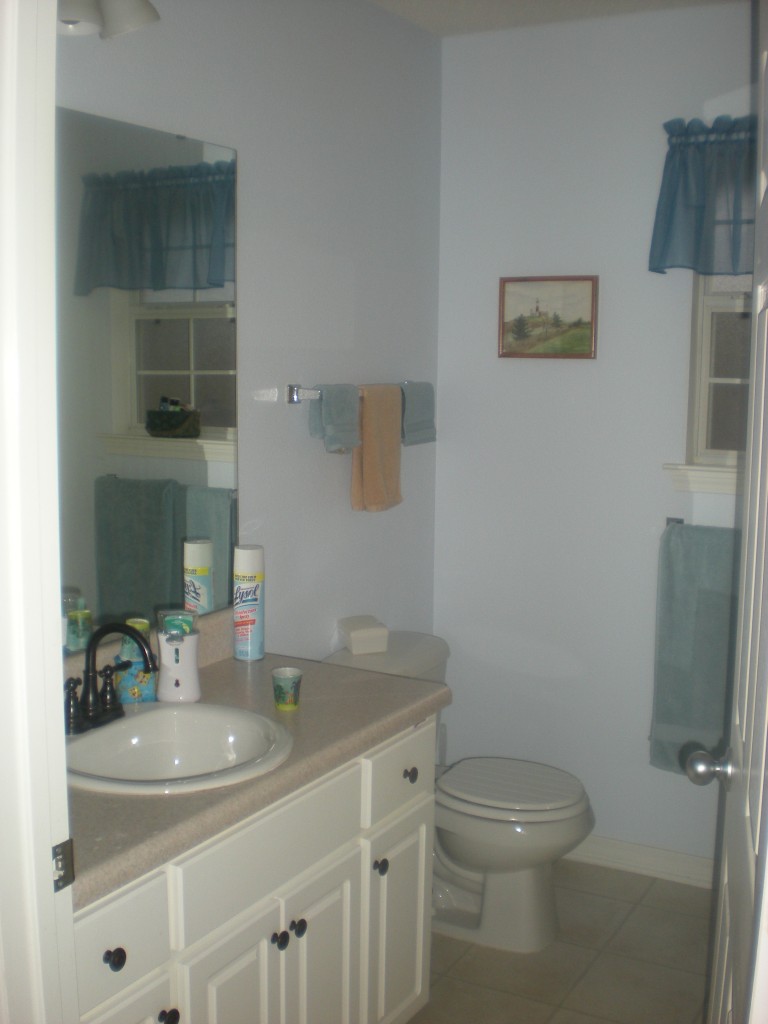
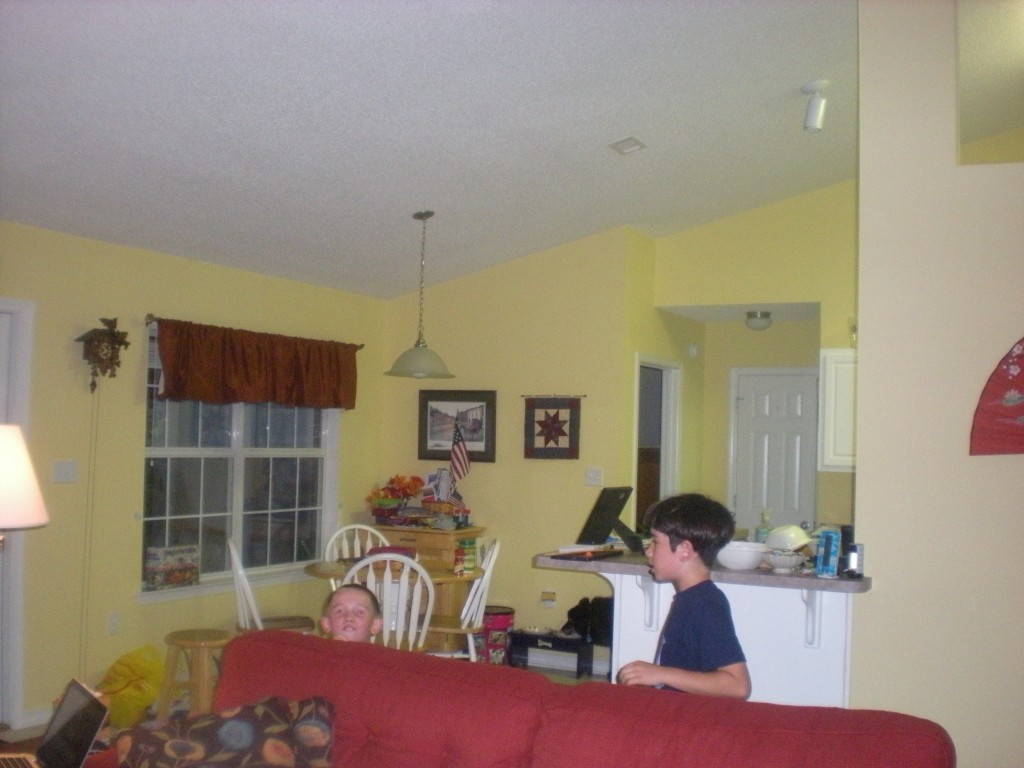
AFTER:

Front entryway. Pardon the poor lighting.

Kids'/Guest Bath. It's a VERY light blue. You can look at the contrast between the walls and ceiling to see the subtle difference.

The fireplace. Two different colors here.

Looking towards the kitchen.

The kids photobombing.

We carried the accent color to a couple other walls.

15. April 2012 · Comments Off on We have completed painting the kitchen! We are officially FINISHED with the pai… · Categories: Uncategorized · Tags:
We have completed painting the kitchen! We are officially FINISHED with the painting! In the meantime, I am trying a tool that brings Facebook posts into my blog. Let's hope I don't generate an endless loop, lol!

I now have LiveFyre itself on board to help me troubleshoot things.  I have flipped an additional switch in the LiveFyre settings and if you could continue to leave FB and blog comments I can see what is working and what isn’t.

I’m now about to try some Twitter testing…so hopefully you’ll see comments from Twitter come in on this post, thanks!

In the meantime, here’s another picture for you to enjoy!  Jacob’s team won their baseball game today.  Timmy’s team didn’t win, but they only lost by 3 runs, and Timmy scored a run!  We’re so proud of our guys!  This was taken on the way home from baseball today.

Timmy was happy about (a) doing well at baseball and (b) riding in a convertible on this beautiful day!

I’m trying out a new commenting tool on my blog: LiveFyre.  I’ve seen it work well on a friend’s blog, so I thought I’d give it a go over here.  One of the things it’s supposed to resolve is tying together Facebook and Twitter comments with the blog’s own comments.  So they’re all in one place.  That seemed really cool to me.

So feel free to either comment here or in the Facebook or Twitter forums.  I might have to change my “syndication” hosting some to maximize this, we’ll see with further testing.

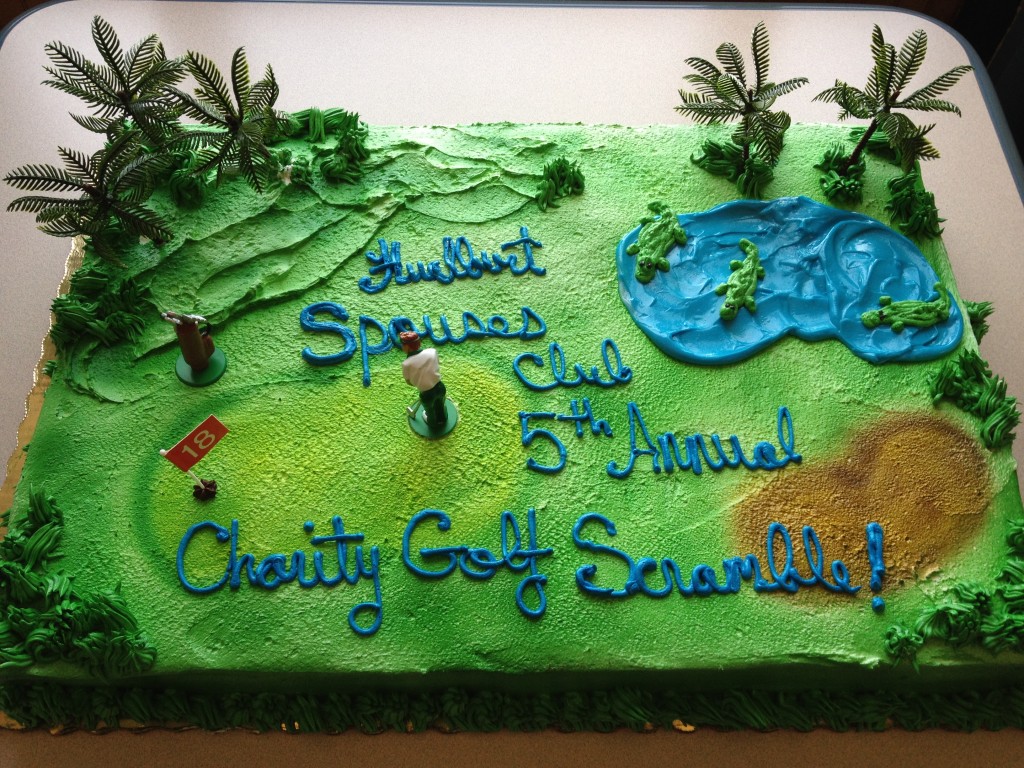
Thanks for your patience!  In the meantime, enjoy this picture taken today from our spouses’ club golf scramble!  Today was perfect weather, and the event went off without a (visible) hitch!  It was very well-done!

Cute cake, right? Made/decorated by my friend Steph (of Disney Half Marathon and 80s Party fame).

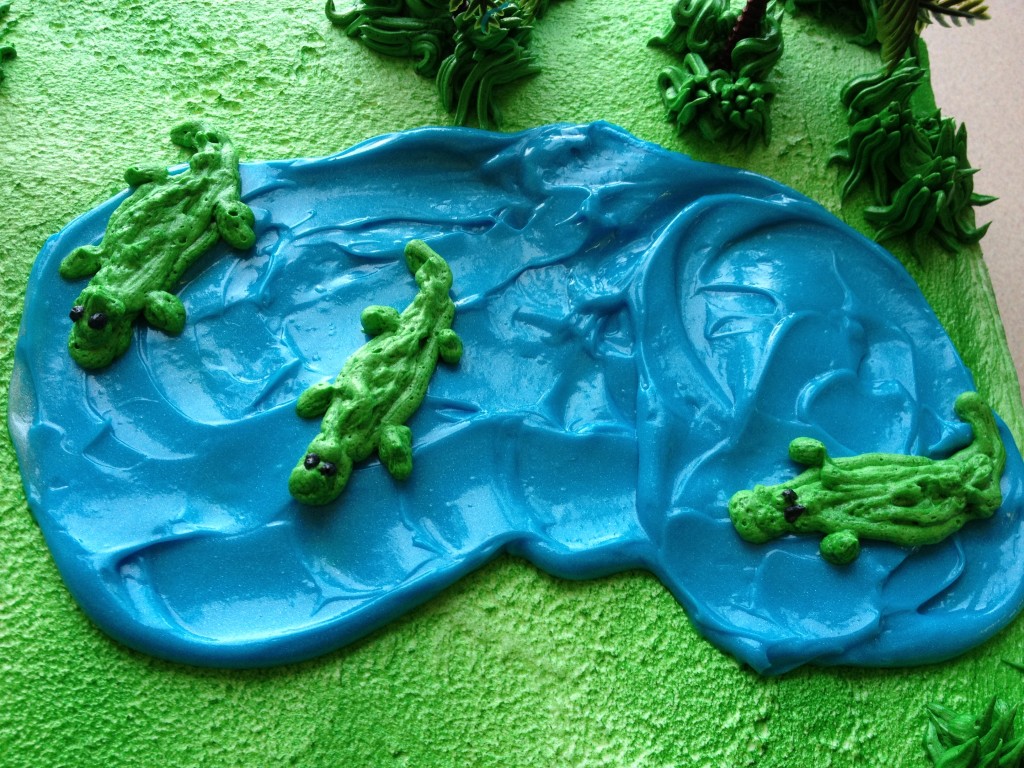
A closeup of the little alligators! There are 2-3 gators living on the golf course we were at today 🙂

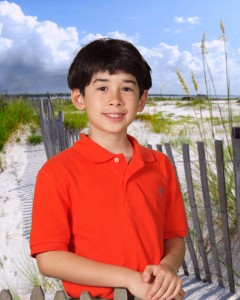
Enjoy the boys’ Spring school portraits.  I opted for the CD with a large digital copy this year.  Grandparents, I’ll be printing some up for you, I promise!

The boys go to different schools so their sessions were on different days, but I tried hard to put them in complimentary outfits and chose the same background.  It turned out really well.

Relatives: click each image and a new website should appear with the full picture, suitable for download and printing.

My handsome Timmy! There's dirt on his nose. Typical.

My handsome Jacob!


If I could do this, so can you!

This was an idea that was making the rounds on Pinterest just before Easter. Dave had a couple of VERY old ties in the closet so I thought it’d be fun. In this case, you want to start with RAW eggs, they will boil with the silk for 20 minutes and will cook then.

Since I didn’t know about the need for RAW eggs, I only had 6 raw eggs left in the house by the time I thought to do this. And one of the eggs had too many cracks so I didn’t use it.

I did this project immediately after our Kool Aid eggs on the Saturday afternoon before Easter, so the kids were done dealing with eggs and I was left to try this out on my own.  This is a more labor intensive project, although I could think of much much fancier Easter egg art that would take even more work!

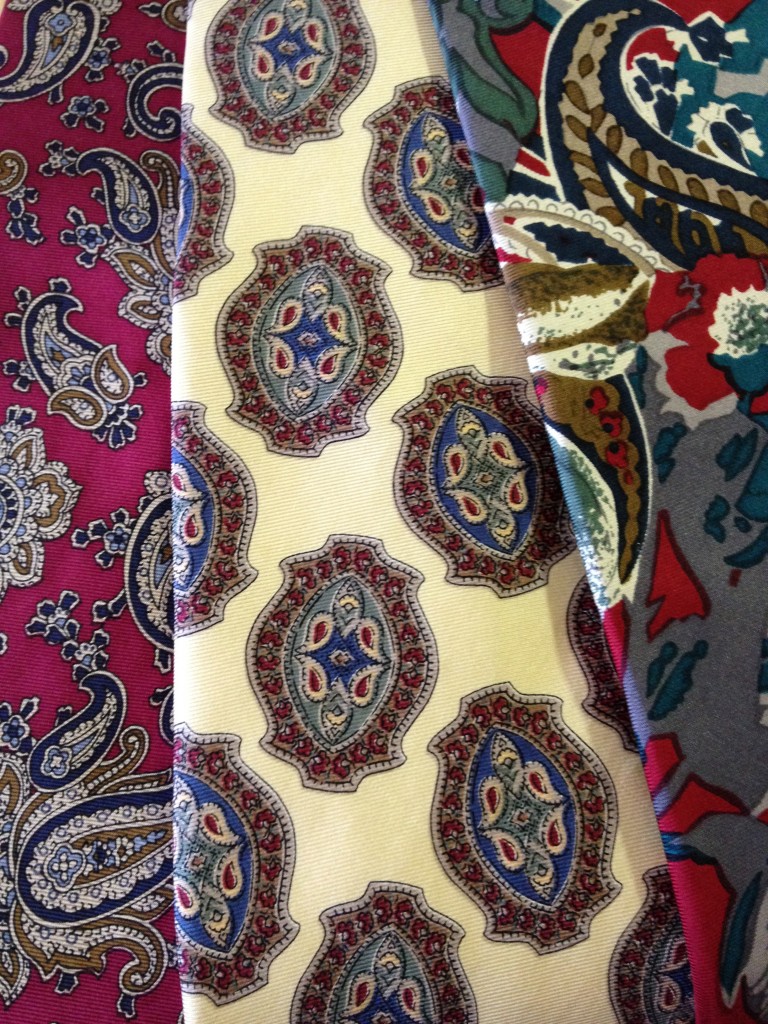
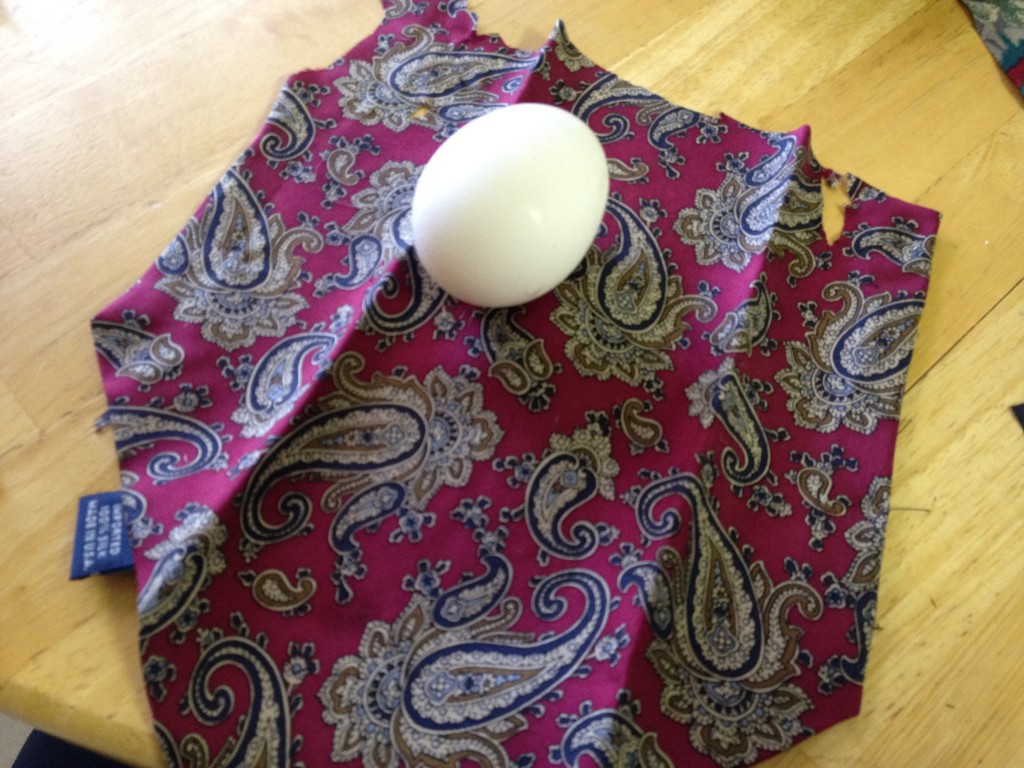
These are the three ties Dave said I could sacrifice for this project. Thanks Dave!

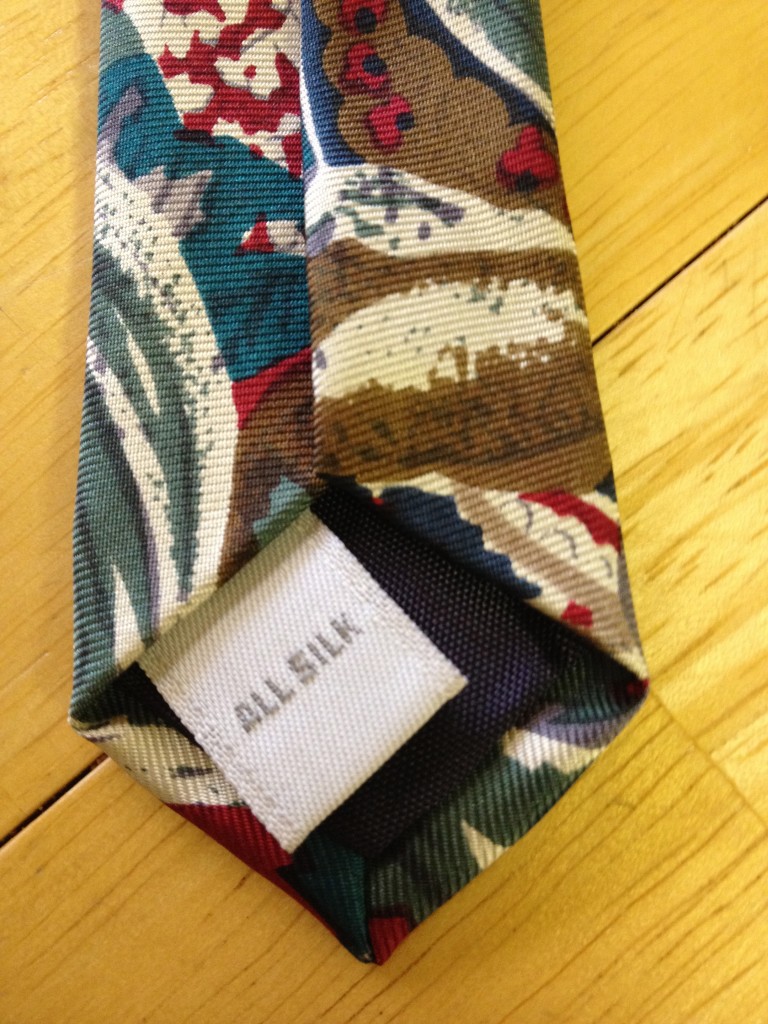
Make sure the ties you choose are 100% silk. This doesn't work otherwise...

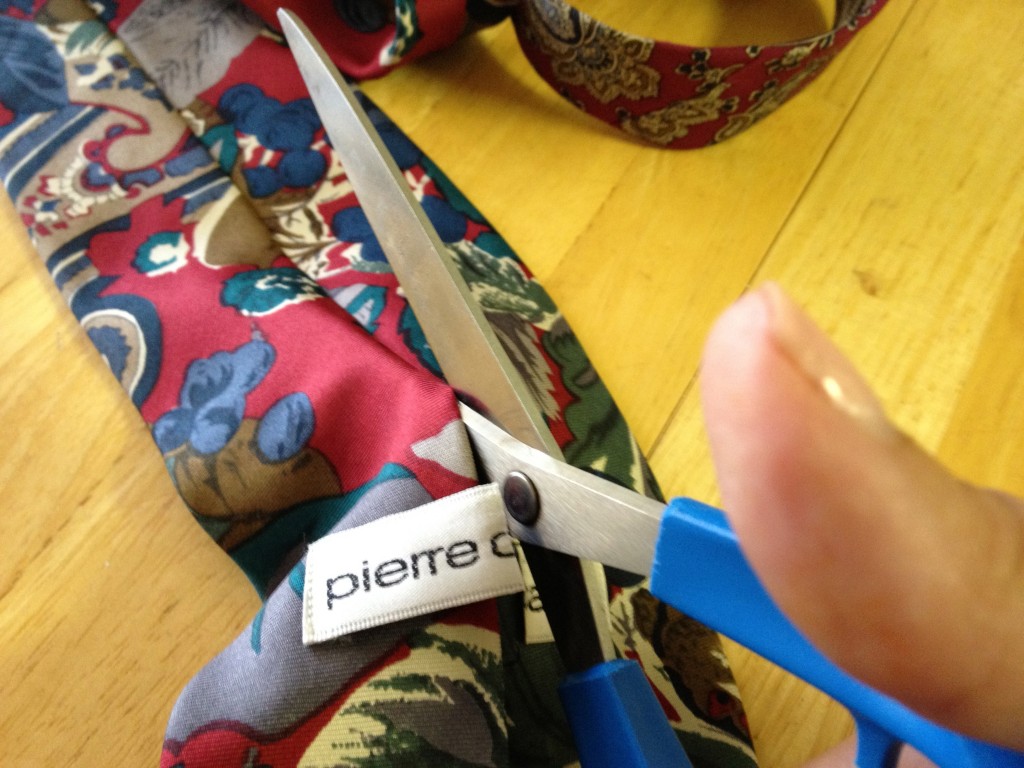
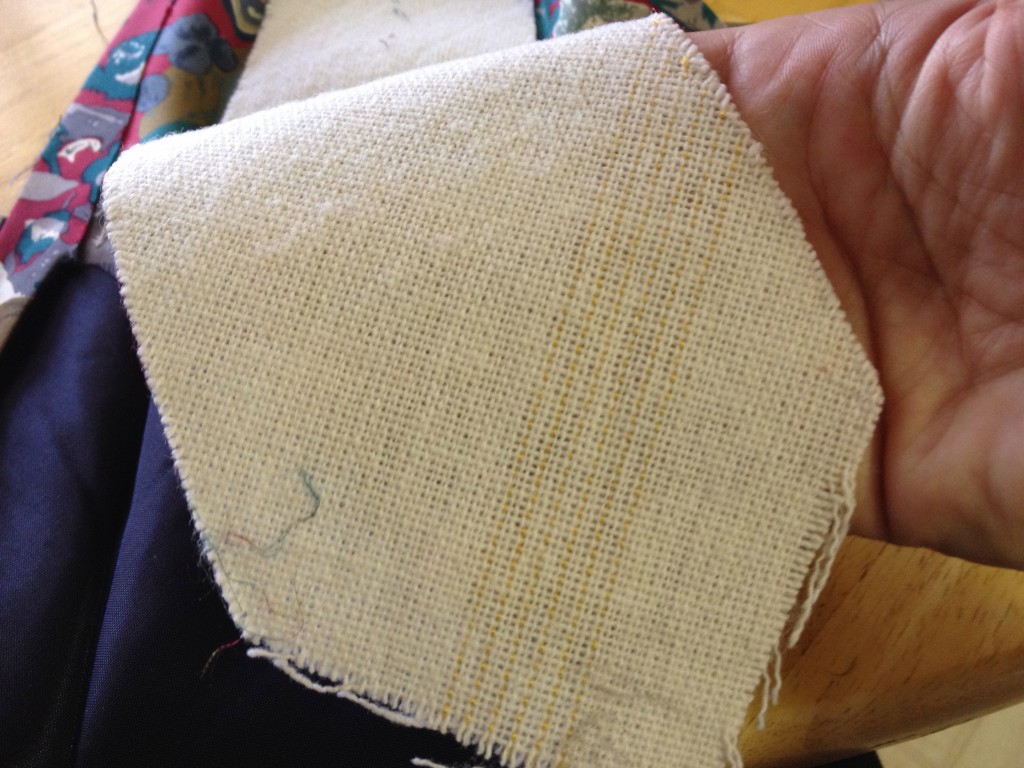
Break out the scissors! You want to cut the tie up the back seam to separate the silk from the backing.

The steps I had for this project suggested cutting up a white pillowcase to cover each of the eggs, but I read another blog that suggested just saving that pillowcase and use the muslin backing instead.

Open up the tie, cut off a chunk and make sure it's big enough to wrap around the egg...like a pouch.

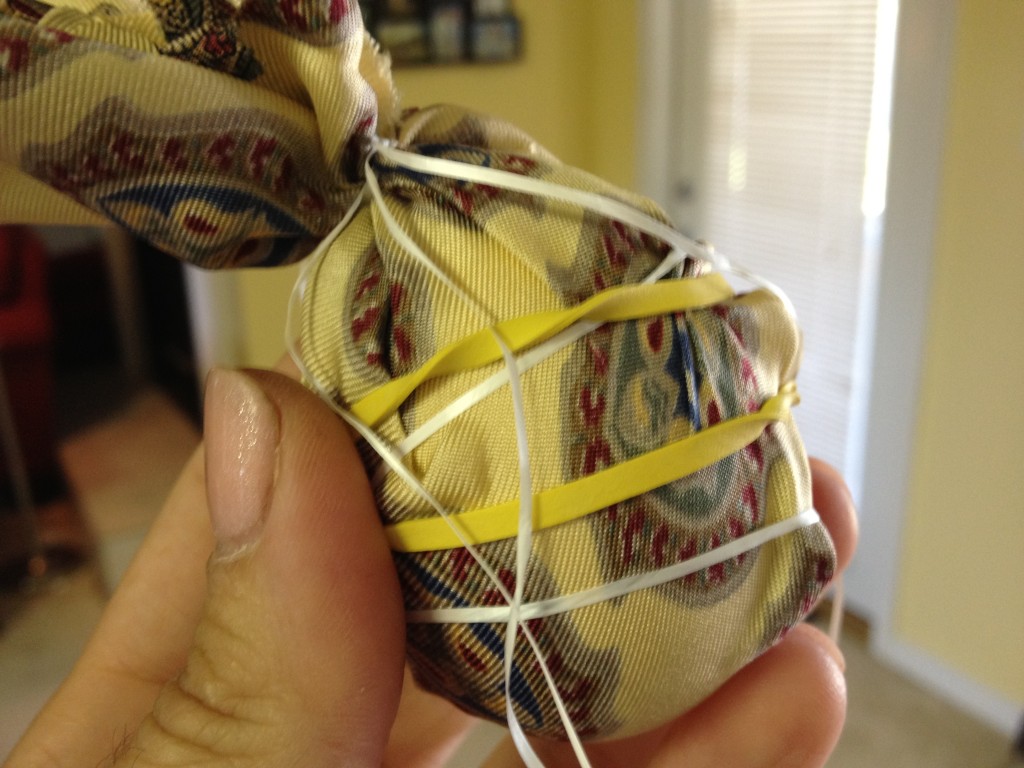
I used dental floss to tie off the top, and used rubber bands to help keep the silk in contact with the egg as much as possible.

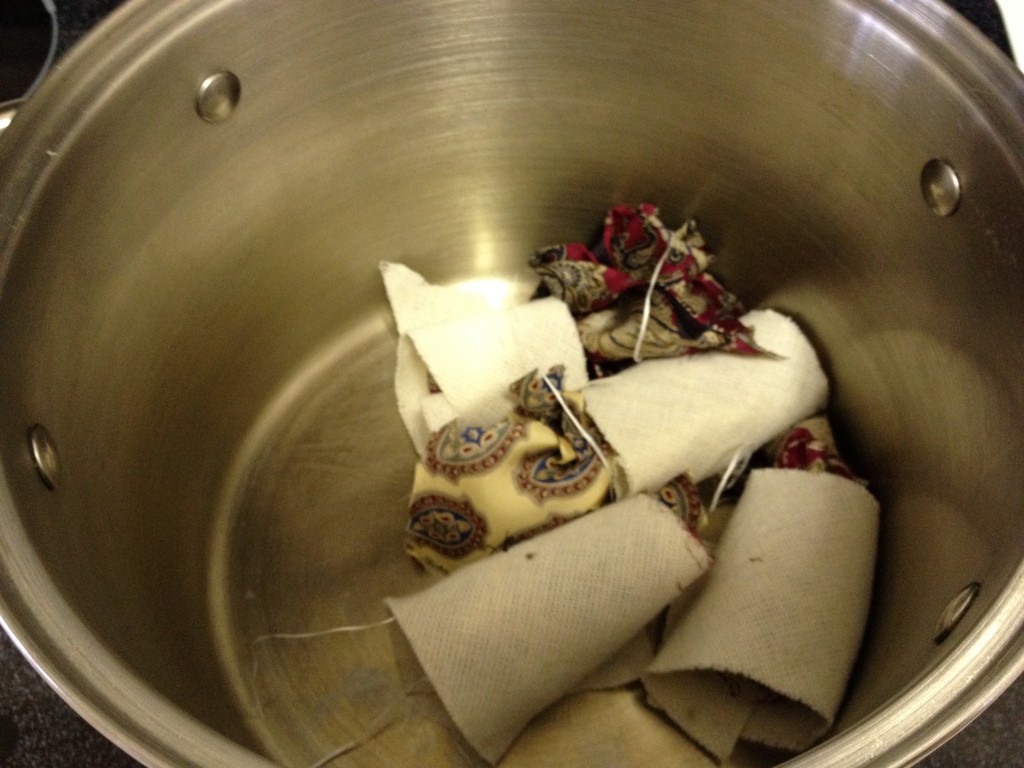
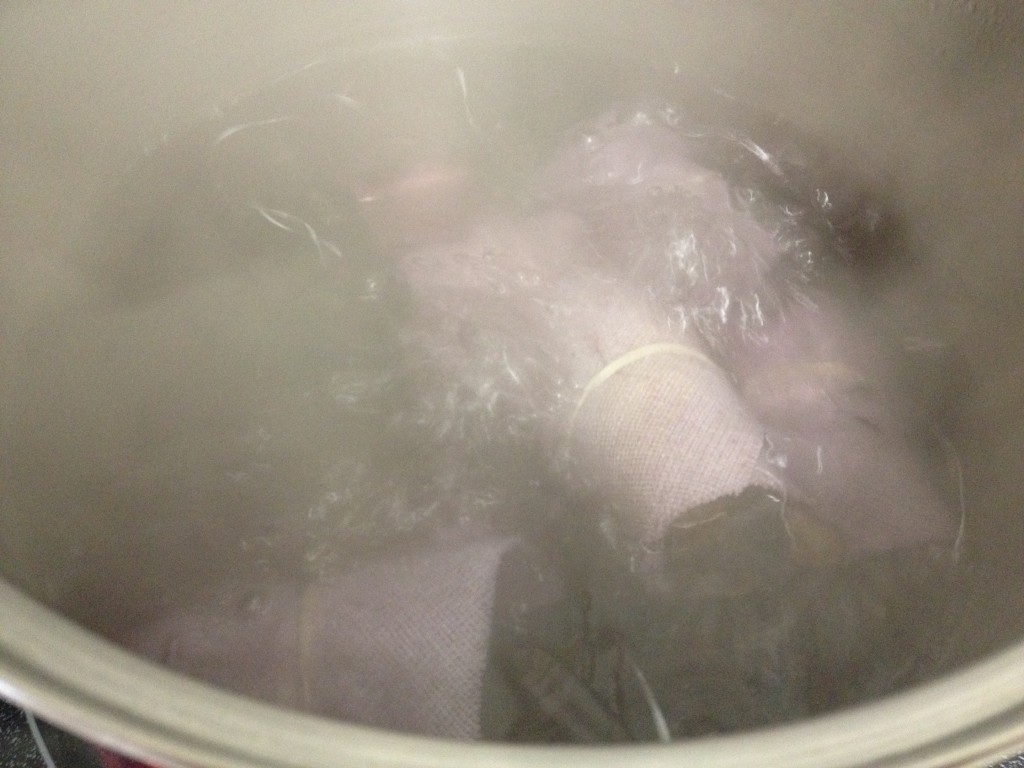
I loosely wrapped each pouch in a piece of the muslin, then set them carefully in a large pot.

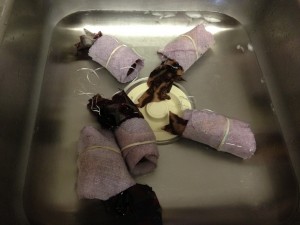
Cover with water at least an inch higher then the eggs, bring to a boil -- not simmer -- BOIL for 20 minutes. When finished, move the eggs to an ice bath to stop the cooking and cool them enough to unwrap.

This is the ice bath, but by the time I took this picture, most of the ice had melted.

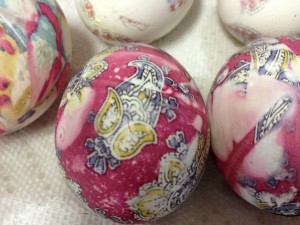
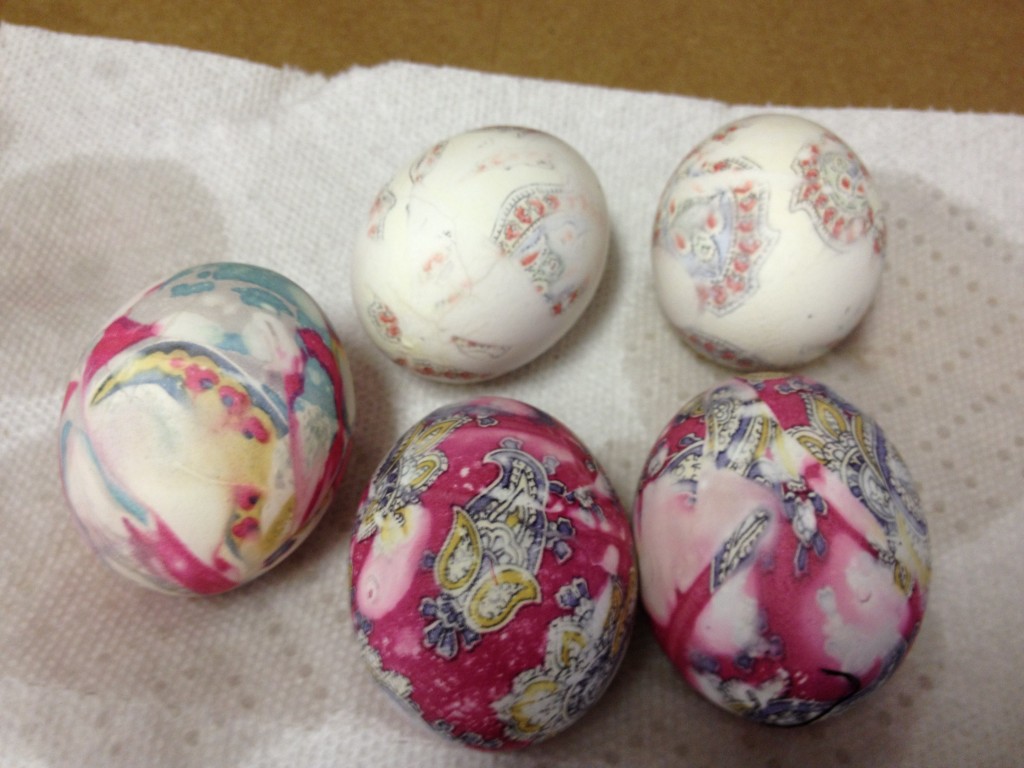
My finished eggs. This isn't as great as they could have been...I learned a lot from this experience. For starters, deeply-colored ties work best. Recommend you raid the neckties at your local thrift shop for the best choices and cheapest options. Secondly, I need to work harder at getting the silk to touch the egg surface better.

10. April 2012 · Comments Off on Dyeing Easter Eggs — Two Ways! Part 1: Kool Aid Eggs · Categories: Uncategorized · Tags: , , , ,

This year I let GeekMom.com and Pinterest drive our Easter egg efforts.  As I’d said over the weekend, we enjoyed coloring our eggs with Kool Aid and a couple of Dave’s old silk ties.  And I had promised some details.

Here we go!

Kool Aid Eggs

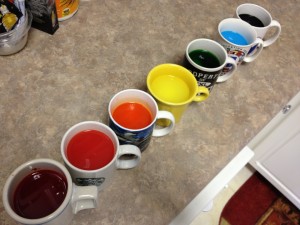
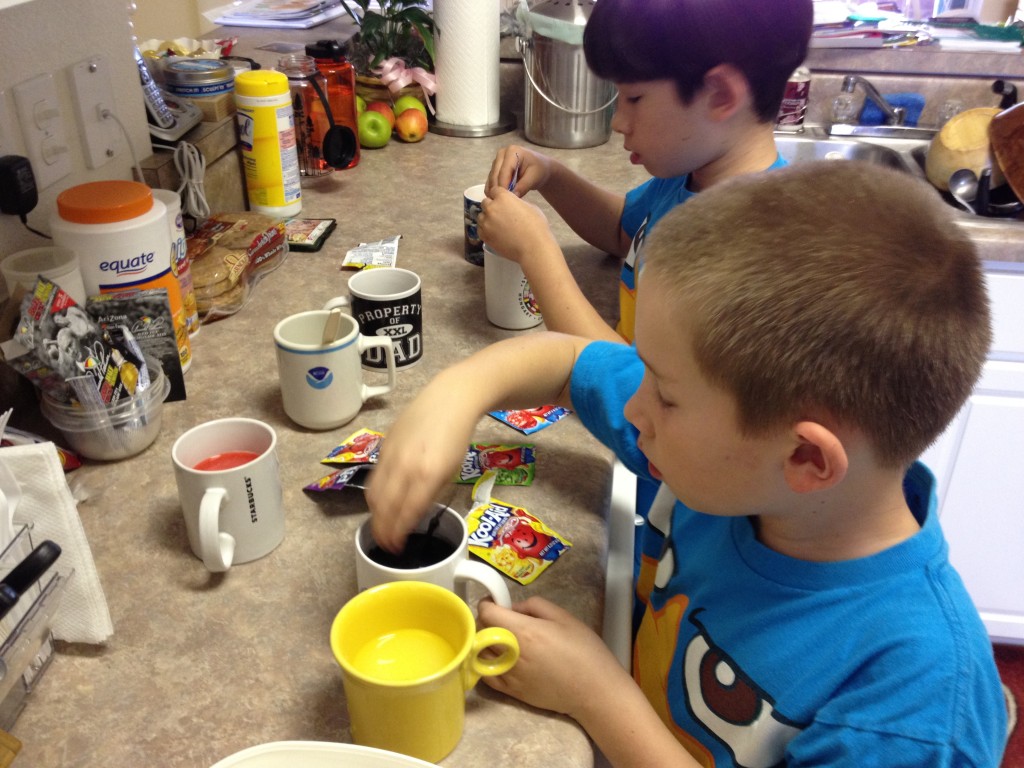
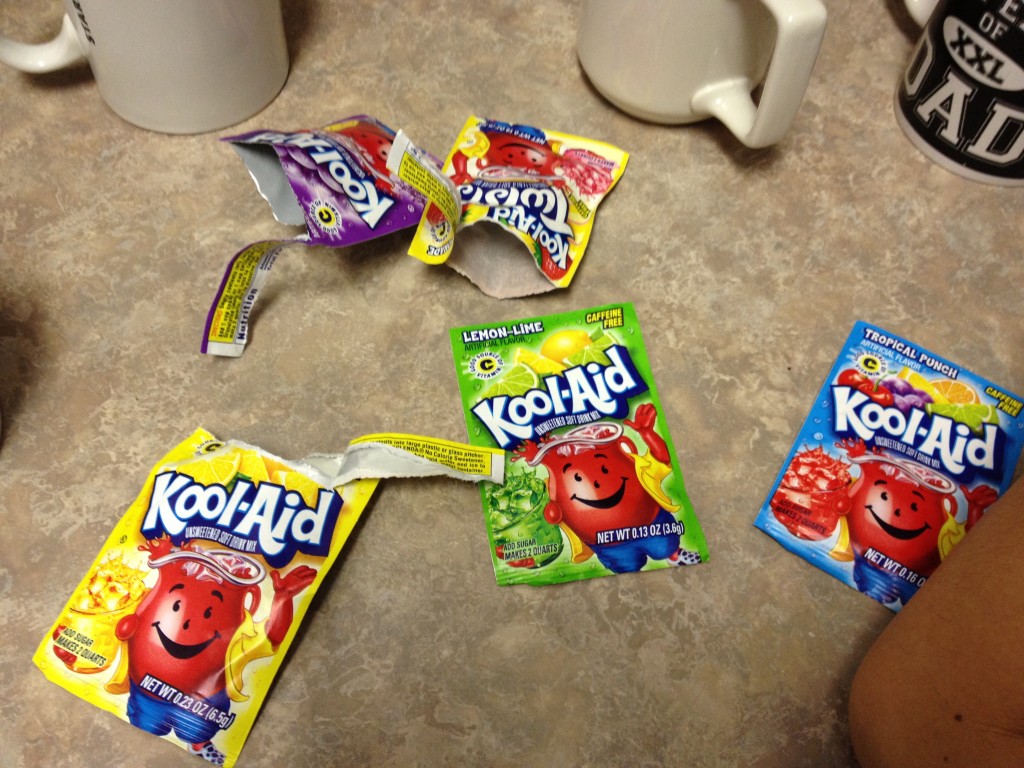
This is really easy.  Add a packet of non-sugared Kool Aid to a mug with 2/3 c. of water — it doesn’t matter what temperature.  Stir and just add eggs!

In the case of the Kool Aid, the kids did most of the work. It was quite nice!  Pardon my crazy-cluttery kitchen!

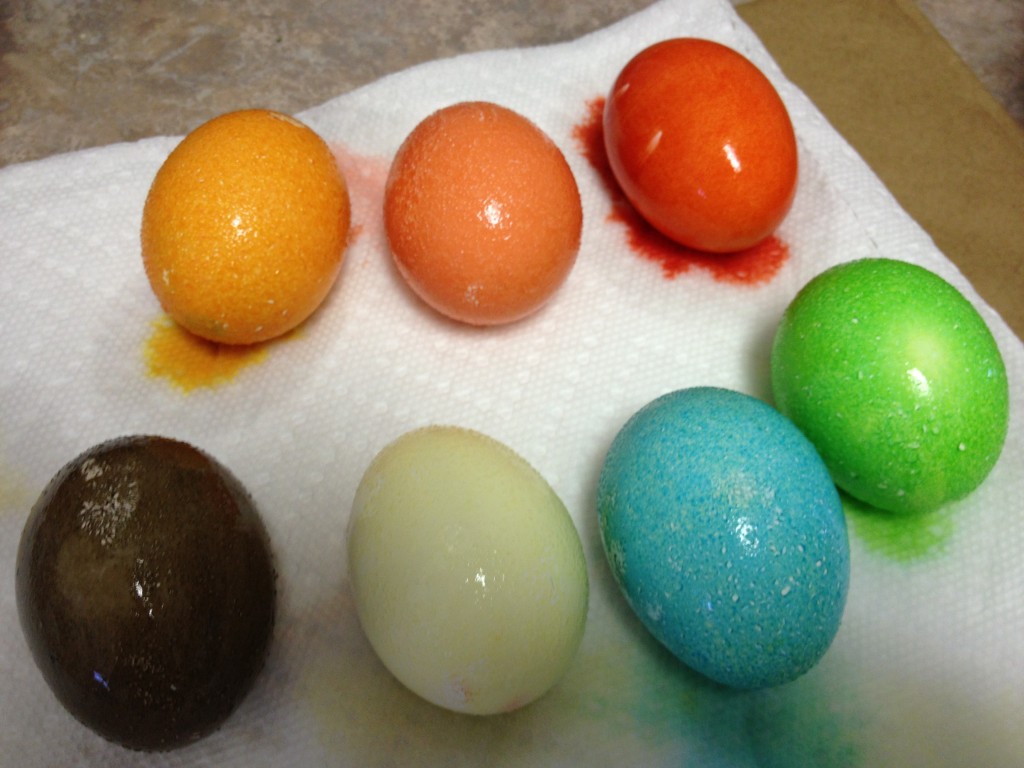
We chose a variety of flavors to give us rainbow colors.

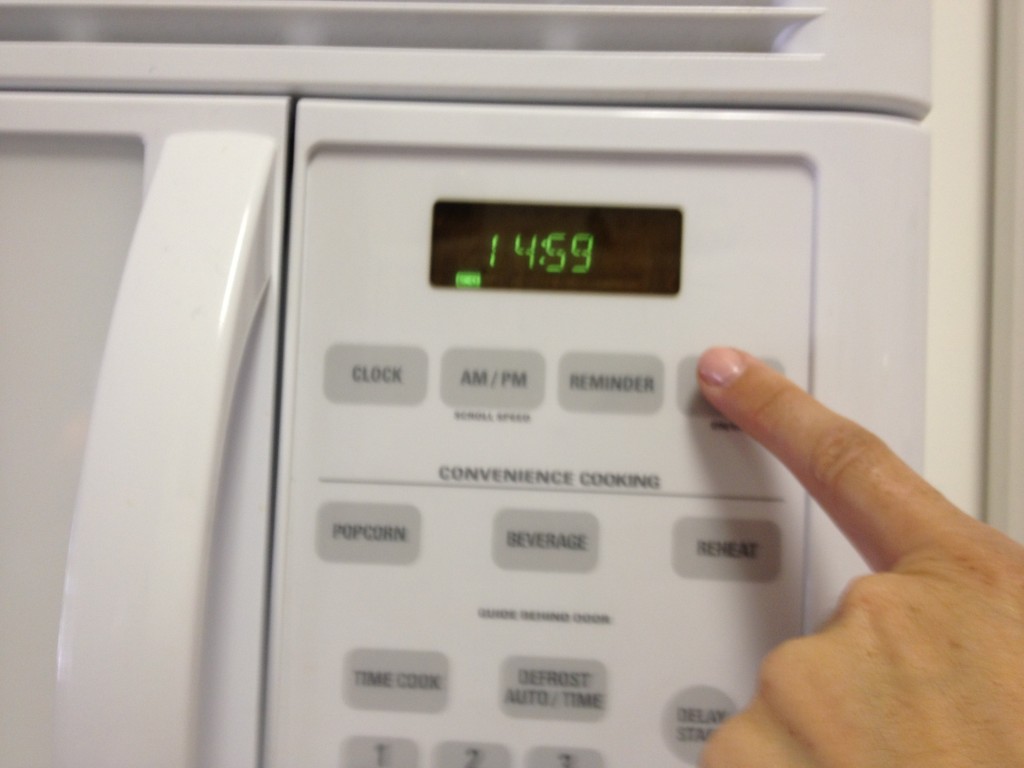
15 minutes on the timer!

VERY bright!

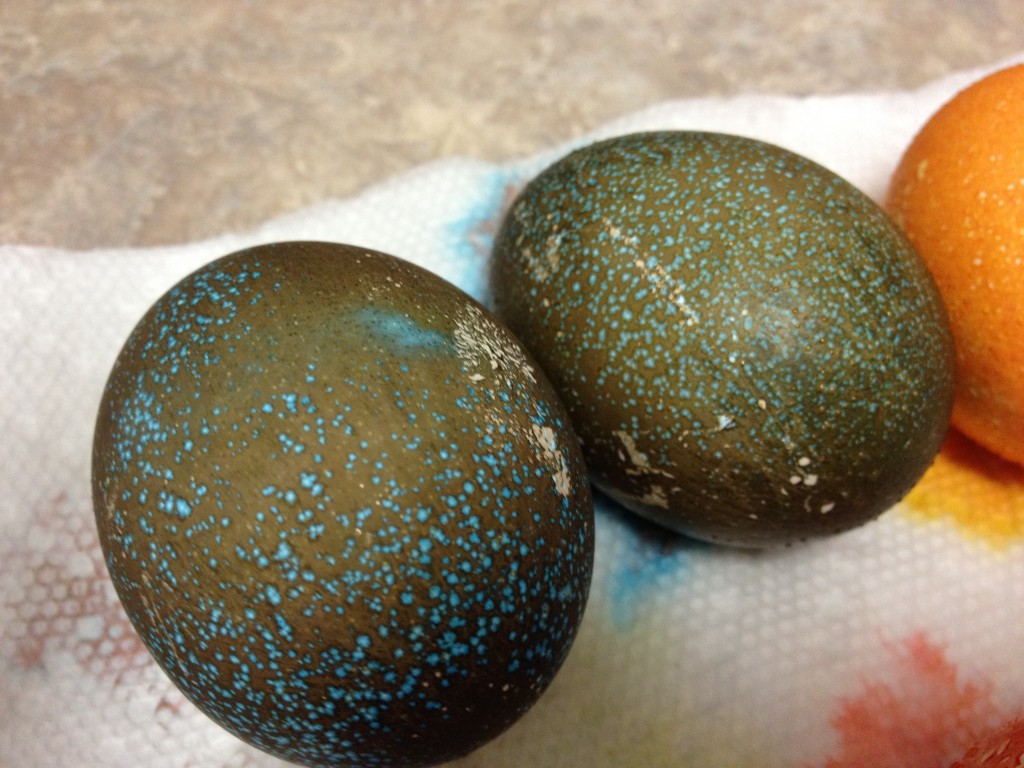
I want to speak about these eggs in particular. This is what you get with the "grape" flavored Kool Aid. Brown with blue speckles peeking out.

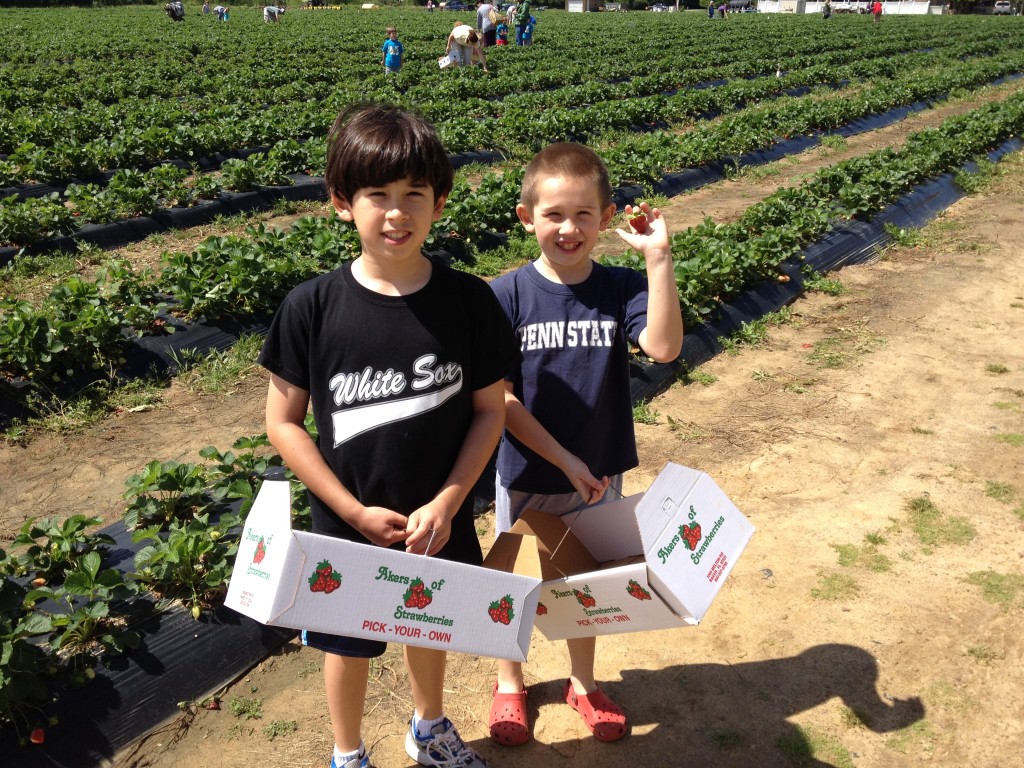
I LOVE strawberries!  So while the paint is drying from the latest wall I’m painting (in the living room behind the TV), I’ll share pictures from our strawberry picking trip last Friday.  Like last year, we headed out to Akers of Strawberries in Baker, Florida.  You can compare this year’s trip with last year’s!

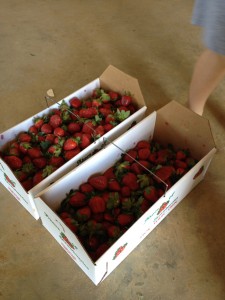
Each boy had one box they could use. I helped fill both boxes.

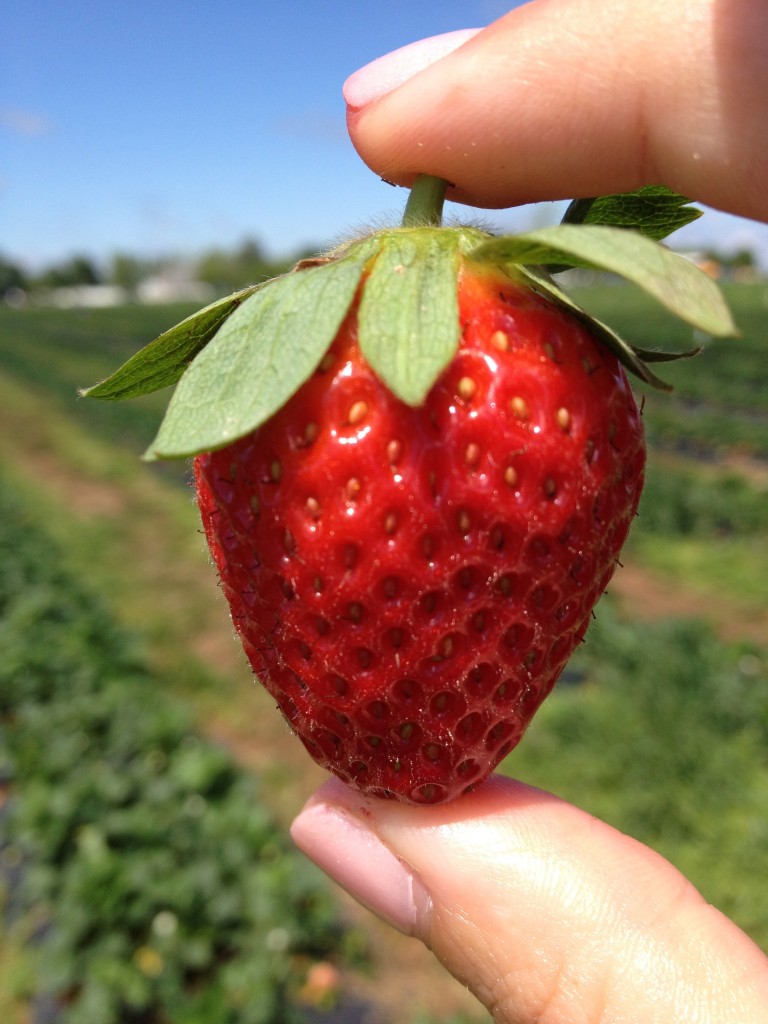
These berries were HUGE this year. That's my hand holding that monster berry!

This is what we ended up with -- about 18 lbs.

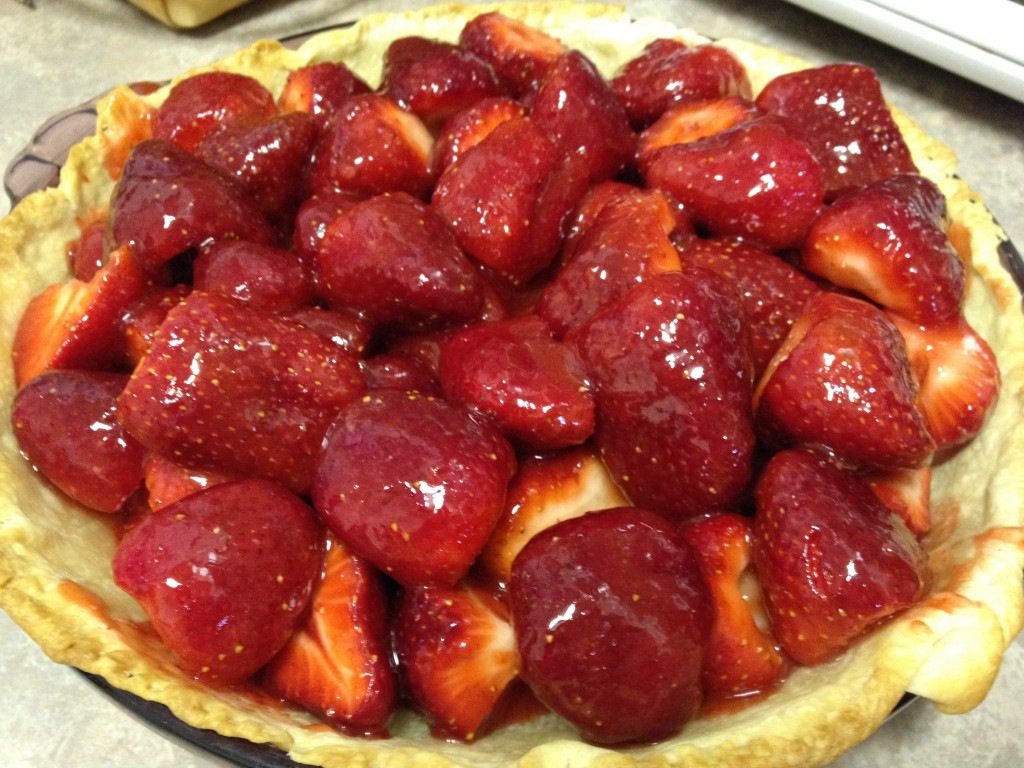
So far I made a pie with about a pint and a half of the berries, and I used about 2 quarts for a batch of jam. I didn’t take any pictures of the canning of the jam, since I shared all about it last year.

This year, however, I had a boil-over accident and I ended up not boiling the berry mixture long enough — I had to reboil and then re-process the jars again to get it right.

But here’s that picture of the pie (again) 🙂 This was for an Easter pot luck party at a neighbor’s house.

Sadly, this strawberry pie didn't set very well either. It's was more like a pile of strawberries in a cooked crust. Oh well. The berries were still delicious!