21. October 2013 · Comments Off on The Best Peanut Butter Cookies Ever! · Categories: Uncategorized · Tags: , , ,

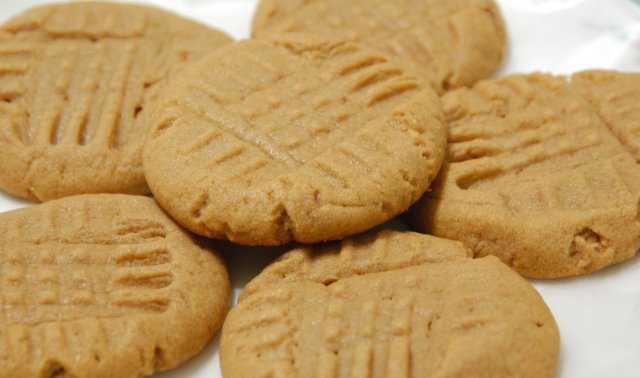
PeanutButterCookies


This past weekend I made peanut butter cookies. In part because I had a jar of peanut butter that needed to be finished off ASAP. It was “natural” peanut butter that had separated during our move to Colorado and didn’t look so hot. I figured mixed into the cookie dough well enough it’d be fine.

The recipe I have for peanut butter cookies is adapted from a basic recipe I saw on the All Recipes website. It’s very basic. However, I added in some techniques that makes them almost melt-in-your-mouth! I was very pleased that this recipe worked at my home’s higher altitude also.

It’s science, my friends! See below in the instructions.

***************************************

Peanut Butter Cookies that Melt in Your Mouth

1 cup unsalted butter (you may use salted, but then you should halve the salt)

1 cup white sugar

1 cup packed brown sugar

1 cup peanut butter (creamy or crunchy, it’s good either way)

2 eggs

2 1/2 cups flour

1 teaspoon baking powder

1/2 teaspoon salt

1 1/2 teaspoons baking soda

Mix together the flour, baking powder, salt, and baking soda. Set aside.

Using the whisk attachment on a stand mixer, cream the butter, peanut butter, and both sugars. DO NOT SKIMP on this step. You want to beat this for 5-7 minutes until the mixture is light and fluffy. Walk away for a few minutes, catch up on your mail…fold the laundry.

Stop the mixer every once in a while to scrape down the sides of the bowl.

You are incorporating air bubbles into the mixture which helps give the cookie dough a lighter texture when baking.

With the mixer still running, add the eggs, one at a time. Beat mixture until it lightens in color, another 1-2 minutes.

Stop using the mixer now! You will now want a large spoon or spatula to slowly mix the dry ingredients into the butter/sugar/egg mixture. Stir until all the dry ingredients are incorporated.

Cover with plastic wrap and chill the dough in the refrigerator for at least 1 hour.

Roll the dough into 1 – 1 1/2″ balls and place at least 2″ apart on an ungreased cookie sheet. Using a fork dusted in flour, make the ubiquitous waffle-like fork-tines pattern on the ball of cookie dough, flattening it just a little.

Bake in a 375F oven for 10 minutes. Do not overcook.

*****************************************

As much as I love the texture of this cookie, I’m still trying to tweak the recipe to bring out more peanut butter flavor. This past weekend’s recipe had dark brown sugar and I think it subdued the peanutty flavor some. Also, this peanut butter was sort of old, dating from this past spring.

I would like to try this recipe with light brown sugar and fresh-made peanut butter. I might be doing that as soon as this weekend, Dave requested peanut butter chocolate chip cookies and I have a bag of Wilbur chocolate chips for him!

What’s your favorite peanut butter cookie recipe! Share it with us!

*Yes, you read that right. Every time I watched that Jamie Oliver show on ABC a couple seasons ago, or think of his subsequent dietary education campaign, I would think of the video game Dance, Dance Revolution. Sorry…it’s still what goes through my head when I think of it now….

First, allow me to say that to anyone who is dealing with the effects of Hurricane Sandy, best of luck to you! The surreal, post-apocalyptic feeling you and your community is experiencing will hopefully only be temporary. Keep your chins up, America is behind you and know that the country has mobilized to help out in so many ways!

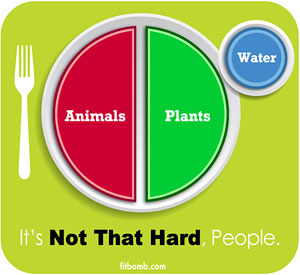
This makes total sense to me…in theory. In reality, I’m running for the hills…I need my pasta and cereal!

I need some inspiration and motivation, friends!

I don’t need the education, I’ve read it all!  I don’t need the resources, I plan to just get what I need at the grocery store!

(Yes, I’m YELLING this!)

I’m seeing so many of my friends and colleagues simply make the choice to stop eating carbs, stop overdoing it on dairy, and happily eat more fruits and vegetables. And the results are so impressive. Weight loss, sure, but also improved overall health, energy and focus.

I was behaving pretty well preparing for my Air Force Fitness Test last week. That test is behind me, I got a high enough score to not have to test again for another year (yay!), and I rewarded myself with a Five Guys burger with fries.

I know…I know…not good.

I always want starches: potatoes, breads, pasta. It’s like a drug.

I’m sort of venting here, sorry. I just want to know what I need to do to my brain to convince it to back off on the breads, crackers, cookies and such.  I love it all!

Speaking of cookies — well, I’m doomed.

I had to skip my cookie extravaganza altogether in 2011 due to Dave’s surgery, but this year, as soon as I get back from our Thanksgiving travels, I plan to fire up the oven, get the Priority Mail Flat Rate Boxes ready, and get baking!

I’ll be writing more about our favorite family cookie recipes later this month, but for now you can browse through my November 2008 posts for 3 of our favorites.

Now to refrain from eating all the cookie factory seconds…

How do you keep inspired for more than just a couple weeks to change your eating habits for good?  Please comment here and help me!  Thanks!

This is what I love cooking...but I shouldn't be cooking this...

I find myself in a little conundrum: I want to bake bake bake.

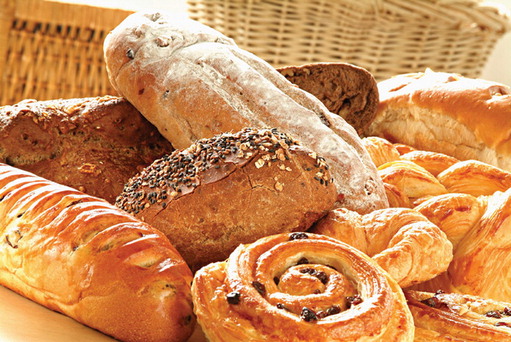
When I mentioned a couple weeks ago that I wanted to go “back” to the cooking I used to do for the family, much of that involved baking cookies, cakes, cobblers, breads, cornbread, etc. I love baking.

I need to change my mindset.

My adventures with granola and popcorn are a start, but I need to keep moving forward with fun cooking tasks that don’t break the calorie bank and fill my family with empty starchy calories.

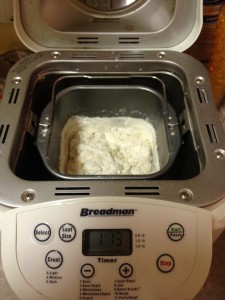
In the meantime, I’m really enjoying making a small loaf of whole wheat bread about every 3-4 days for the family. The recipe that came out the winner uses only whole wheat flour with one cup of prepared mashed potatoes. You can throw a medium potato in the microwave, bake it and smash it straight into the bread machine! We enjoy making sandwiches, toast and even just having slices of bread and butter as a side dish with dinner. The kids are asking for plain slices of bread as a snack! I’m not making this up!!!

In the meantime, I’m also trying to clear out some of the less-than-ideal ingredients in my pantry. I feel a little guilty doing this also. I made a key lime pie a couple weeks ago to clear out graham crackers and condensed milk…and I made a chicken noodle casserole that used up some cream of chicken soup and egg noodles.

I’m doing some research on the interwebs myself, but if anyone has ideas of great homemade snacks for the family that I can keep on hand for snacking…leave me a comment!

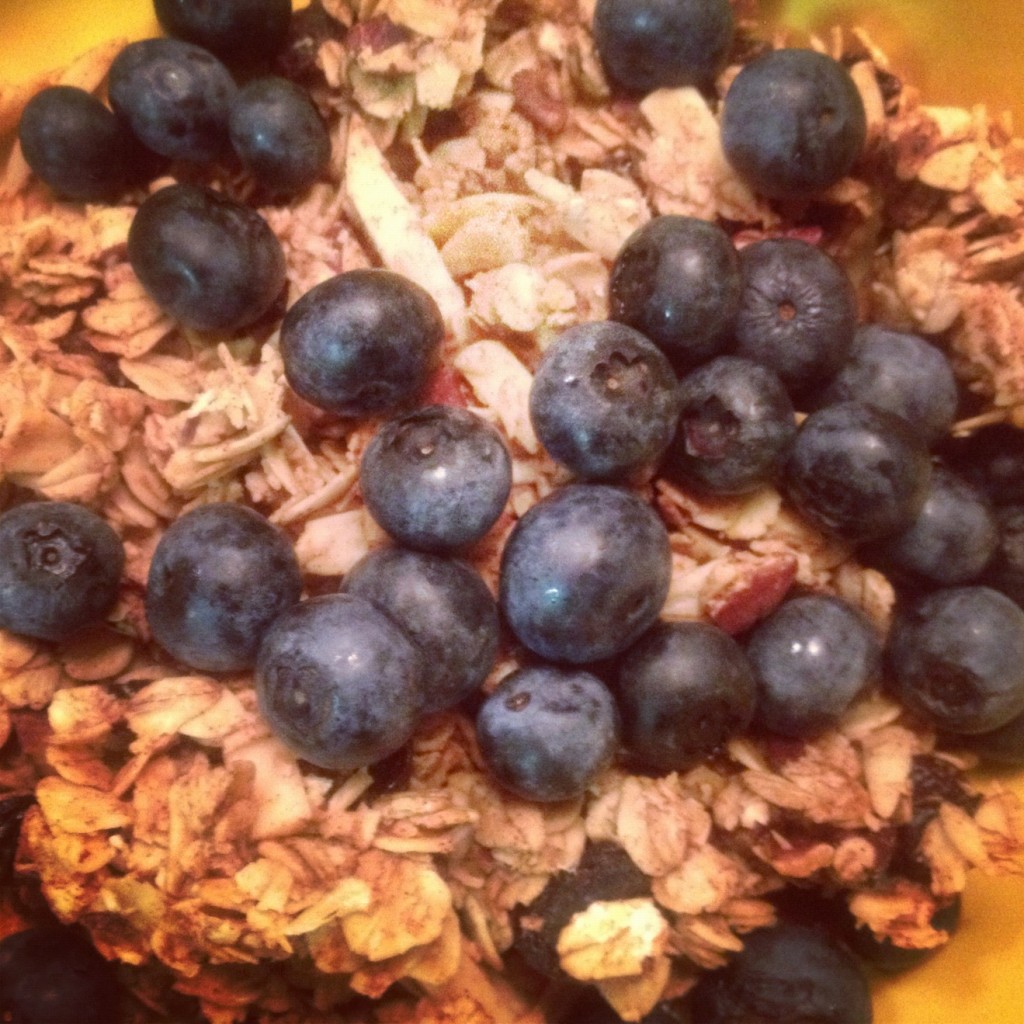
Topped with our just-picked blueberries, this has been my breakfast every morning this week!

I was picking up cereal at the grocery store last week and noticed the commercially available granola. For $3-5 per box, you could get granola with a variety of flavors, with varied ingredients and perhaps even some preservatives thrown in.

Such as Kellogg’s low-fat granola:

Here’s the ingredients list from the Amazon.com entry: “Whole Oats, Brown Sugar, Whole Grain Wheat, Corn Syrup, Rice, Almonds, Modified Corn Starch, Partially Hydrogenated Cottonseed and/or Soybean Oil, High Fructose Corn Syrup, Cinnamon, Salt, Nonfat Dry Milk, Natural and Artificial Flavors, Polyglycerol Esters of Mono- and Diglycerides, Malt Flavor, Niacinamide, Zinc Oxide, Guar Gum, Sodium Ascorbate and Ascorbic Acid (Vitamin C), Reduced Iron, Pyridoxine Hydrochloride (Vitamin B6), Riboflavin (Vitamin B2), Vitamin A Palmitate, Folic Acid, Thiamin Hydrochloride (Vitamin B1), Bht (Preservative), Vitamin B12 and Vitamin D.”

High fructose corn syrup and partially hydrogenated oils?  If one is considering granola, one would think they’d be aware of such ingredients and not choose this particular brand.  There are so many others out there…if you had to purchase it.

Even Kashi’s yummy “Cocoa Beach” chocolate granola has “mixed tocopherols” in its ingredients, but at least I could recognize everything else.

It wasn’t too difficult to take a look at what I had available in my pantry and figured I could do this myself without high fructose corn syrup or partially hydrogenated-anything. I had plenty of Quaker’s “Old Fashioned” oats, honey, brown sugar, nuts and raisins that I could use to make granola. Plus a complement of spices such as nutmeg and cinnamon.

I browsed numerous online granola recipes, looking for one that fit the volume I wanted to make, plus the ingredients I had available.

A recipe from Amy at A Little Nosh blog was the winner [link to recipe has since gone dark].  She adapted it from the 100 Days of Real Food blog, which is a wonderful blog about a North Carolina family who succeeded in 100 days of non-processed foods, making everything from scratch.  They then tried an additional 100 days of the same thing on a tight food budget and found out it’s harder than it ought to be.

As for Amy’s recipe, being 2nd on the Google search for “homemade granola” helped her case for being my choice.  All the sweetness came from the honey, and the fat that gives it the richness came from butter instead of oil.  We here prefer the flavor that comes with butter, so this was the recipe we tried out.

I had to make a couple of changes to adapt to the ingredients I had on hand and deal with some of my kids’ tastes:

  1. I used raisins instead of dried cranberries, since I had plenty of raisins on hand already
  2. I omitted the sunflower kernels and pumpkin seeds, my youngest son doesn’t care for seeds
  3. I also omitted the coconut.  None of us care for it too much.

Otherwise, this recipe worked out like a charm and the kids enjoyed snacking on it.  We love the cinnamon, ginger and nutmeg aroma in the house while it’s baking up, as Jacob told me last week, “It smelled like Christmas!”

While Amy claims that she makes a batch and it disappears quickly, we here find granola very filling and we’re still snacking on it and having it for breakfast 5 days later.  After all, the recipe makes 3 pounds or 48 ounces, the equivalent of 3-4 boxes of what’s commercially available.

Cost-wise, I probably used about $1 worth of ingredients (a non-scientific estimate) to produce the same amount you’d have to pay about $15 for in a store.

“Back to Basics” for the win!  Once again!

These past two months have been a blur to me.  I was busy with both boys in baseball, and my responsibilities with the Hurlburt Spouses’ Club ramped up, as I was in charge of organizing the elections of next year’s officers and a biennal review of the Constitution and other legal documents.

Pardon the blurriness. I was recognized by Hurlburt Field earlier this month as a nominee for the annual "Angel Award". I didn't win (I didn't hold a candle to most of my fellow nominees!) but I was incredibly flattered to be among such amazing volunteers.

But now it has all wound down, with the new Hurlburt Spouses’ Club officers installed a couple weeks ago, the boys’ baseball and Cub Scouts having come to a close and I have a summer season that I can dedicate to my family.

One of the things that really came to a screeching halt in April and May was normal cooking for the family.  Our dinnertimes became dominated by the “quick and easy”, from chicken nuggets to Firehouse Subs.

With the help of some inspiration from several friends who have embarked on similar cooking/eating journeys, I am going to try to go “back to basics” with our eating.  Not a “fad diet”, per se, but just trying to reset my cooking and eating habits a little.

More »

06. May 2012 · 2 comments · Categories: Uncategorized · Tags: ,

I don’t use mine enough. My sister exclusively makes her bread in her machine. I always say I’m going to do that, but then real life gets in the way.

Sent from my iPhone…pardon the typos!

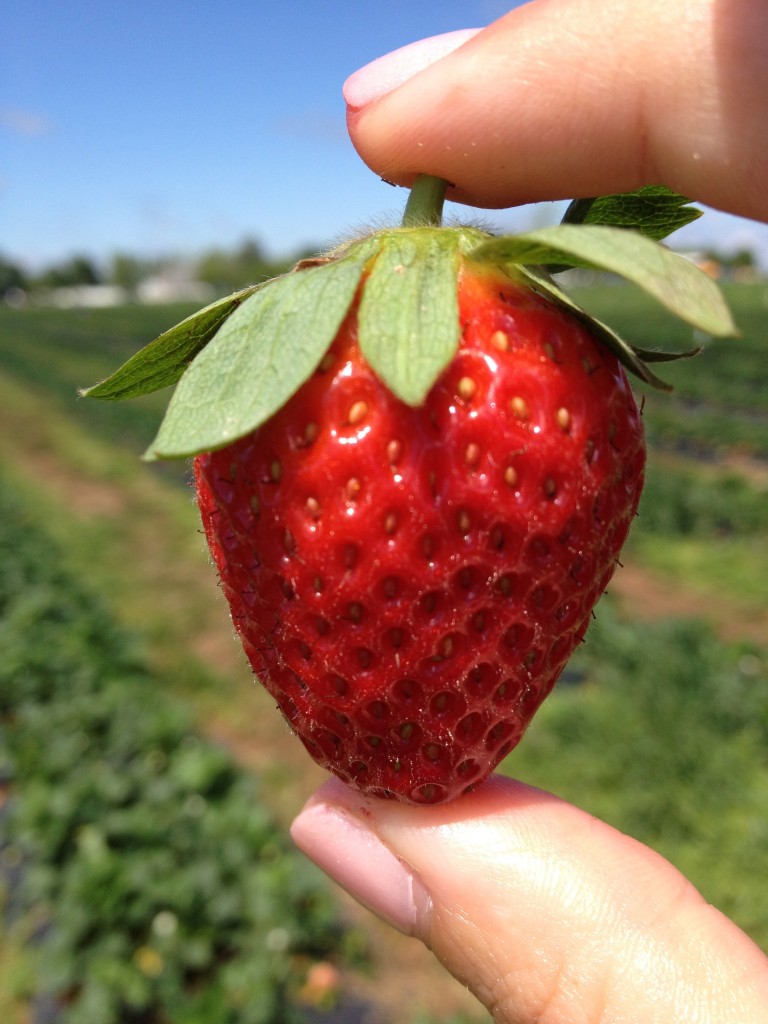
I LOVE strawberries!  So while the paint is drying from the latest wall I’m painting (in the living room behind the TV), I’ll share pictures from our strawberry picking trip last Friday.  Like last year, we headed out to Akers of Strawberries in Baker, Florida.  You can compare this year’s trip with last year’s!

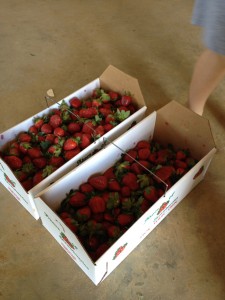
Each boy had one box they could use. I helped fill both boxes.

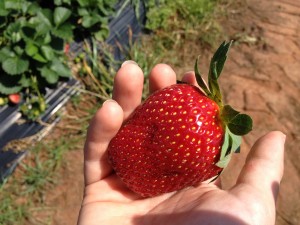
These berries were HUGE this year. That's my hand holding that monster berry!

This is what we ended up with -- about 18 lbs.

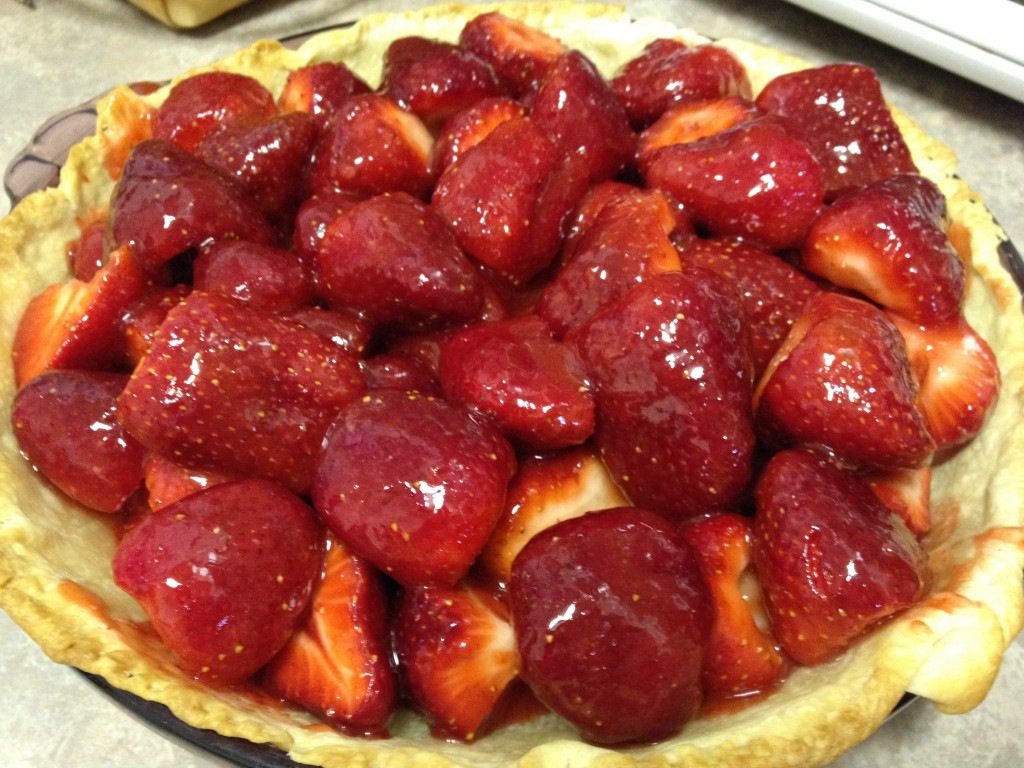
So far I made a pie with about a pint and a half of the berries, and I used about 2 quarts for a batch of jam. I didn’t take any pictures of the canning of the jam, since I shared all about it last year.

This year, however, I had a boil-over accident and I ended up not boiling the berry mixture long enough — I had to reboil and then re-process the jars again to get it right.

But here’s that picture of the pie (again) 🙂 This was for an Easter pot luck party at a neighbor’s house.

Sadly, this strawberry pie didn't set very well either. It's was more like a pile of strawberries in a cooked crust. Oh well. The berries were still delicious!

04. December 2011 · 2 comments · Categories: Uncategorized · Tags: , , , ,

I made these last evening also.  I didn’t have enough almonds, but had plenty of almond extract so these taste SO GOOD this year!

******************************

Cranberry Almond Biscotti. This is a recipe I’ve been making for over 10 years.  This is one sophisticated cookie…cranberries are always so, well, holiday! What’s cool is that the only fat in the cookie is in the eggs (well, the almonds, too, I guess)!!!! So that makes them as healthy as my Holiday Surprise Cookies, right???

So here we go…

The dough mixes up pretty straightforward in the stand mixer:

From 2008 11 25 CranberryAlmondBiscotti

This dough will be sticky…be prepared to keep your hands floured for the next part:

From 2008 11 25 CranberryAlmondBiscotti

Now, divide the dough into portions and pat it into logs of 2-3″ width onto an ungreased cookie sheet, or, in my case, baking stone.

From 2008 11 25 CranberryAlmondBiscotti

You’ll bake these in two shifts. The first shift is at 325, so don’t expect the logs to be browned when they’re done, just a little puffier.

From 2008 11 25 CranberryAlmondBiscotti

Remove these bars to a cooling rack. I use two spatulas, one on each end of the bar, to move them.

From 2008 11 25 CranberryAlmondBiscotti

After about 15-20 minutes of cooling, you will then cut the bars into 1/2 – 3/4″ wide slices.

From 2008 11 25 CranberryAlmondBiscotti

Move the slices back to the baking stone, this is going to bake at a VERY low temperature, so don’t be shy: pack ’em in!

From 2008 11 25 CranberryAlmondBiscotti

These will bake at 300F for another 15-20 minutes, until super crispy-firm-dried-out. The way biscotti’s supposed to be.

From 2008 11 25 CranberryAlmondBiscotti

Unfortunately, on this batch, there was leftover sugar on the baking stones from the Holiday Surprise cookies, so pardon the green sugar on the bottom.

From 2008 11 25 CranberryAlmondBiscotti

Happy Holiday Baking!

03. December 2011 · Comments Off on The Neiman Marcus Cookie: Legend Turned Family Tradition — from 2008 Post · Categories: Uncategorized · Tags: , , ,

Another post from 2008, and the next cookie recipe headed into in my stand mixer this afternoon.  This isn’t really a Christmas cookie, but it’s among my most popular (after the Holiday Surprises).

****************************

I’m not going to waste time going into the legend of the Neiman Marcus cookie.  I will simply  refer you here and you can read all about the legend. Whether it’s true or not, every time I’ve made these cookies, they’ve been a huge hit and I’m always asked for the recipe. No problem! No big family secrets here!

Neiman Marcus itself has even embraced the legend and provides a manageable sized recipe also.

For the photos here, I’m making a 1/2 recipe from the version on the Snopes page. I did a full recipe on 11/22, and it filled the bowl to the brim when I added the chocolate chips and nuts to the mixer.

First you cream the butter and white/brown sugar. I’m very particular about this — I set the mixer on medium and let ‘er rip for about 3-5 minutes until it’s fluffy.

Then I add the remaining wet ingredients: eggs & vanilla. Beat it to a pulp for another couple minutes.

Then start adding the dry ingredients. Alton Brown and folks like that will tell you to sift all the dry ingredients together: all-purpose flour, blended oatmeal, baking soda, baking powder and salt. Then add it slowly as the mixer is running on low. I don’t do that…call me lazy. AB, I love you to death, but I just want my cookies! I add the dry goods directly to the mixer one ingredient at a time.

From 2008 11 25 NeimanMarcusCookies

Once the dough is all together, slowly add the grated Hershey’s bar (I ground up leftover Hershey’s Kisses from my Holiday Surprise cookies – refrigerate the chocolate for about an hour and then run it through the food processor), chocolate chips and nuts. You’ll want the mixer on the slowest setting possible, or you can even hand-mix it. The dough will be VERY thick, and my mixer actually struggles quite a bit on the full recipe once all the ingredients are added.

From 2008 11 25 NeimanMarcusCookies

Now you simply roll the dough into 1 – 1 1/2″ balls and pop them onto your handy-dandy cookie sheet or baking stone.

From 2008 11 25 NeimanMarcusCookies

A closeup of a finished cookie for your enjoyment:

From 2008 11 25 NeimanMarcusCookies

I’ll tell you what, you do this recipe right, and you’ll have mostly chocolate and nuts in each cookie, hopefully you see it in this shot:

From 2008 11 25 NeimanMarcusCookies
30. November 2011 · Comments Off on Holiday Surprise Cookies: Revisit of 2008 Post · Categories: Uncategorized · Tags: , , ,

Instead of recreating a blog post about one of our favorite cookie recipes, I’ve “repurposed” my November 2008 post.  Many of the commercial links from 2008 had to be changed, so I’ve updated the links to the recipe, some of the ingredients I like and the cookie-making equipment I recommend.

Similar to 2008, this will be the first cookies we make for the season, and I the kids once again have to deal with unwrapping about 150 Hershey Kisses.

What I will do differently this year is bake and store the cookies in batches according to the filling.  In years past I’ve jumbled everything together: Timmy doesn’t like milk chocolate, Jacob doesn’t like dark chocolate!

Enjoy!

****************************************************************

The first batch of cookies: Holiday Surprise Cookies, courtesy of the Quaker Oats company. Hit the hyperlink to go to the recipe straight from the horse’s, er, Quaker’s, mouth.

I gave Dave the camera tonight and asked him to document our experience so I’d have some nice pictures with which to blog. He told me, “Okay, I’m going to be like Maryann!”. He did a great job, he took almost all the photos…

So, to start, we have to come up with a filling…this is the “surprise” in the cookie. In years past, we’d used Wilbur Buds, a Lancaster County, PA staple. In fact, the first time I made this recipe was to keep Dave and me from eating an entire bag of Wilbur Buds we’d gotten for Christmas in one sitting, I think. It was either 1999 or 2000…I can’t remember. The beauty of Wilbur Buds is (a) you can buy a combo pack of milk AND dark chocolate together and (b) the buds aren’t indivually wrapped.

If I’d had the foresight to order the Wilbur Buds ahead of time I would have. But it was much easier to pick up some assorted flavored Hershey’s Kisses from my local mega mart. As can be seen in this photo, we had a lot of unwrapping to do.

From 2008 11 14 HolidaySurpriseCookies

As the boys were unwrapping about 100 Kisses, in 3 flavors shown here, I was preparing the dough. It’s essentially a sugar cookie dough replacing about 40% of the flour with oatmeal.

From 2008 11 14 HolidaySurpriseCookies

Look at those oats — your cholesterol is lowering just looking at it, right? Don’t worry…won’t happen: there’s 2 sticks of butter in the basic recipe…and I doubled it tonight!

Once the chocolates were unwrapped and the dough was ready, I set up the assembly line in the dining room. The boys were great — Jake stuffed the chocolate in the dough, and Timmy rolled the little ball of dough in the colored sugar and placed the ready-to-bake cookie on the baking stone. My job was quality control — I pre-measured wads of dough for Jake to stuff so they’d be uniform in side, and I made sure the cookies were properly spaced on the stone.

From 2008 11 14 HolidaySurpriseCookies

Does that look holiday or what?

From 2008 11 14 HolidaySurpriseCookies

We tested the cookies, of course, and everyone in the Vollmer clan gave them a thumbs up!