
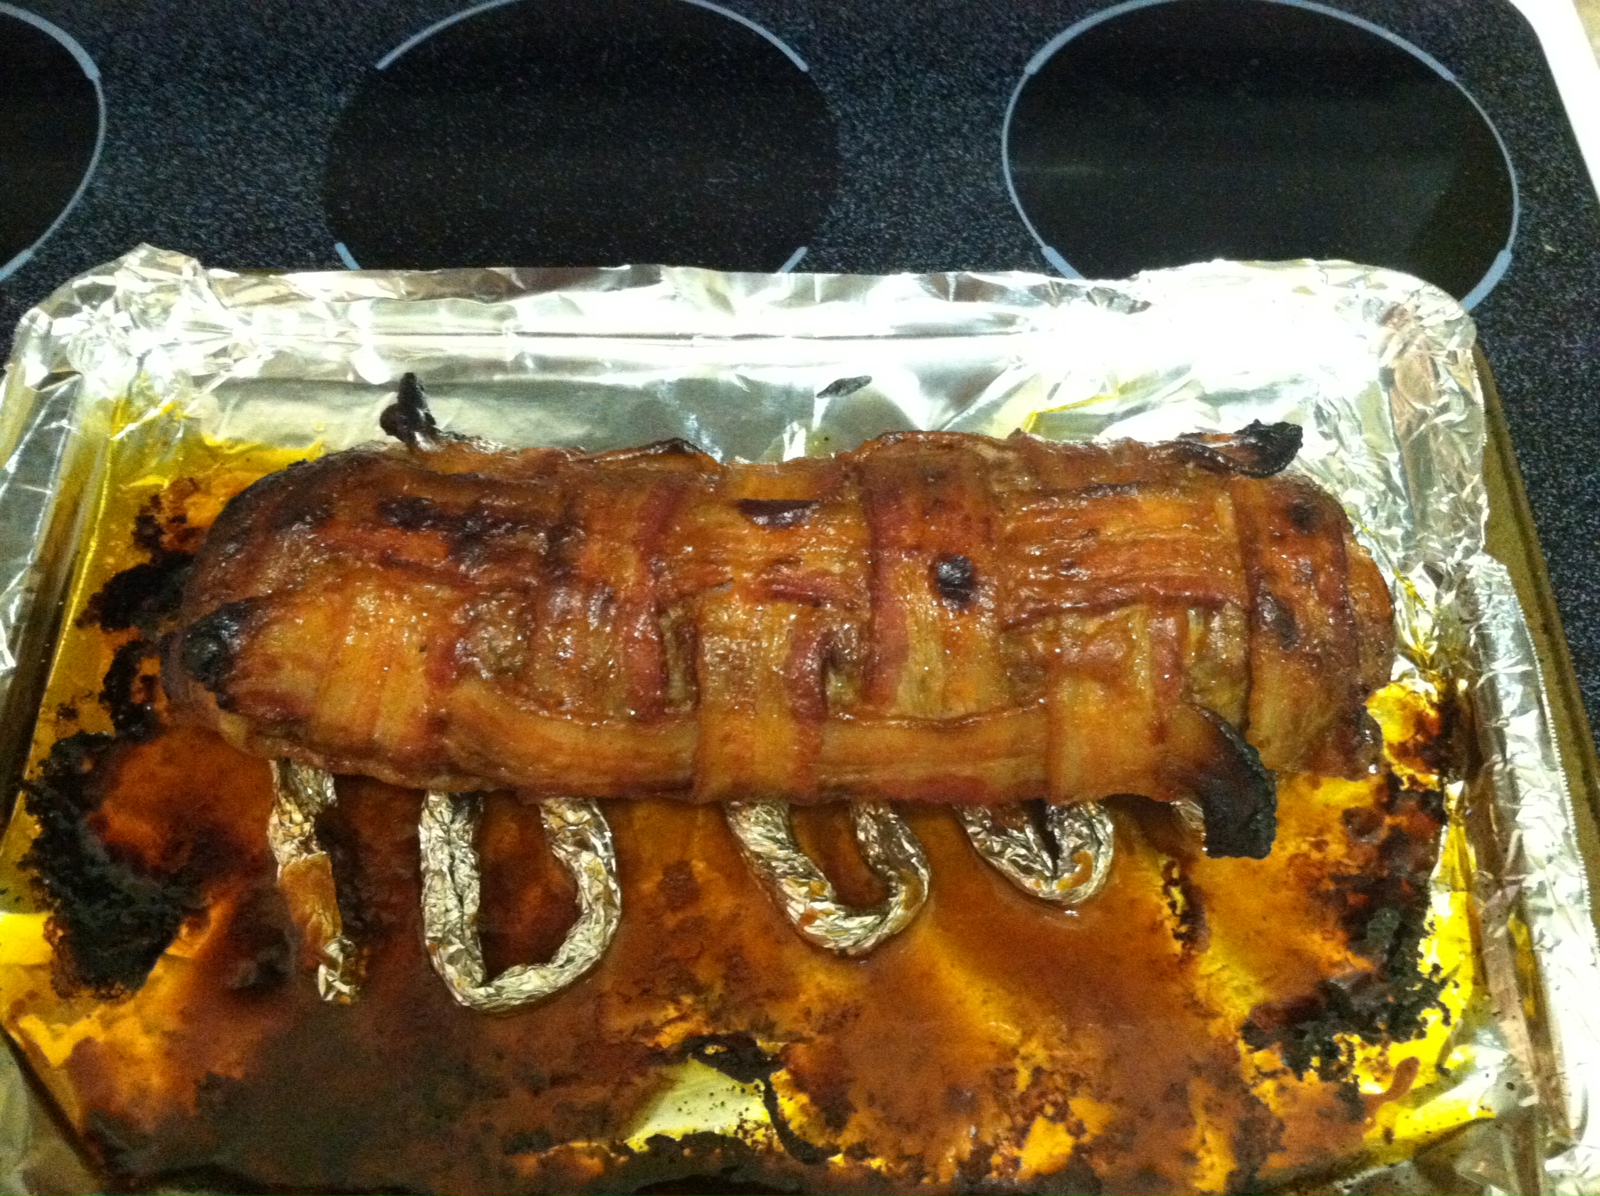
The bacon was meant to make it appealing to my sons. It seemed to work!
Happy St. Patrick’s Day!
It was just another day here: the boys had school, and Dave and I went to work as usual. Last weekend I made a corned beef and cabbage boiled dinner (complete with homemade sourdough bread, for another post) because today I needed the Crock Pot for a potluck luncheon.
We decided to have our traditional corned beef on Sunday, and tonight I made bangers and mash. Which actually works out pretty well for a weeknight dinner.
Today I want to share with you the delicious roasted cabbage recipe. This was something I “threw together”, using the 1/2 head of cabbage left from Sunday’s dinner, along with some saved bacon fat, Himalayan salt, fresh ground pepper, and strips of bacon.
I had a basic idea of how to roast cabbage. Hot oven, wedges of cabbage, drizzled with oil, sprinkle with salt and pepper. 30 minutes and you’re done. You can do something similar with cauliflower and broccoli (or other cole crops). Let me walk you through it.
But I had this jar of bacon fat…which I keep on hand for sautéing greens or stir frying. There’s usually salt in the fat that keeps me from having to add extra salt.
So here’s what I did. First heated my oven to 450F.
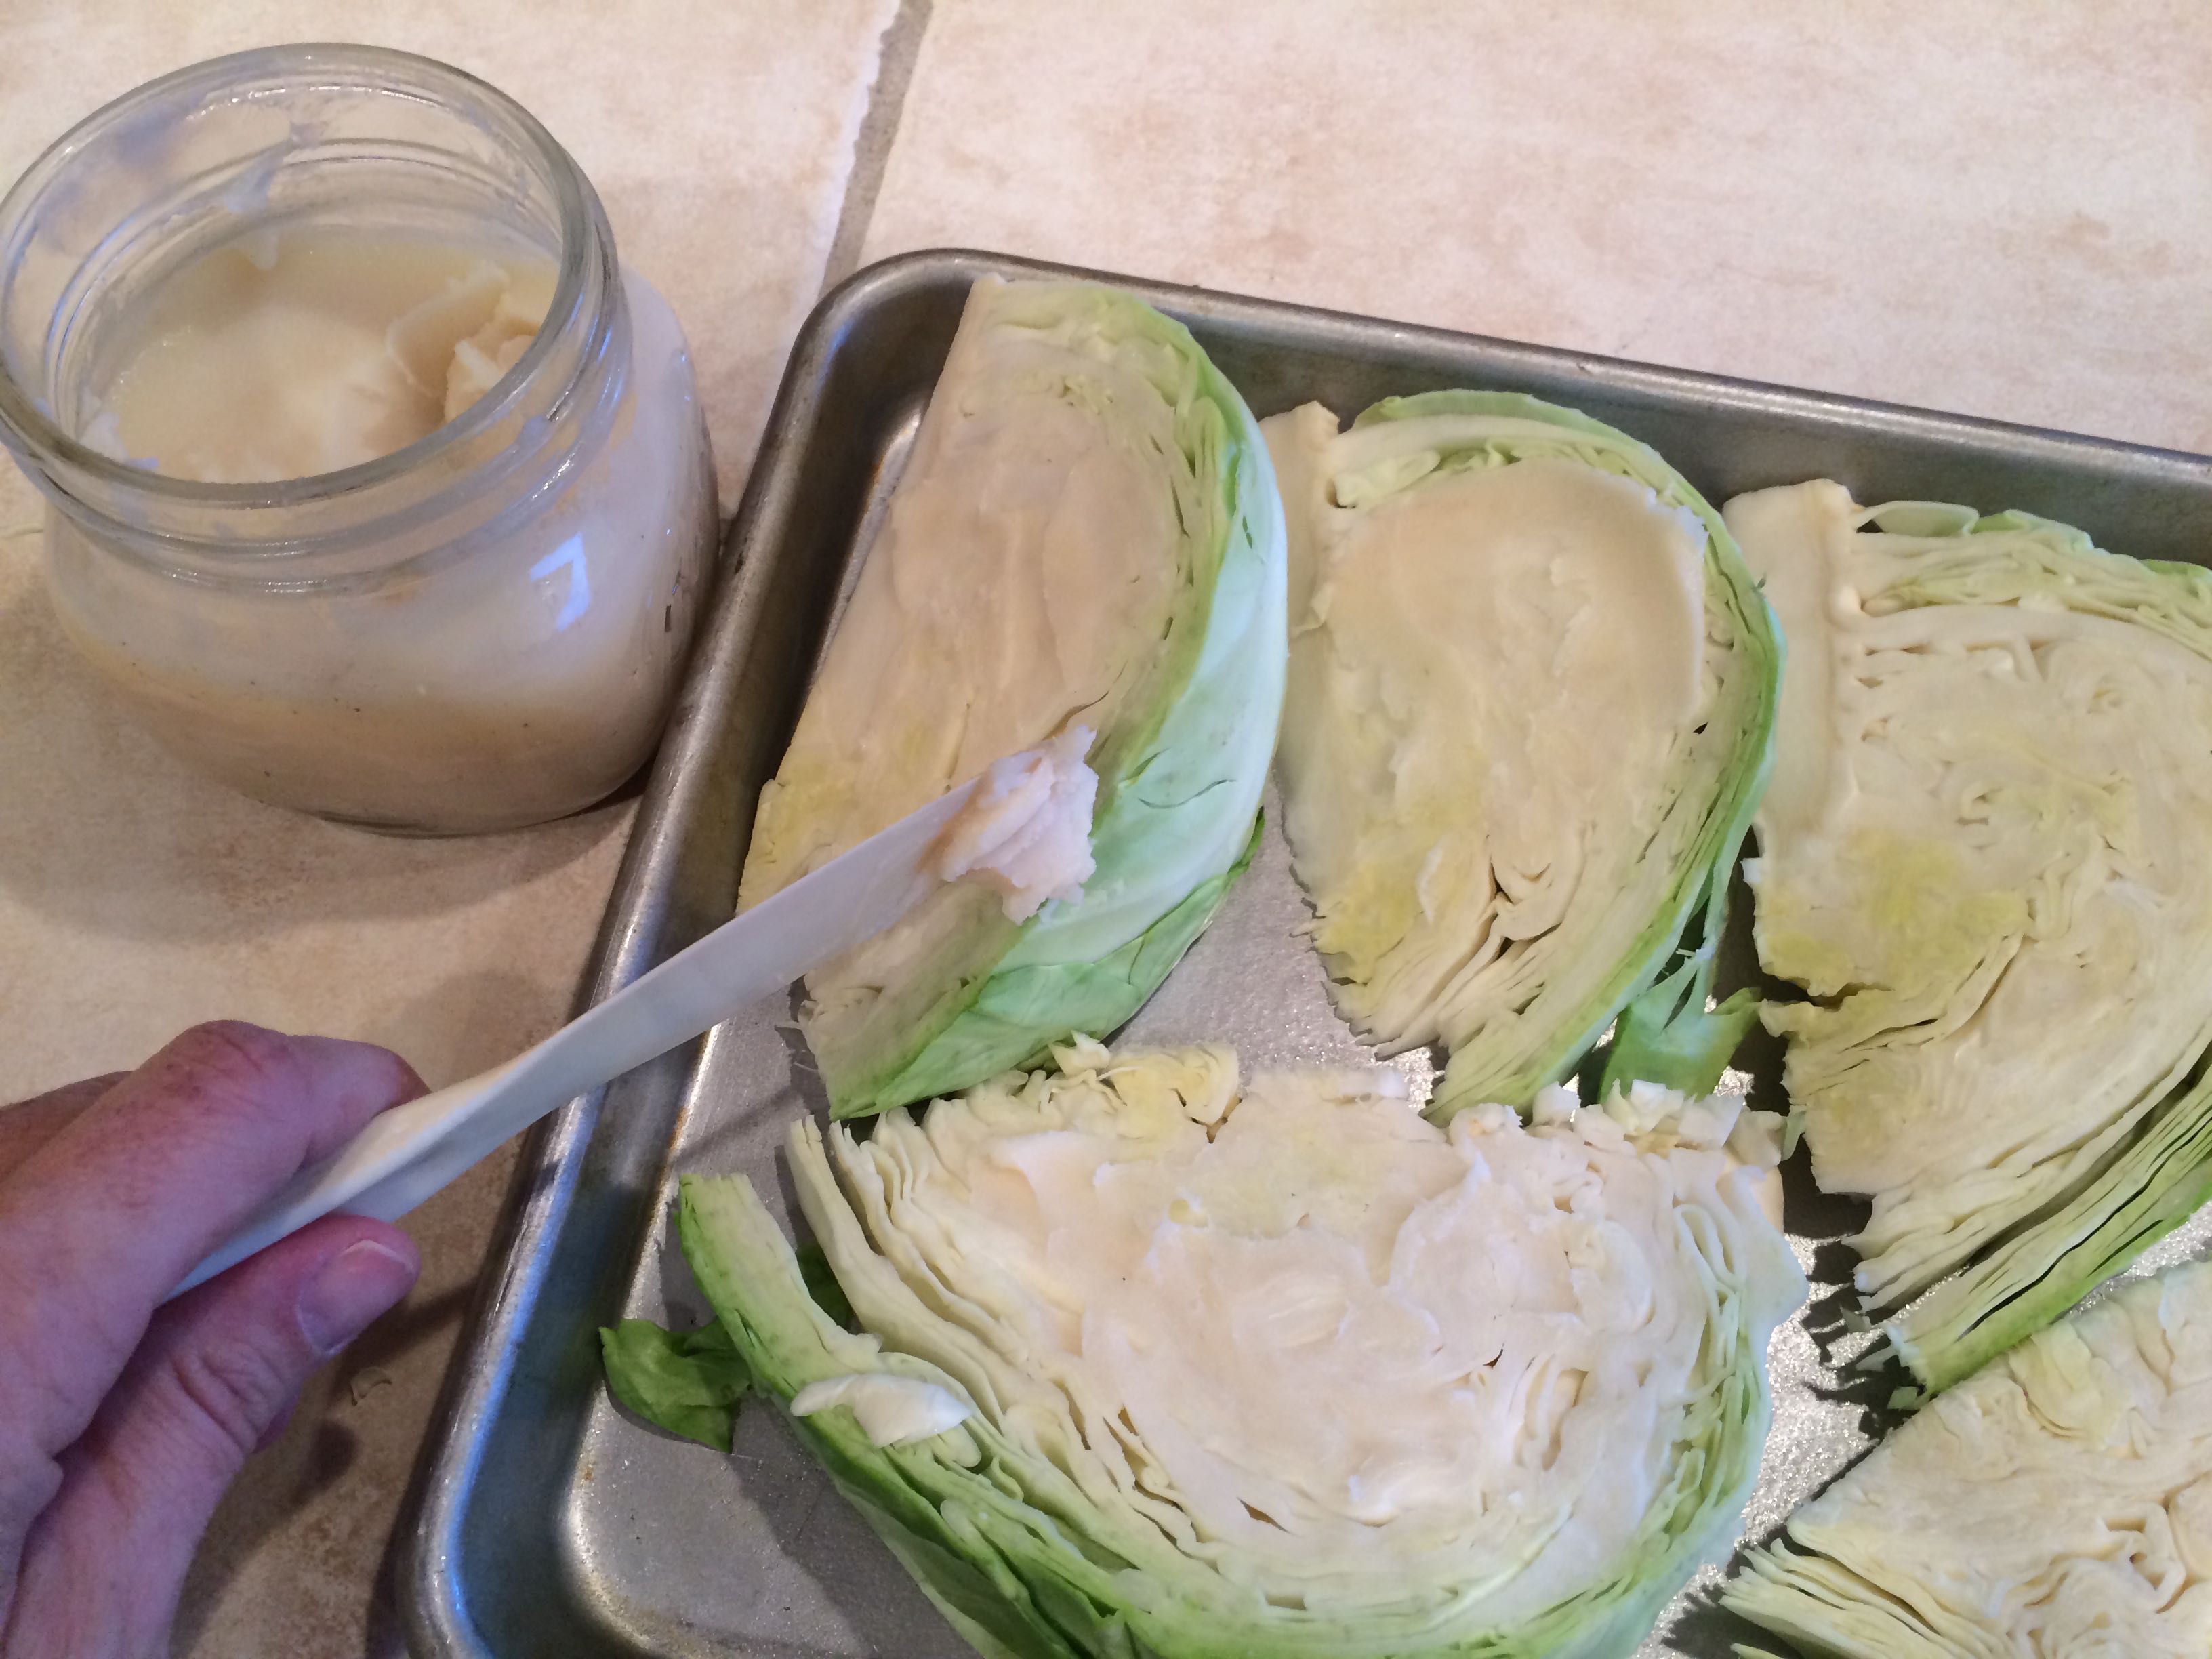
Then I sliced my cabbage into wedges. The half-head of cabbage — leftover from Sunday’s boiled dinner — yielded six somewhat-thin wedges. Let’s call them 30 degree wedges. I broke out my jar of bacon fat and started “buttering” the cabbage with it. Actually, I had to let the jar of fat sit out for about an hour, this gave it a peanut-butter-like consistency.
No formal measurements with the application, but I wanted to be generous so it would trickle down through the wedges while it baked.

Looks like I’m buttering the slices of cabbage, doesn’t it? But that’s bacon fat I’m smearing across it…
Next, I salted and peppered the cabbage. I didn’t need a lot of salt, but I was quite generous with the pepper.
Oops, I didn’t take any pictures of the salting/peppering operation.
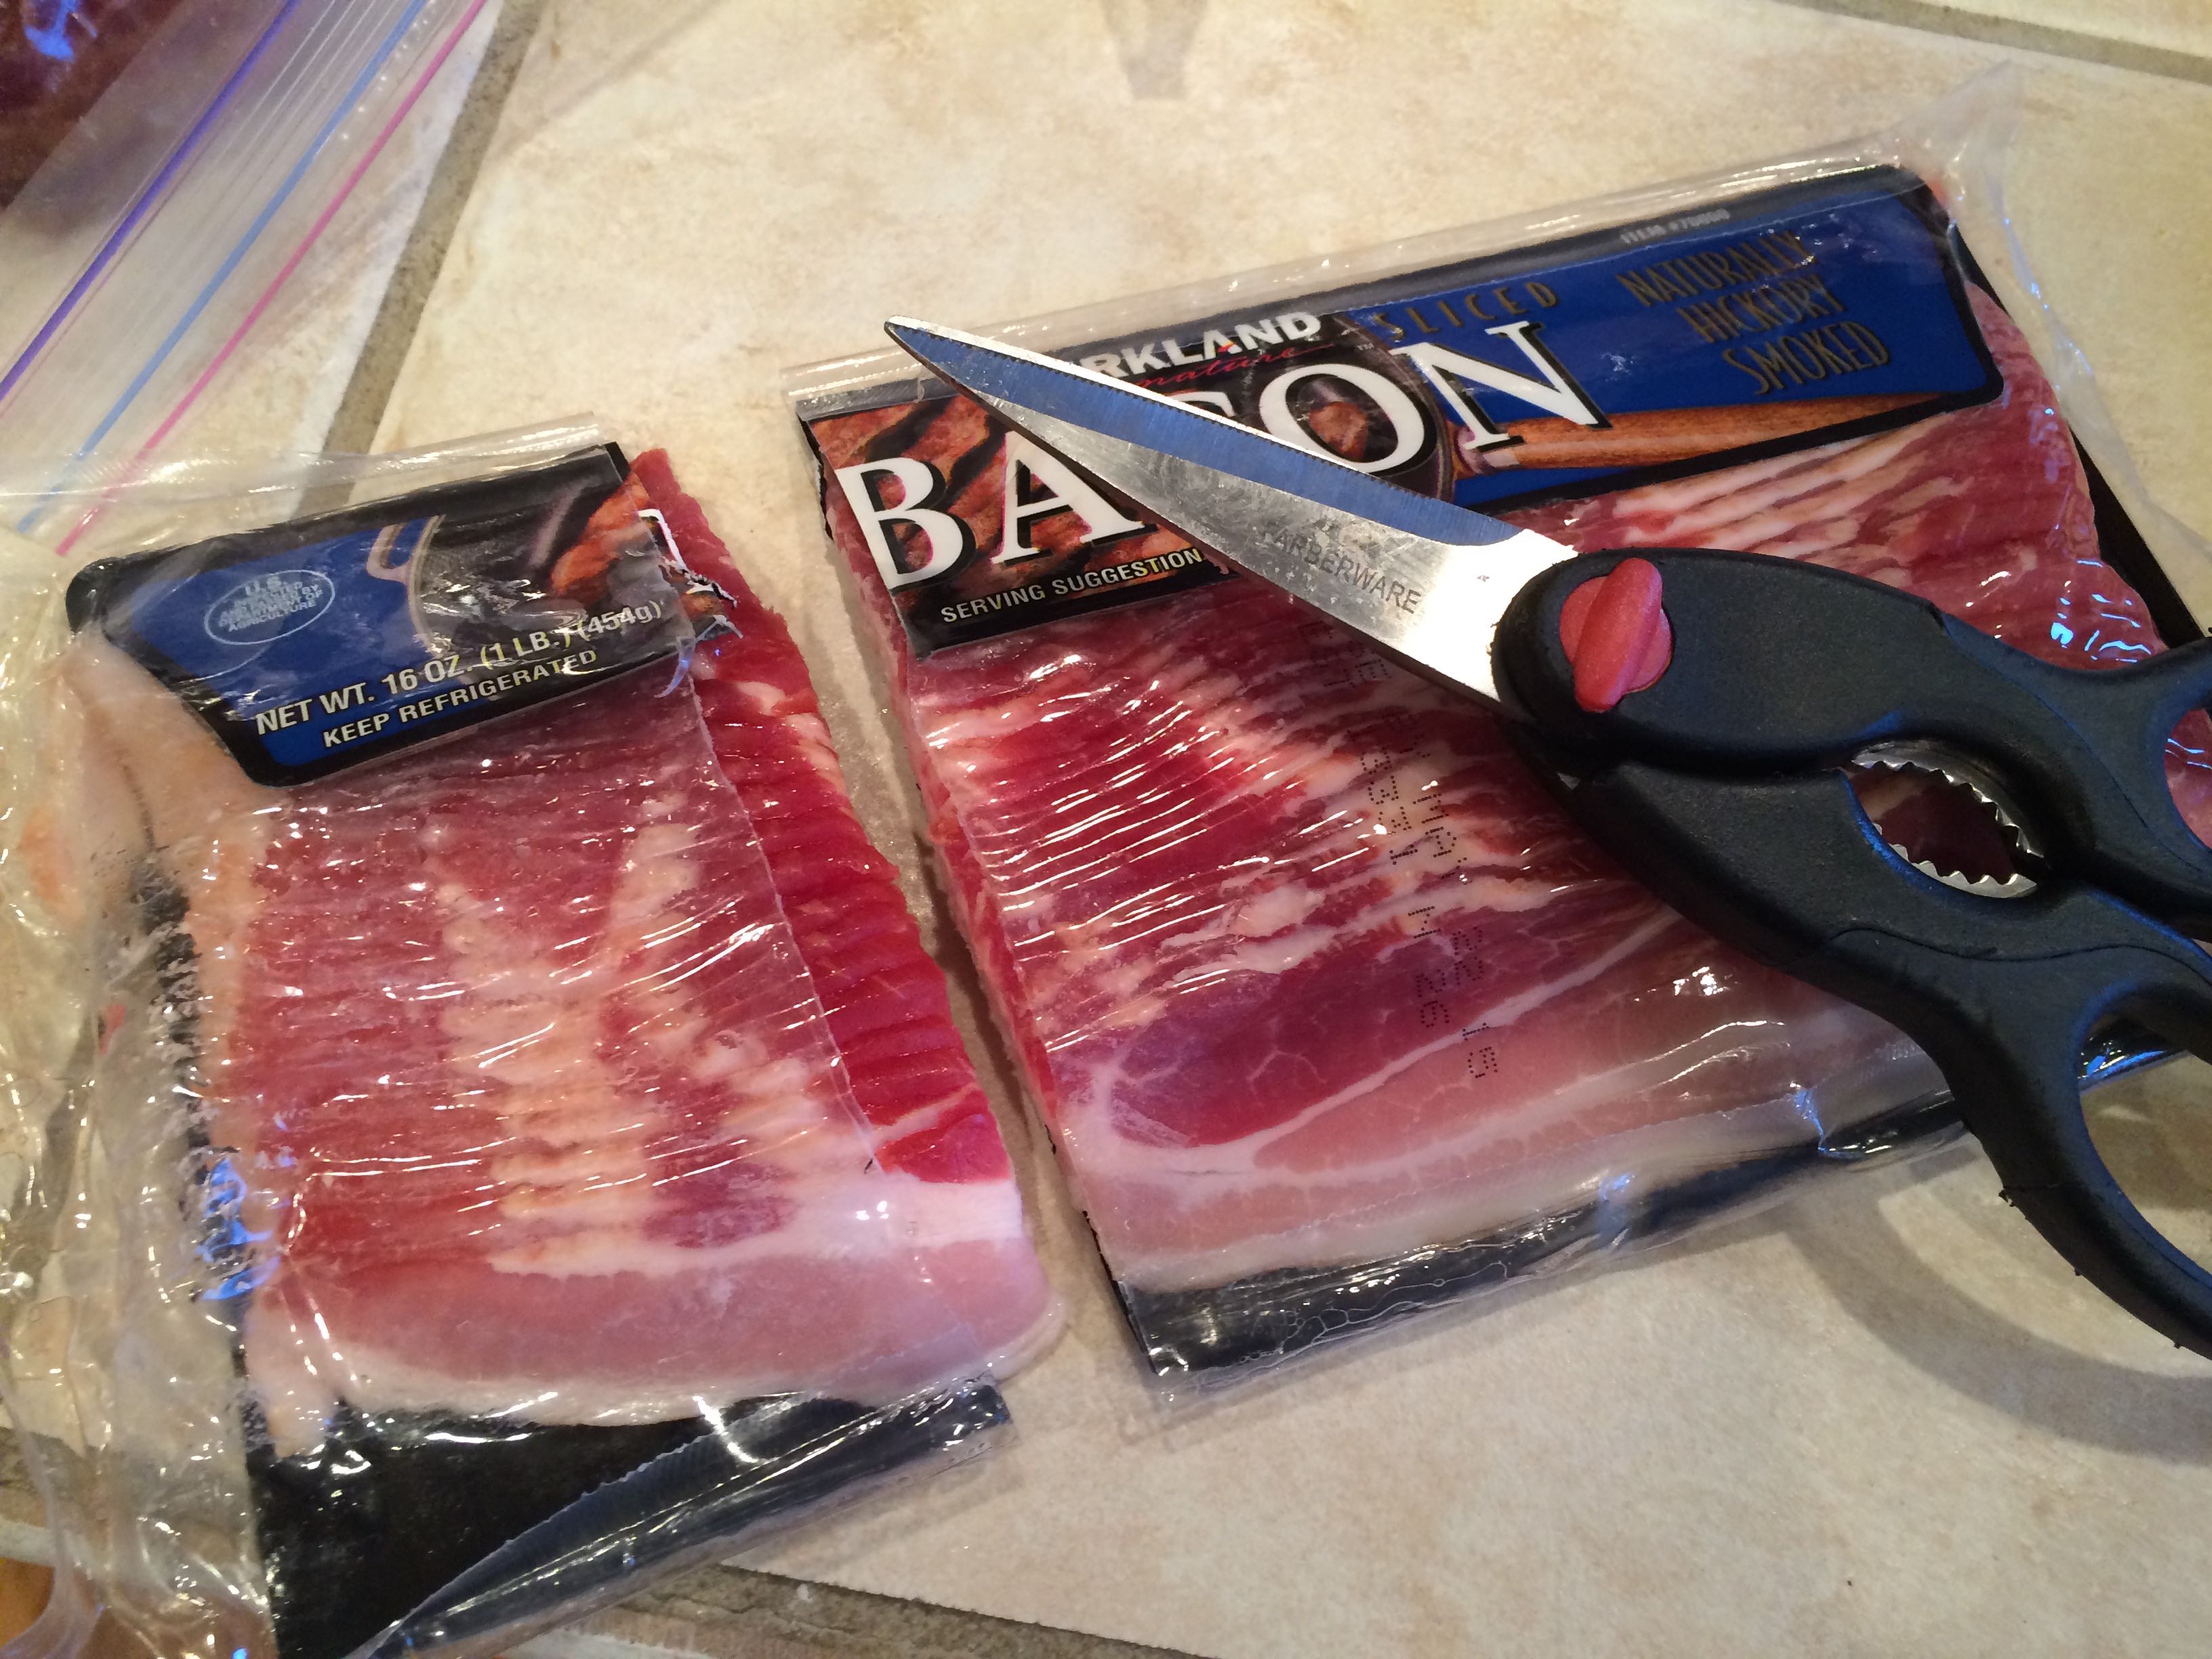
I then broke out a package of bacon and simply cut off 2-3″ of the package:

Just take some kitchen shears and lob off some bacon!
I lay that bacon on top of the cabbage wedges.

Bacon-ey…I mean…cabbage-y goodness!
And into the oven it goes! 450F for 30 minutes.
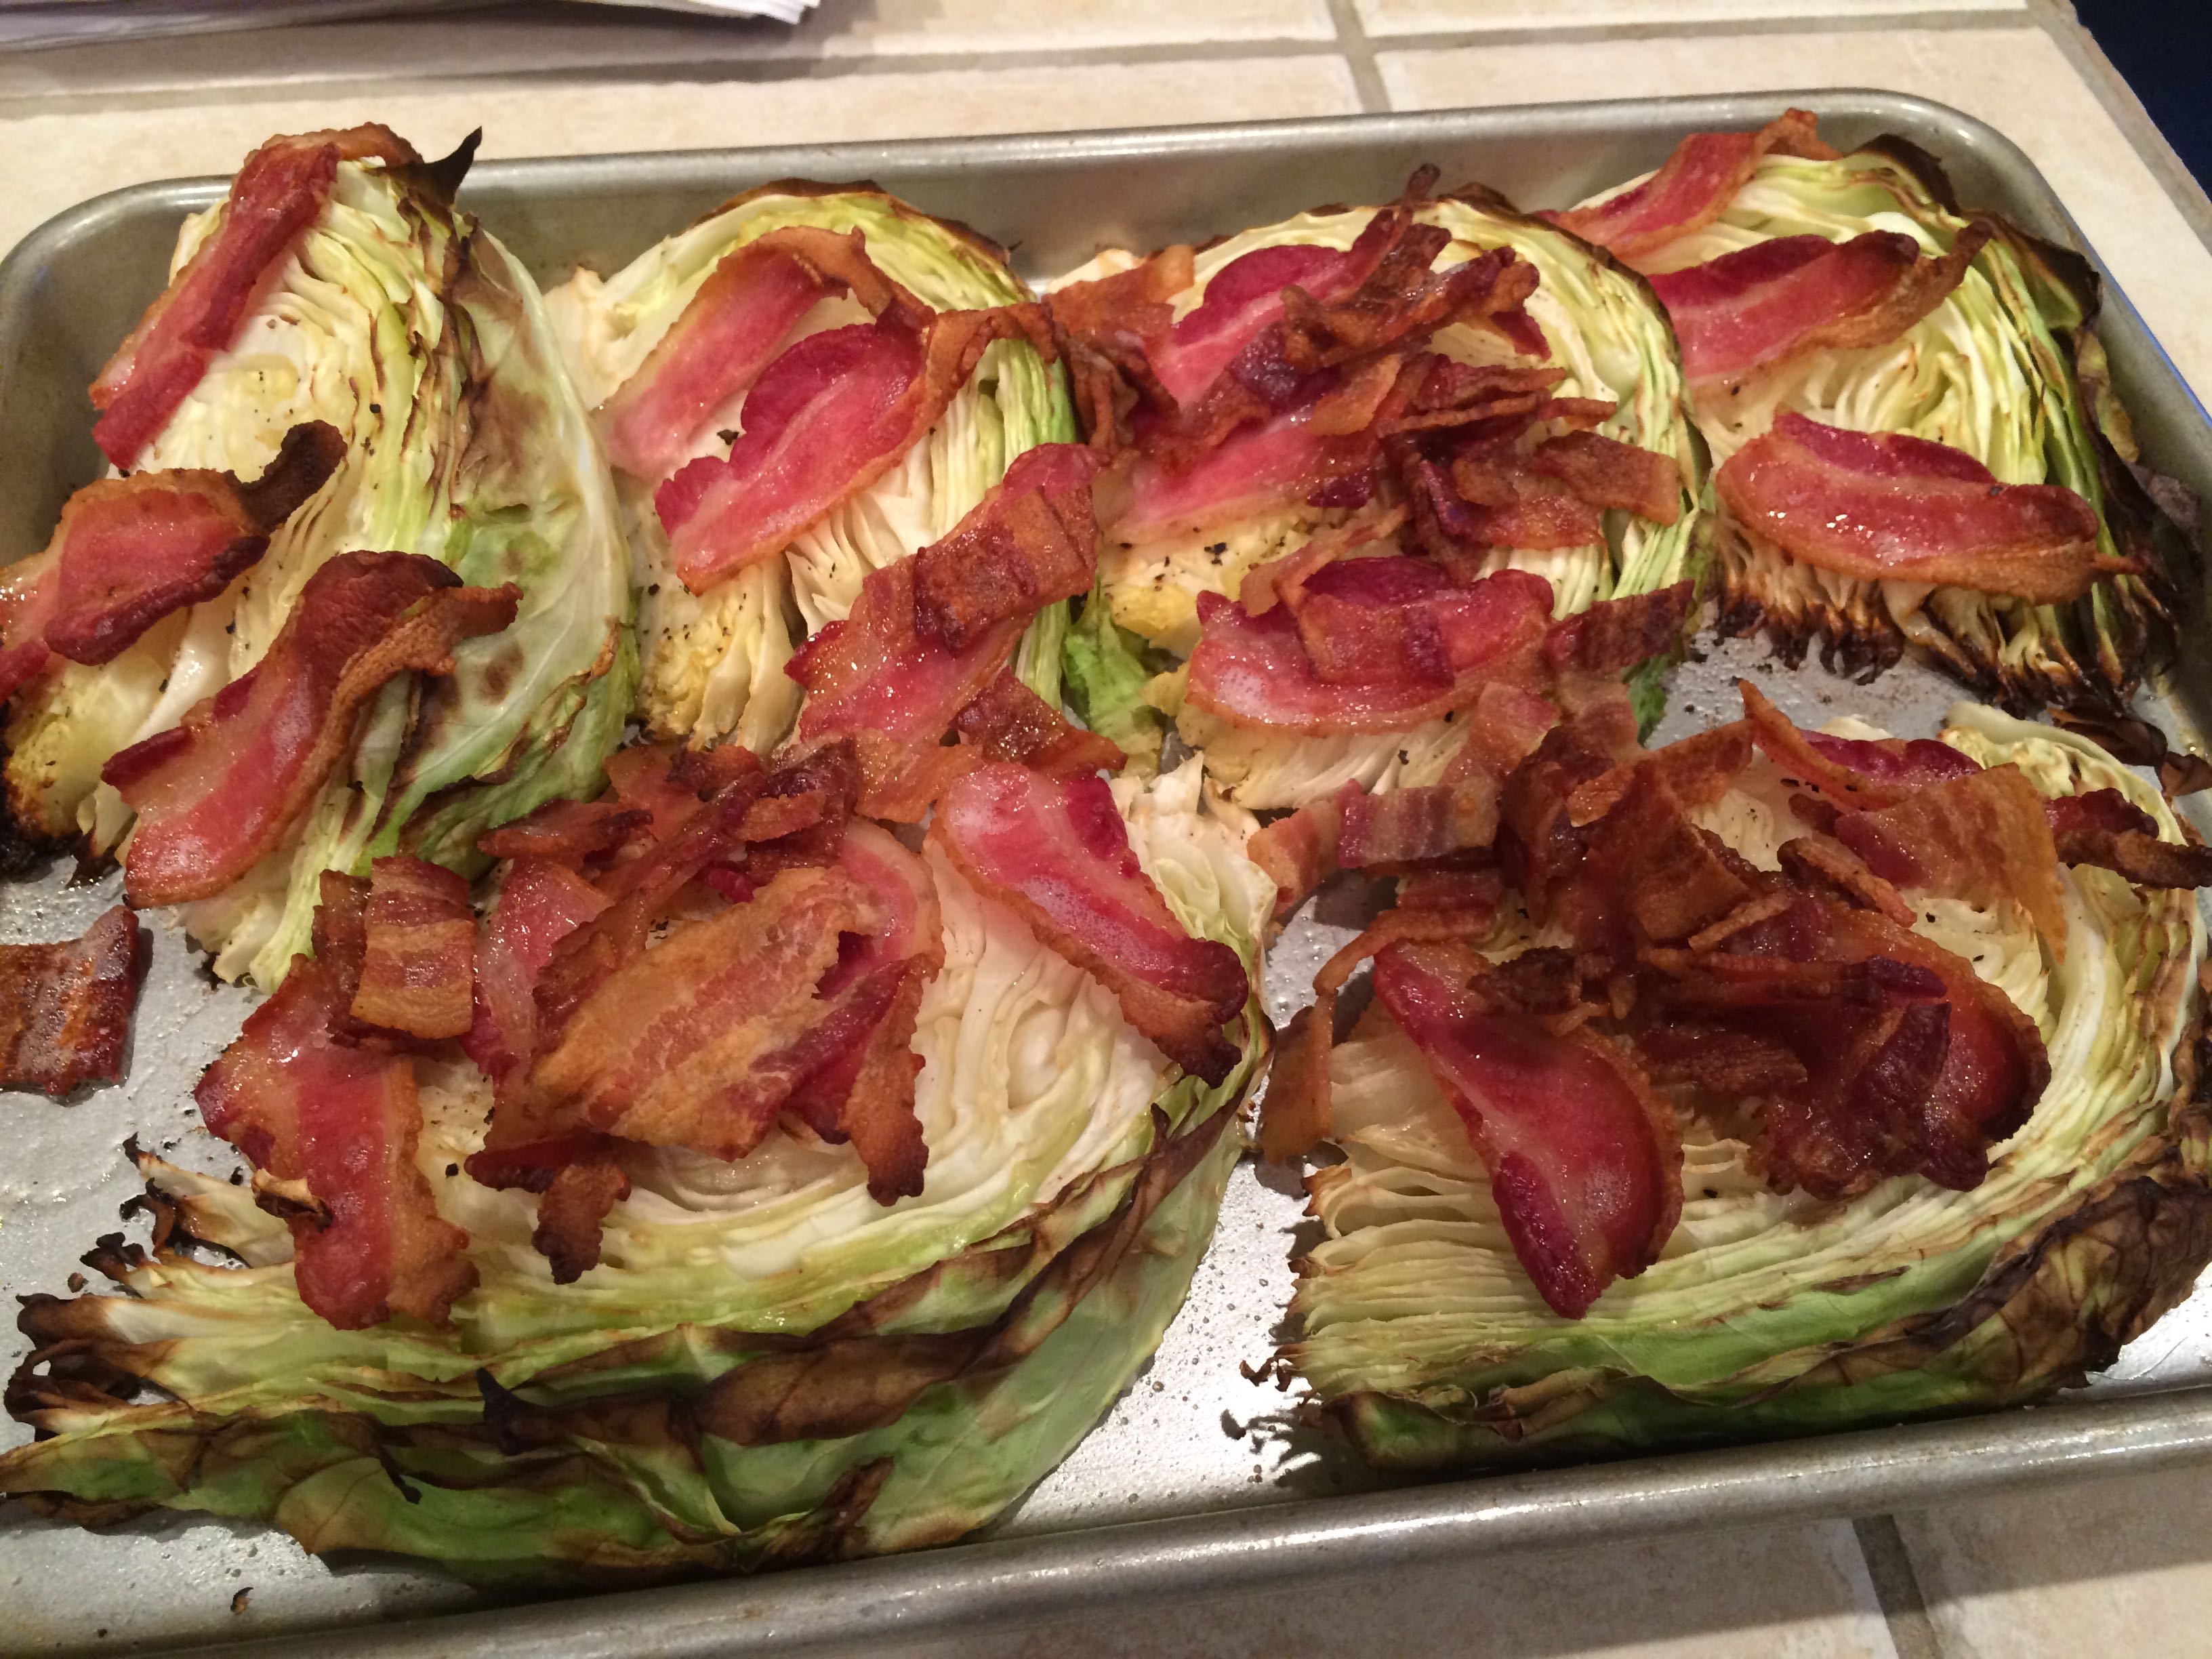
And it comes out looking like this:
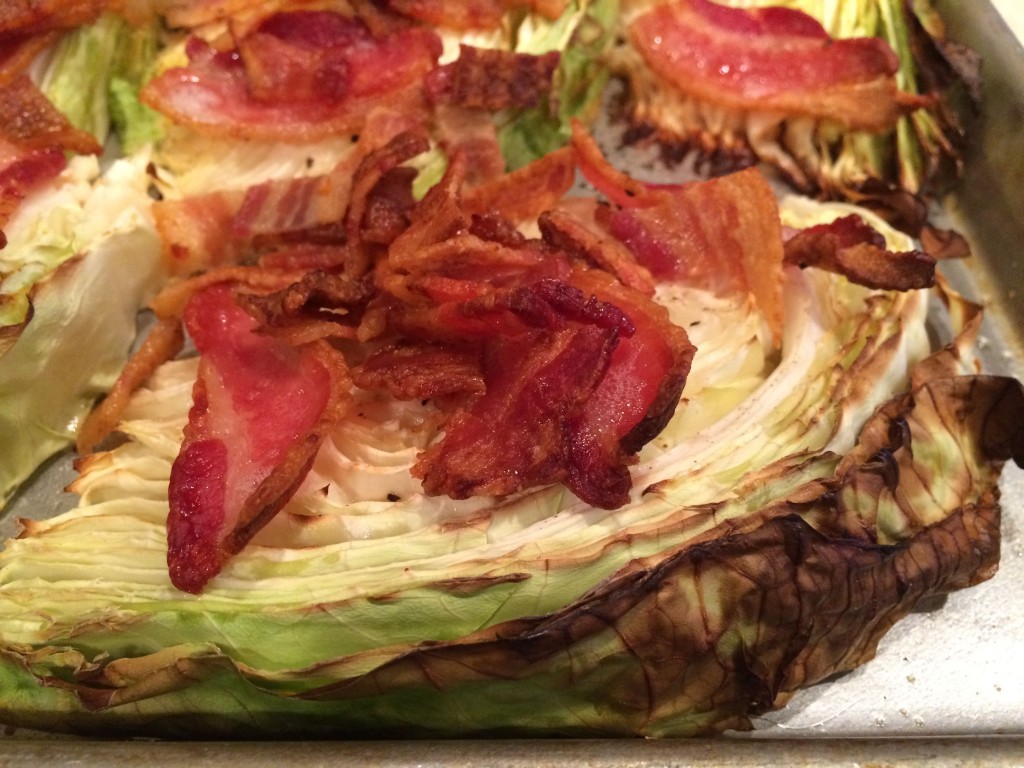
Okay, maybe this turned more into a bacon dish?
Nonetheless, when served up with the bangers and mash, it was a big hit! Even with both sons, which is a miracle in our house! I think I could have used a little more salt, believe it or not. The bacon fat apparently wasn’t quite as salty as I had assumed it would be.

It looks like the cabbage dish stole the dinner show! Do you like my Shamrock-colored Fiestaware plate? I have two each of several colors, and this is one of the colors. Perfect for today.
Here’s the recipe for you:
Roasted Cabbage with Bacon (Roasted Bacon with Cabbage?)
– Head of green cabbage
– Bacon grease, preferably at room temperature
– Sea salt & fresh ground pepper to taste
– 4 strips of bacon, cut into 3″ strips
Preheat oven to 450F. Slice cabbage into wedges. For a full head of cabbage, try cutting it into 12 wedges. Lay wedges on a greased baking sheet.
Using a butter knife, spread a generous layer of bacon fat across each wedge. I used about 1 tablespoon of fat per wedge.
Salt and pepper the wedges, then lay 2-3 strips of bacon across each wedge.
Bake at 450F for 30 minutes, or until the edges begin to turn golden brown.
Give it a try and let me know what you think!


Recent Comments