This was an idea that was making the rounds on Pinterest just before Easter. Dave had a couple of VERY old ties in the closet so I thought it’d be fun. In this case, you want to start with RAW eggs, they will boil with the silk for 20 minutes and will cook then.
Since I didn’t know about the need for RAW eggs, I only had 6 raw eggs left in the house by the time I thought to do this. And one of the eggs had too many cracks so I didn’t use it.
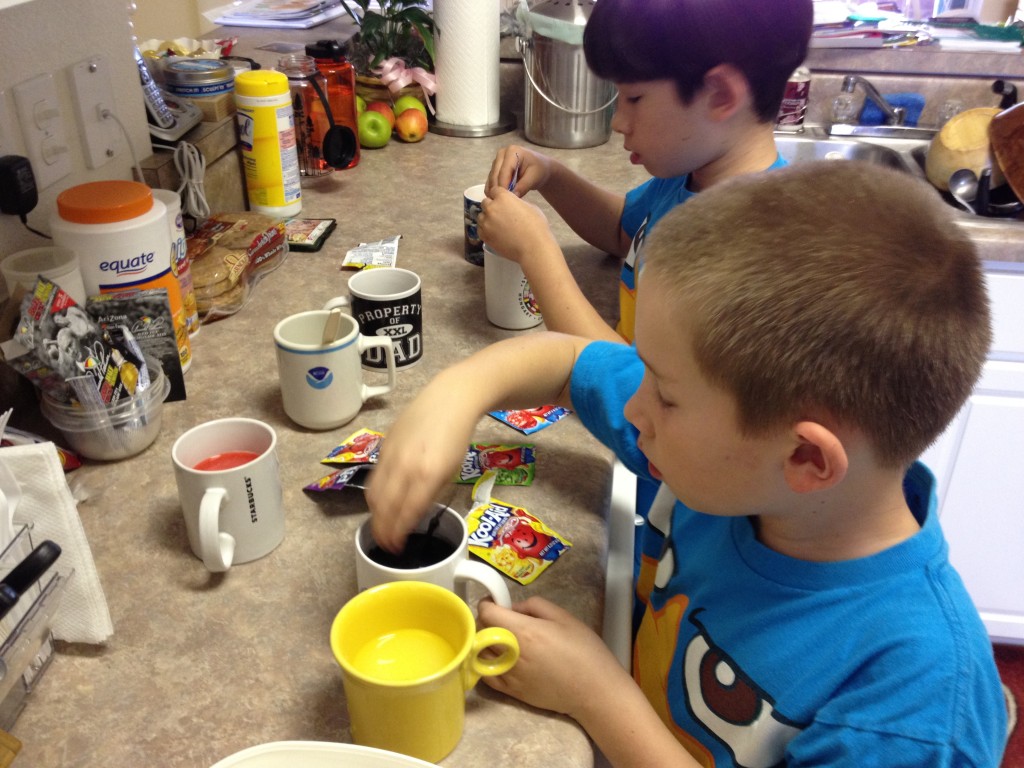
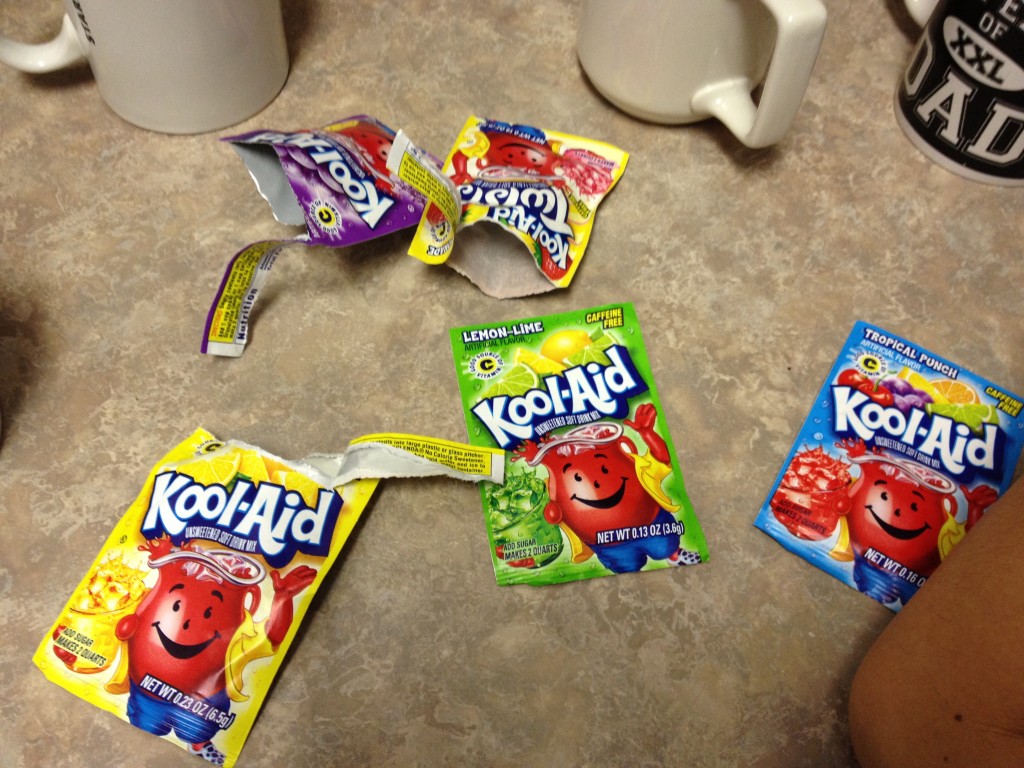
I did this project immediately after our Kool Aid eggs on the Saturday afternoon before Easter, so the kids were done dealing with eggs and I was left to try this out on my own. This is a more labor intensive project, although I could think of much much fancier Easter egg art that would take even more work!
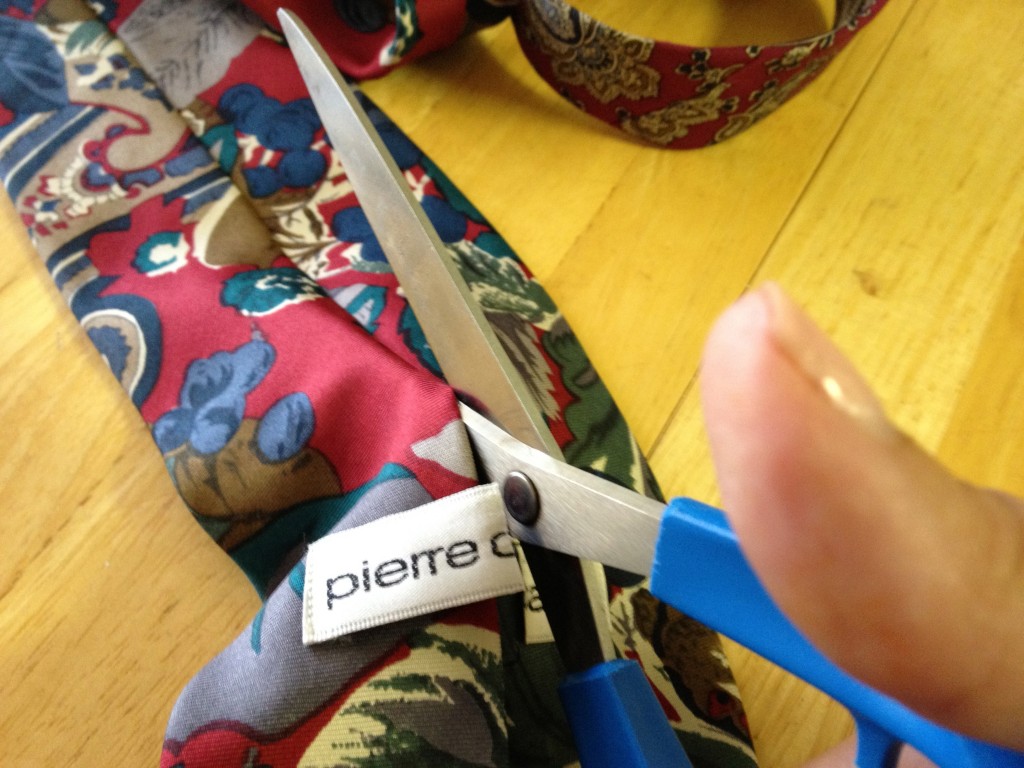
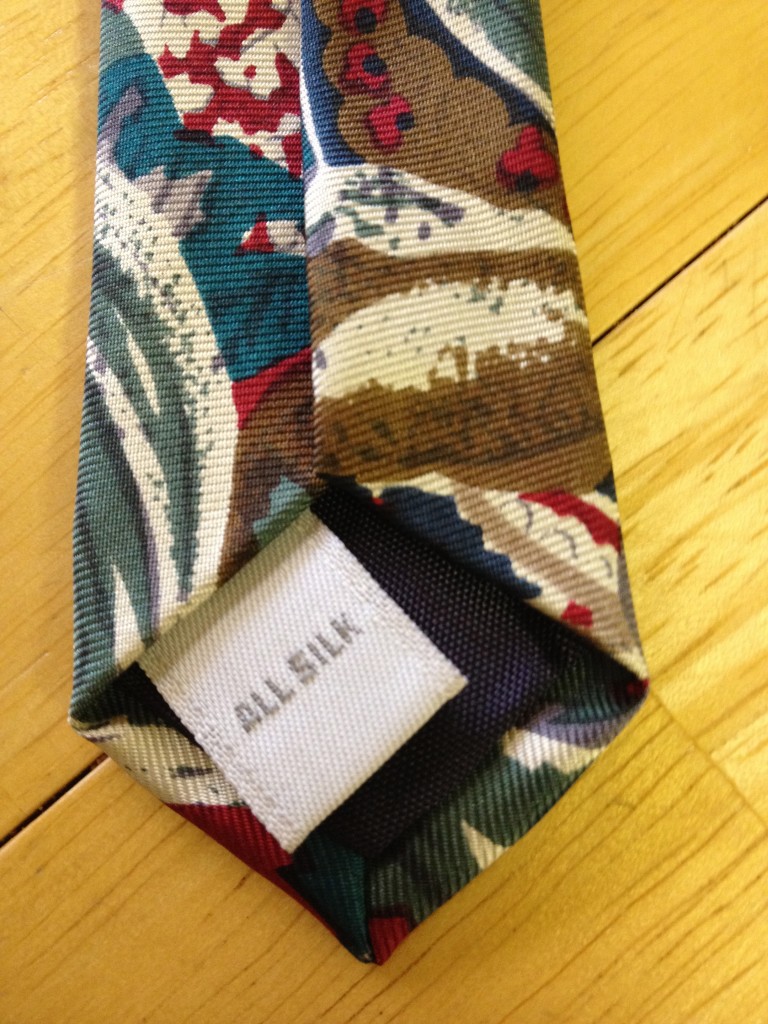
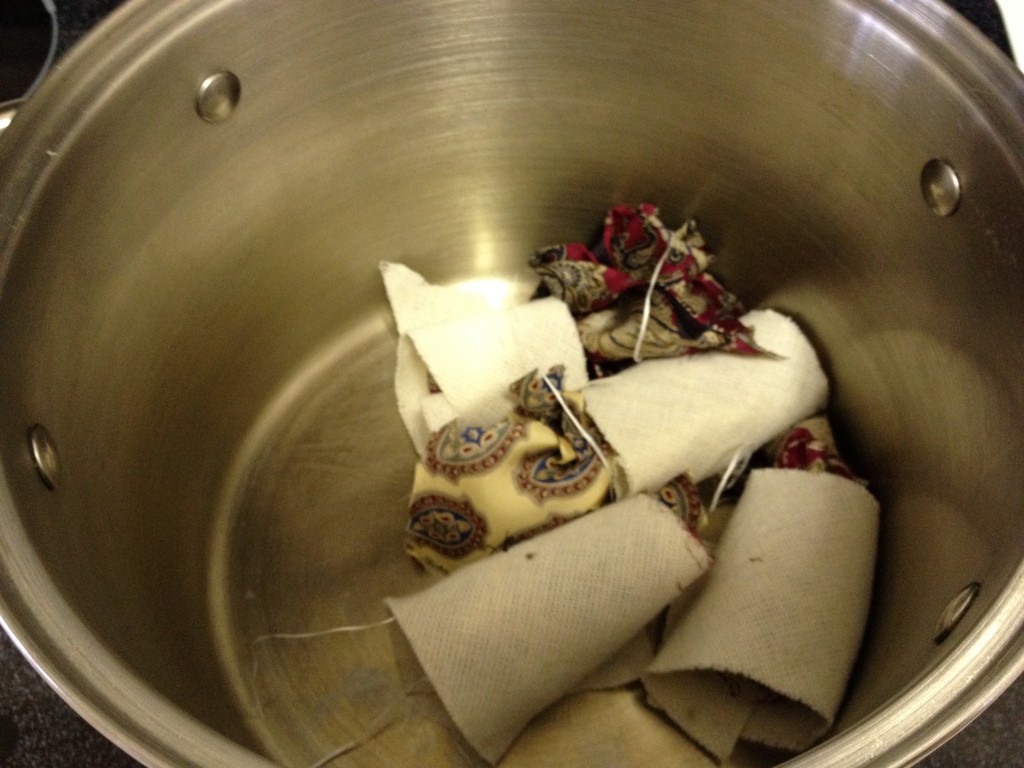
Break out the scissors! You want to cut the tie up the back seam to separate the silk from the backing.
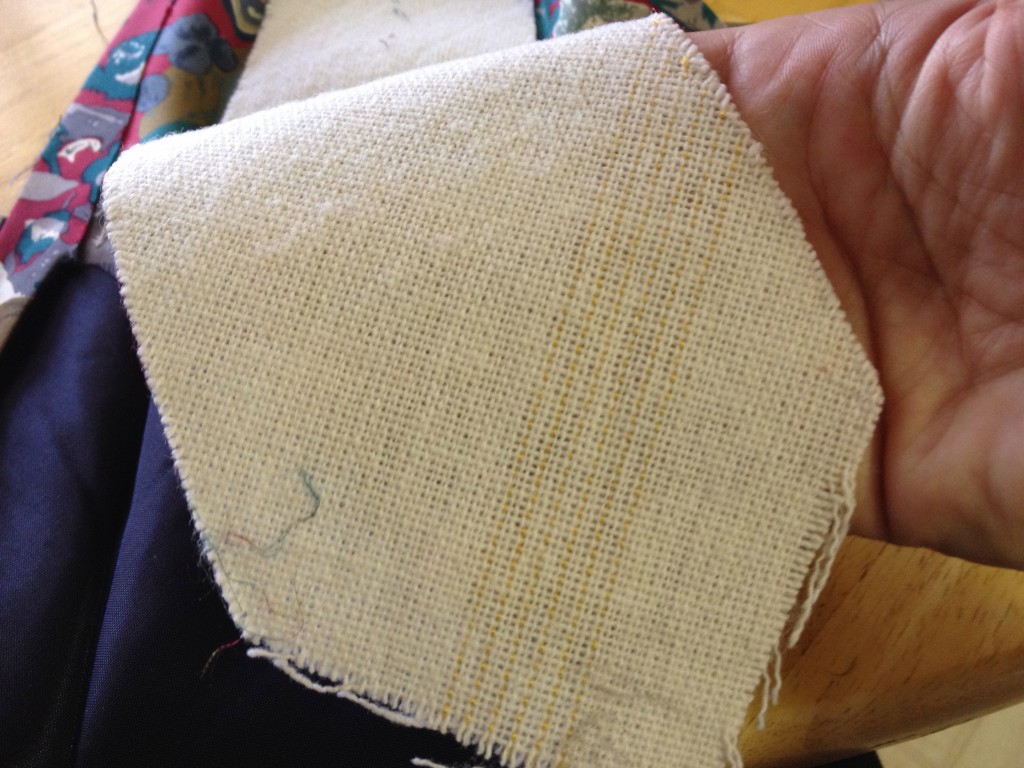
The steps I had for this project suggested cutting up a white pillowcase to cover each of the eggs, but I read another blog that suggested just saving that pillowcase and use the muslin backing instead.
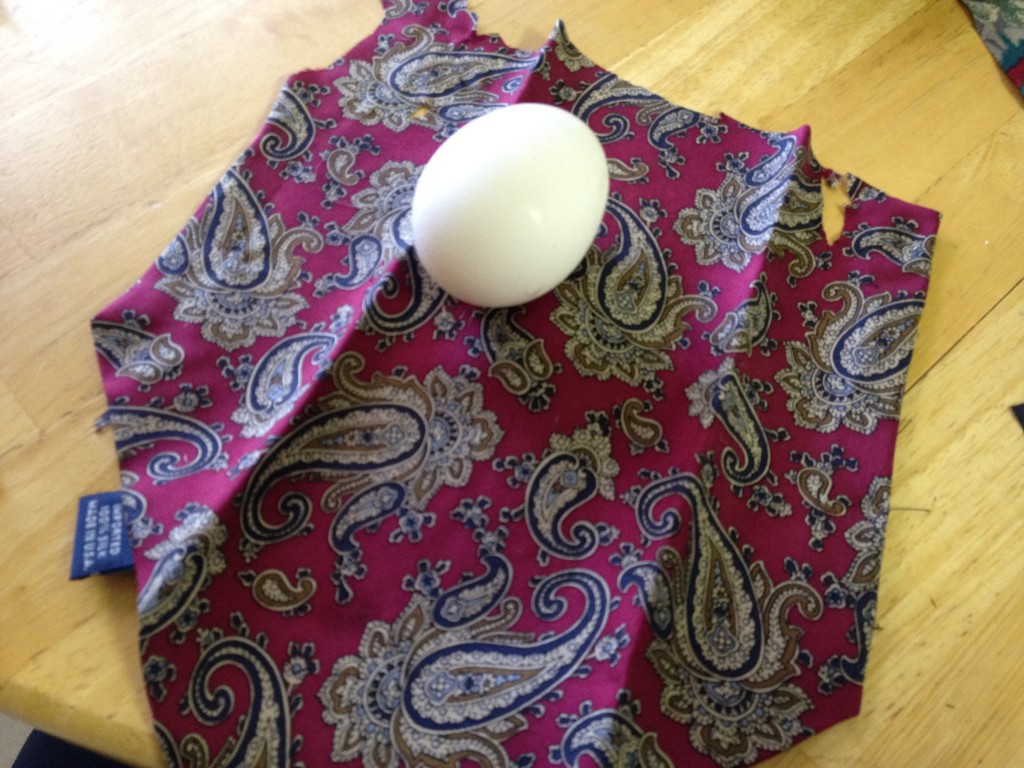
Open up the tie, cut off a chunk and make sure it's big enough to wrap around the egg...like a pouch.
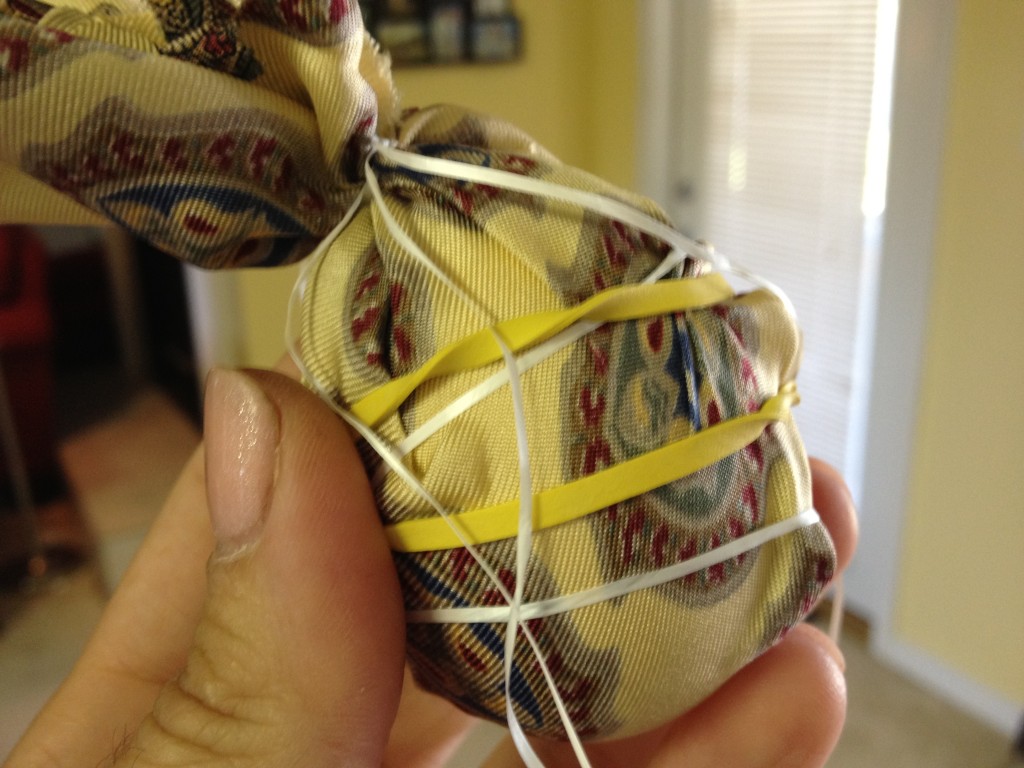
I used dental floss to tie off the top, and used rubber bands to help keep the silk in contact with the egg as much as possible.
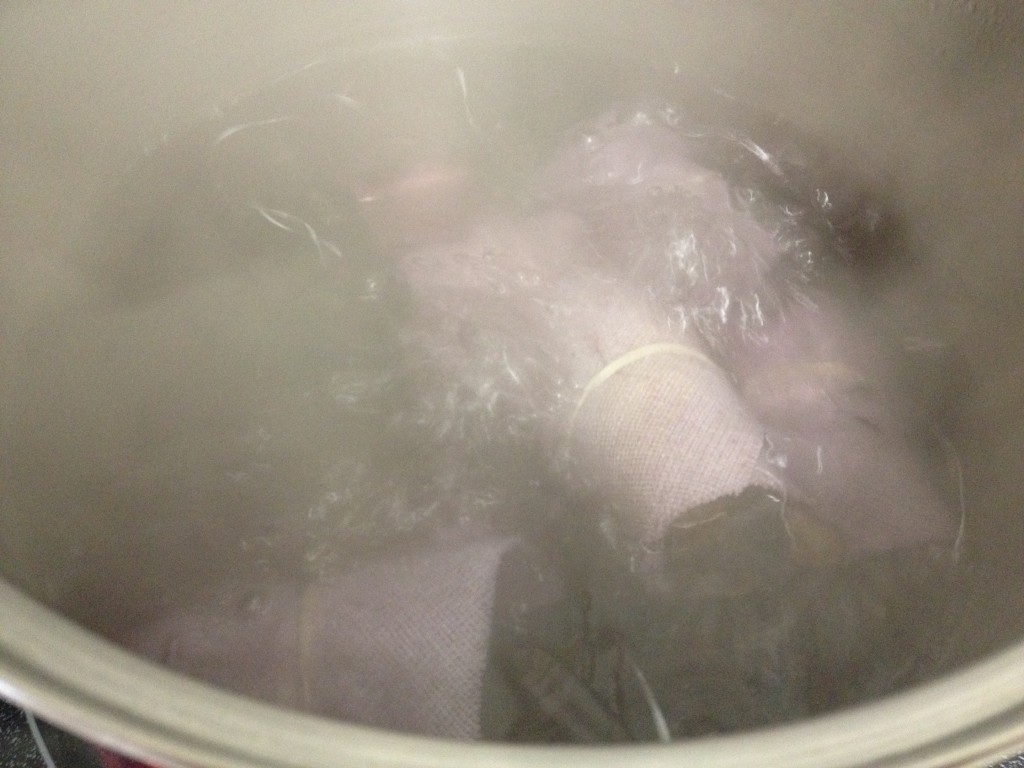
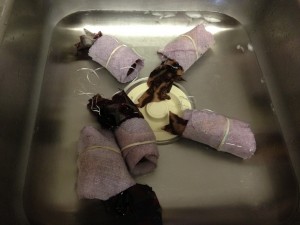
Cover with water at least an inch higher then the eggs, bring to a boil -- not simmer -- BOIL for 20 minutes. When finished, move the eggs to an ice bath to stop the cooking and cool them enough to unwrap.
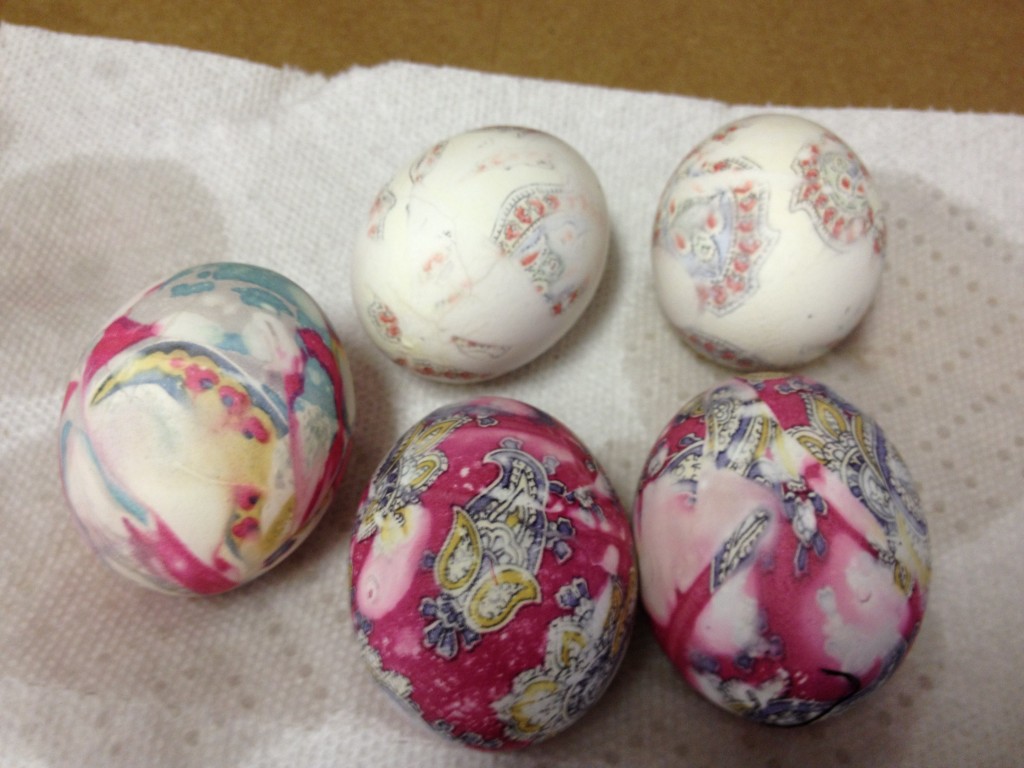
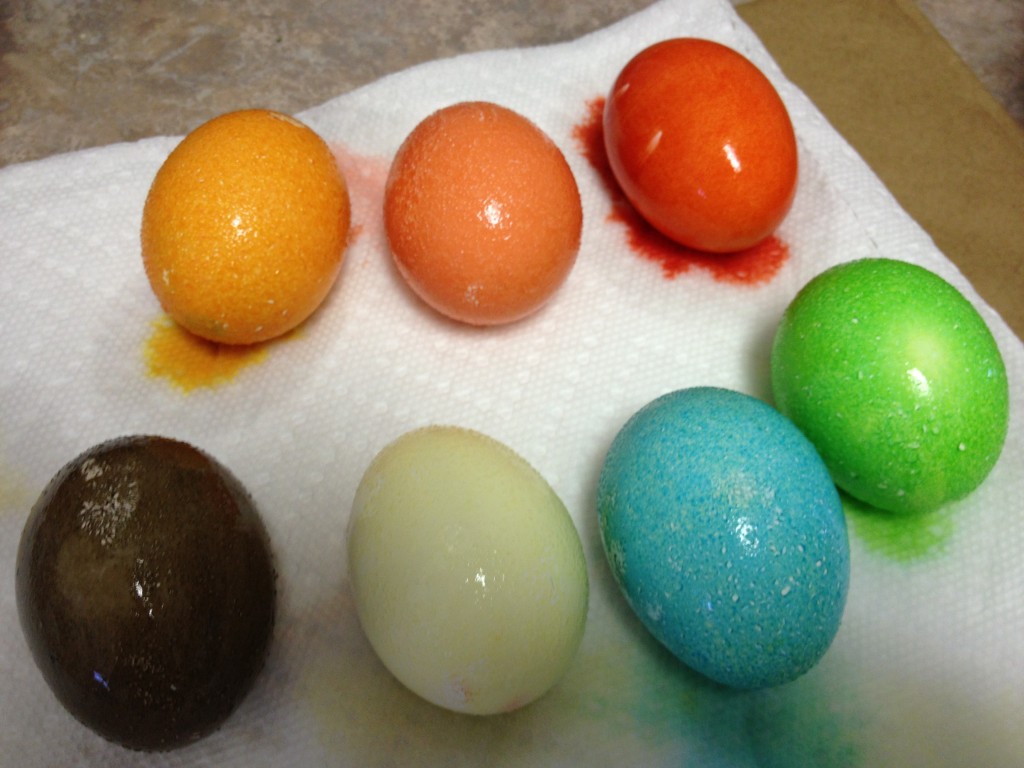
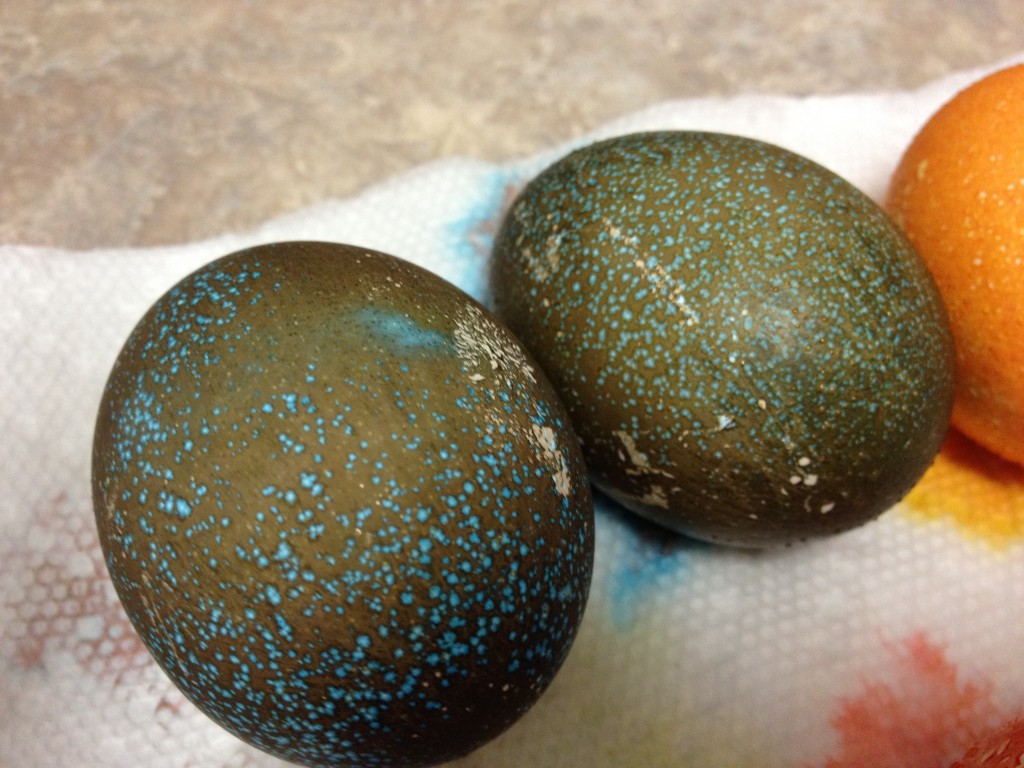
My finished eggs. This isn't as great as they could have been...I learned a lot from this experience. For starters, deeply-colored ties work best. Recommend you raid the neckties at your local thrift shop for the best choices and cheapest options. Secondly, I need to work harder at getting the silk to touch the egg surface better.



Recent Comments