We are done!
Today the contractor finished grouting the backsplash tile, and with the exception of some very tiny touch ups and sealing the grout, our kitchen is officially REMODELED!
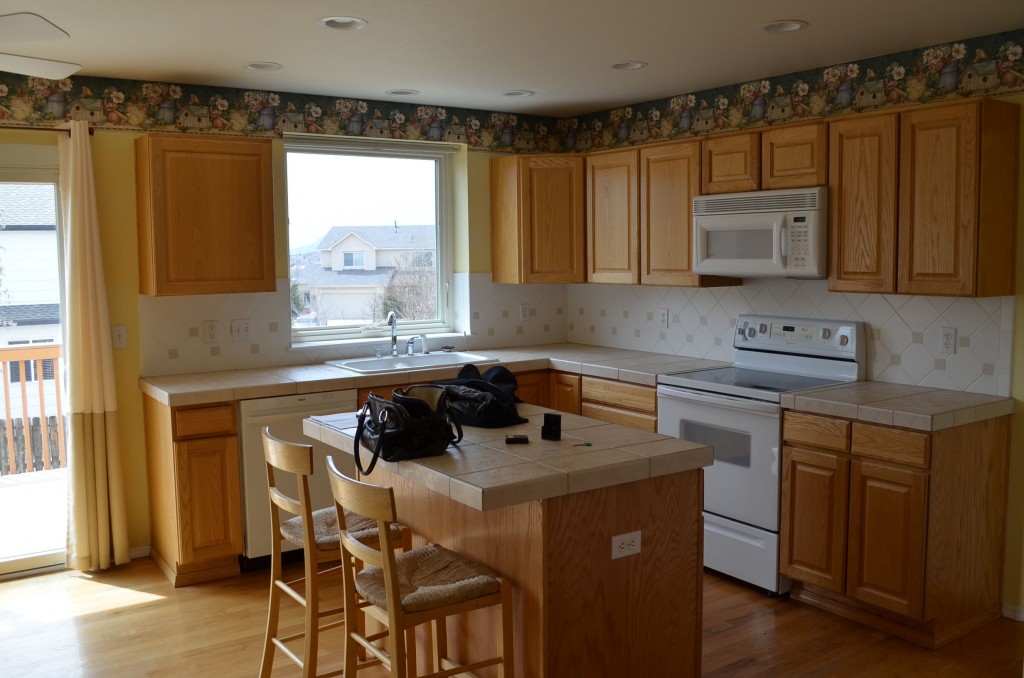
Before:
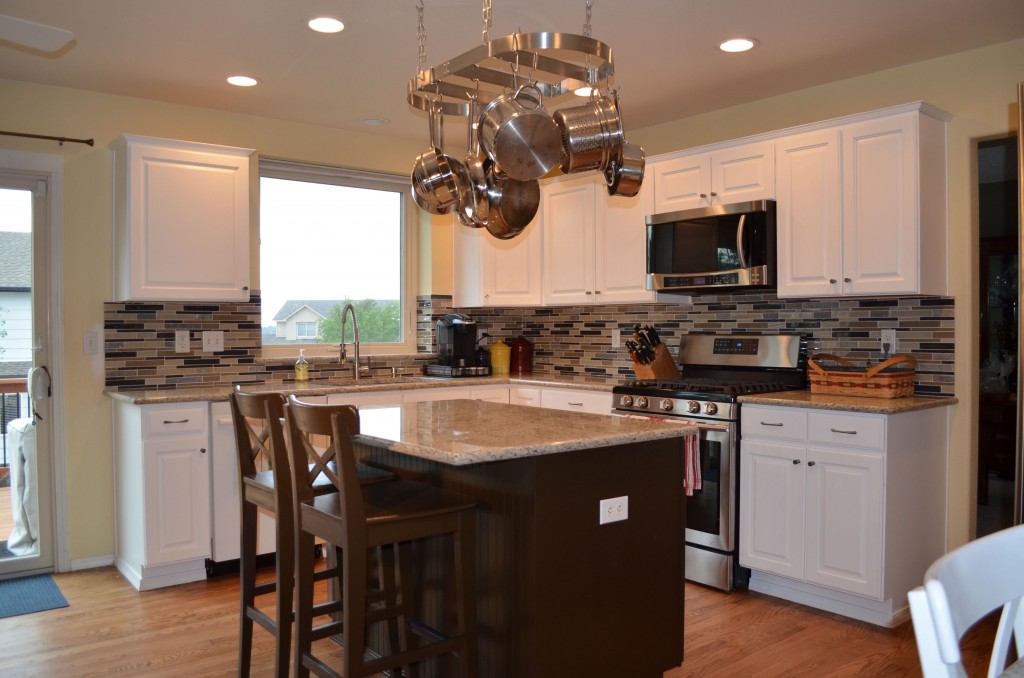
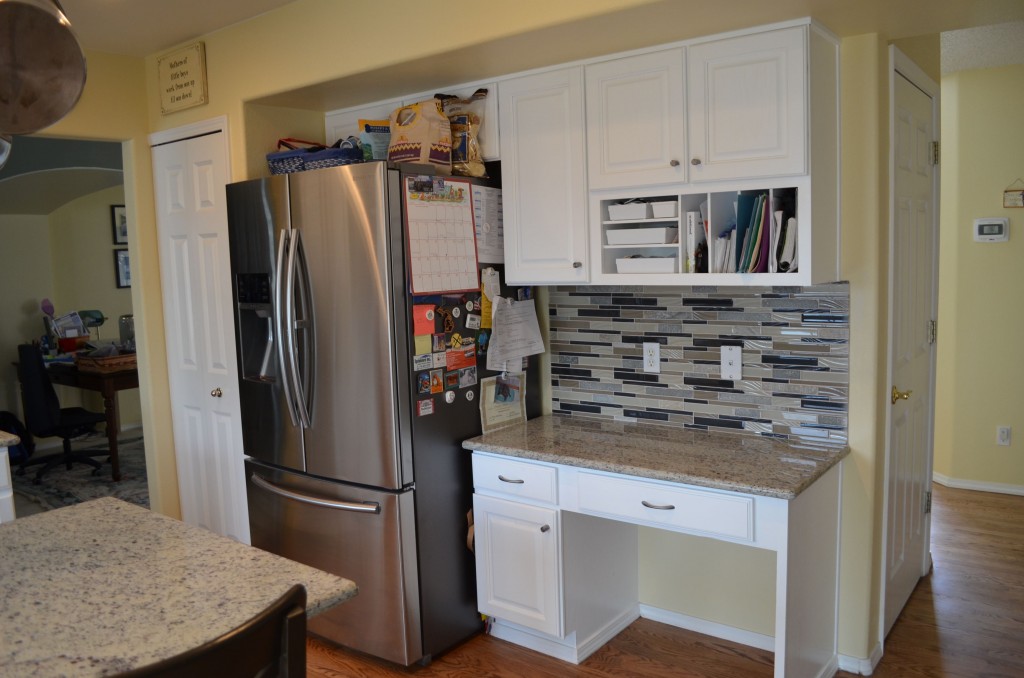
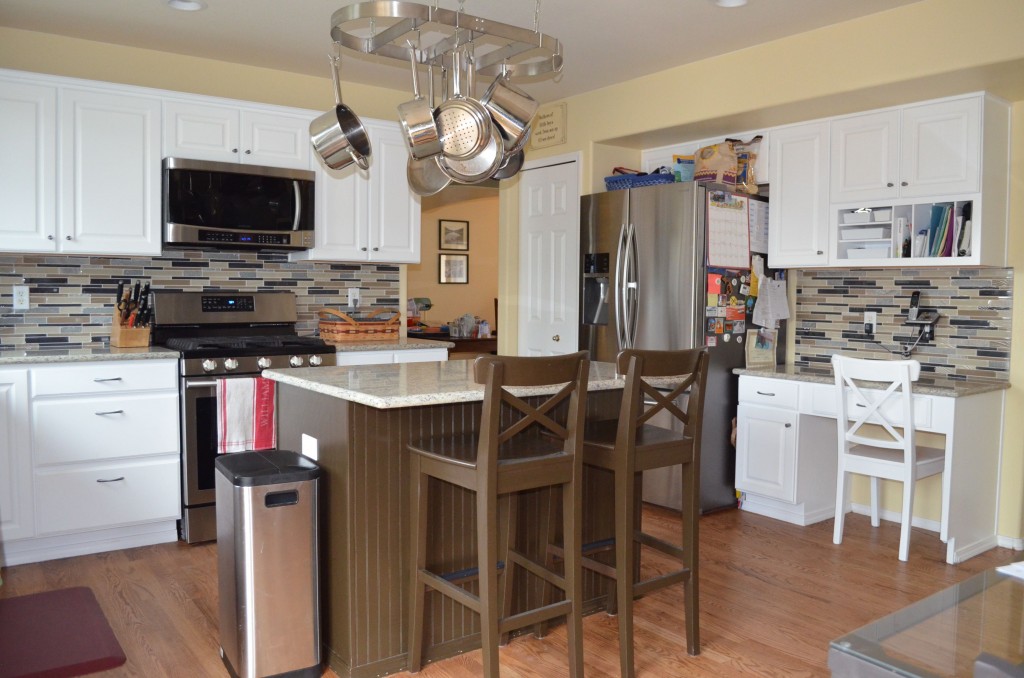
After:
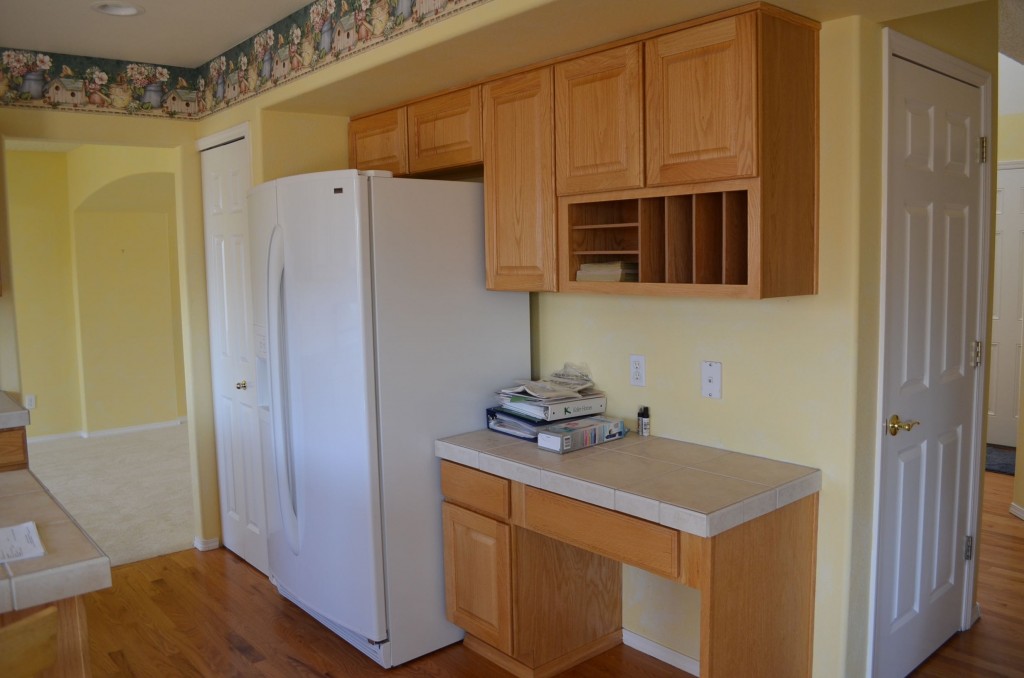
Before:
After:
Enjoy some other views of our most-awesome kitchen that I will work extra hard to keep clean!
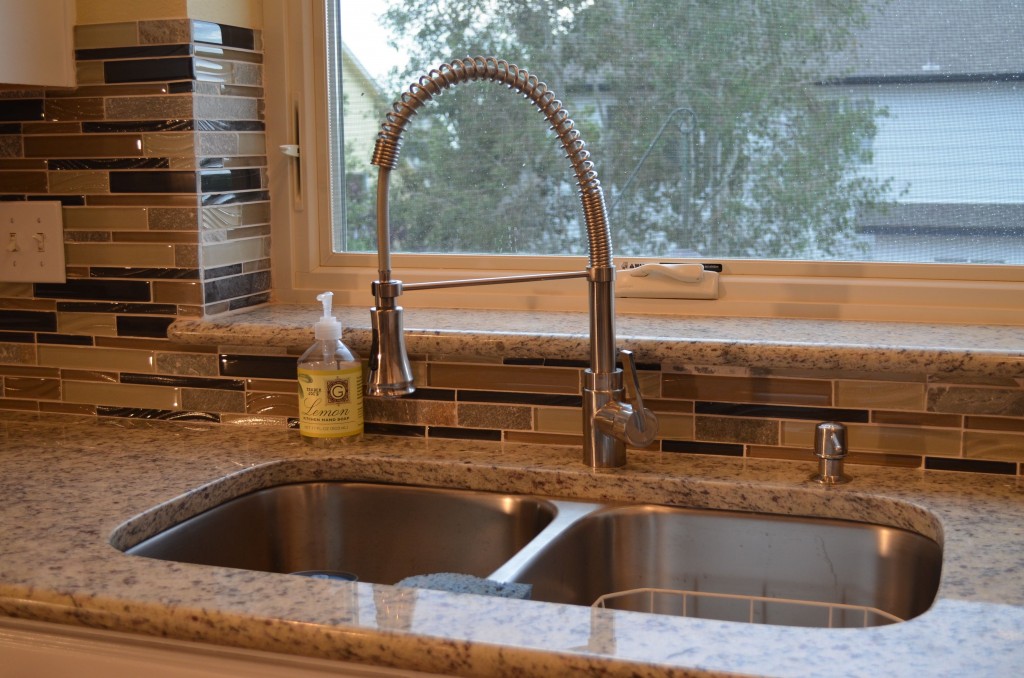
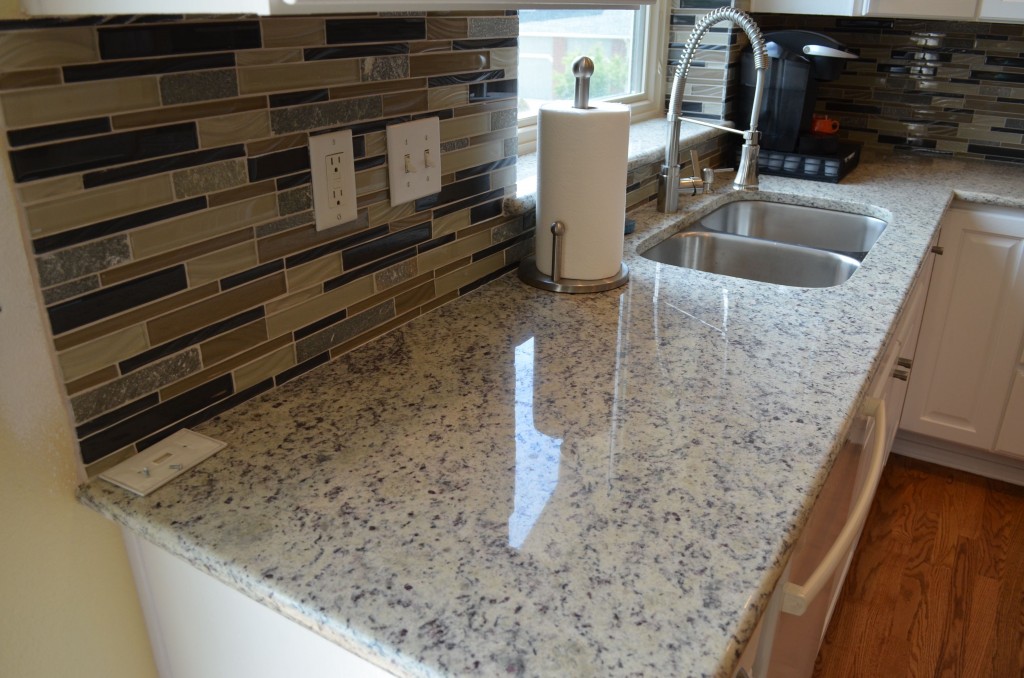
I’ve never had a drop-down sink. I’ve had stainless steel sinks before and have always liked having them. Cleaning this will be a breeze! This faucet style was Dave’s choice and he got it as a Father’s Day gift; since we were in the thick of cabinet renovations when Mother’s Day rolled around, I didn’t want any gifts.
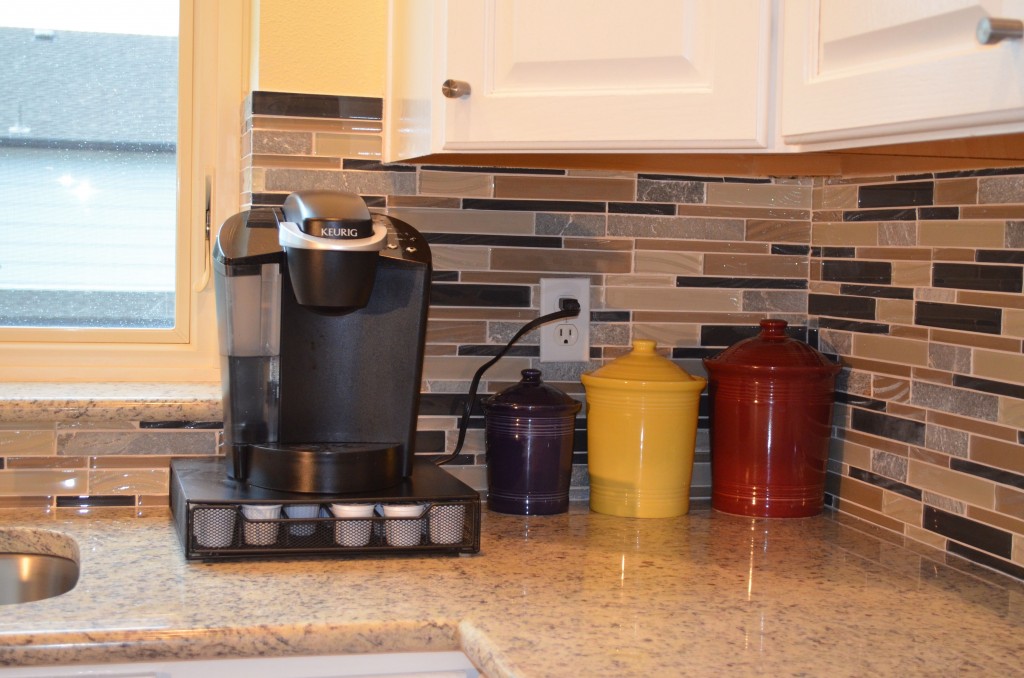
This corner of the kitchen is now more dark with the darker backsplash (see the shadow cast over my storage containers?)…we’re discussing under cabinet lighting, but for now it’ll need to be inexpensive battery-powered ones.
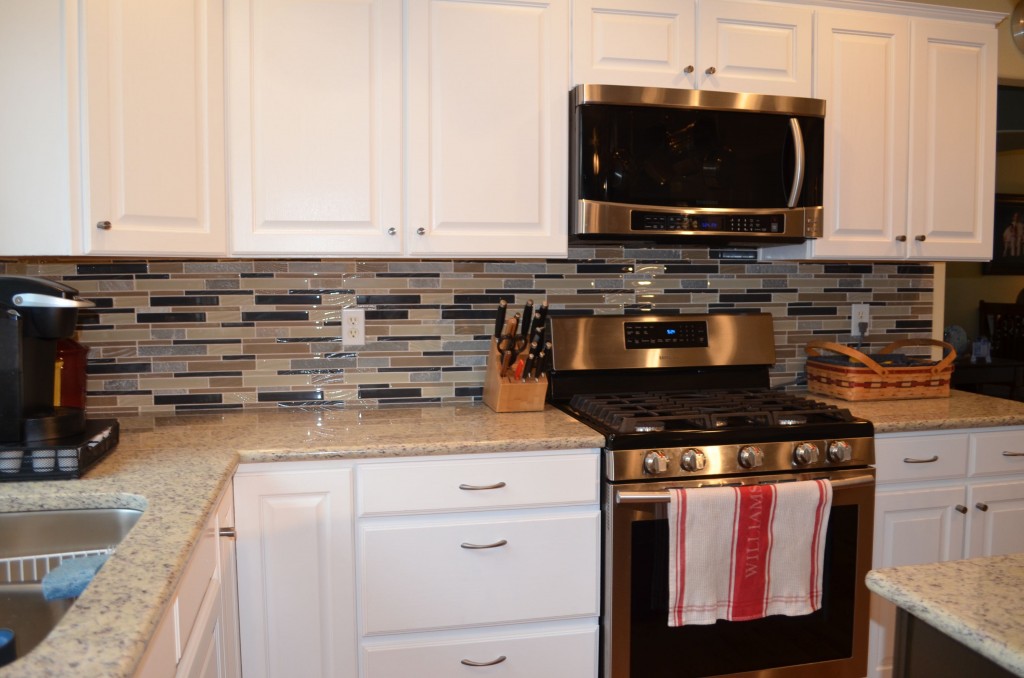
We were working hard to get the lighting right for this. It wasn’t easy, between the cloudy outside light, the room’s lighting, and the camera flash. This turned out pretty well. And my kitchen looks so CLEAN!!!!
So let’s recap everything we did here:
1.) New appliances. Except for the dishwasher, which is pretty awesome…the white dishwasher was motivation for painting the cabinets white.
2.) New beadboard for the kitchen island.
3.) Painted kitchen island and bar stools espresso brown.
4.) Painted all other cabinets white.
6.) Refinished hardwood floor. This was much-overdue…after 17 years of wear-and-tear, the sanding and restaining makes the floors look like new for a fraction of the cost.
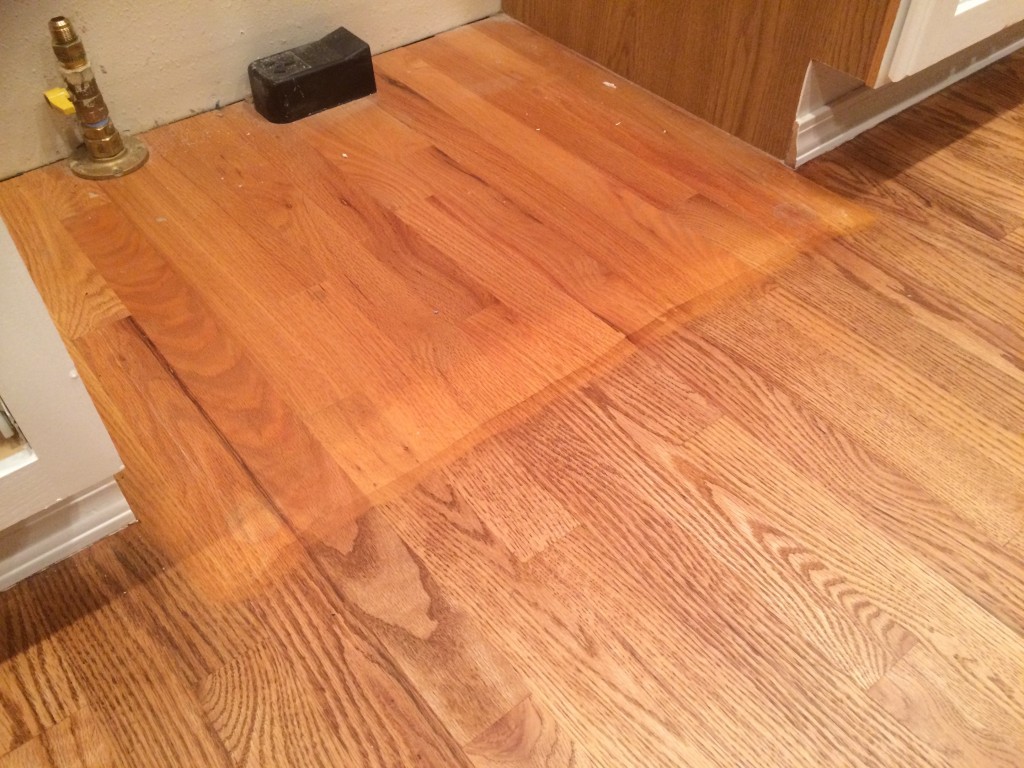
I was able to grab this picture of the “before” and “after” floor colors when we moved the oven out of the way.
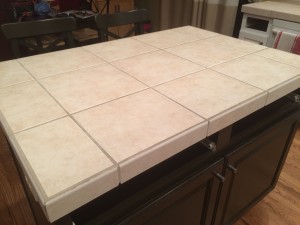
7.) Installed new countertop. Let me grace you with these “before” photos of the nasty countertop we had.
- This was all of the countertop: basic porcelain tile, probably about $1 per square foot. It wasn’t smooth and it was very difficult to keep clean.
- This is how the grout is supposed to look.
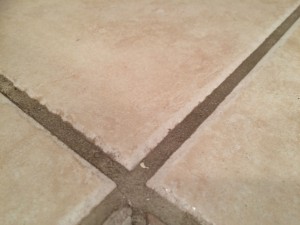
- This is how much of the grout looked if left unattended for too long. A toothbrush with Soft Scrub cleans that up…with about 3 hours of work.
- This is a close up of the caulking around the sink. My attempts at scrubbing this were futile, the caulk would come right out.
The new countertop is gorgeous and perfect. It’s a pattern called “Dallas White”, which is a standard builder-grade granite pattern, but compared to the icky tile, even builder grade is an incredible upgrade for us.
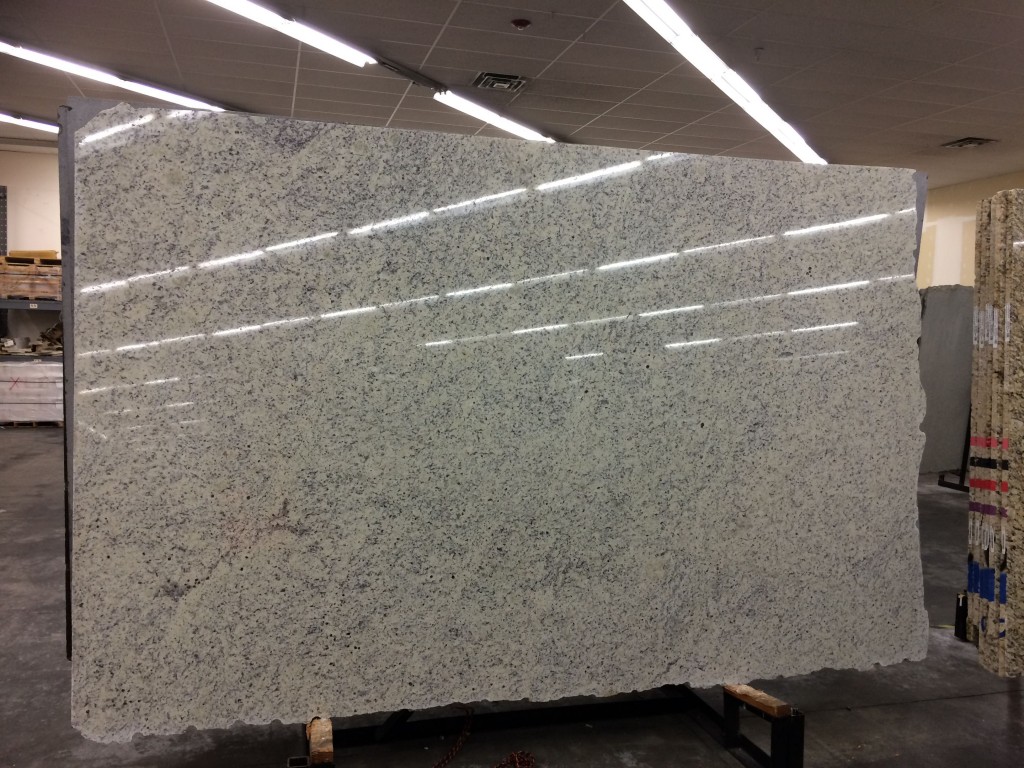
It was really cool getting to go to the warehouse and choose the slab of granite we wanted. This is it before it was cut. Each slab is unique. It’s tough trying to imagine the colors in our kitchen — this looks very “white” here, but turned out looking much more “beige” once installed against our white cabinets. The distinctive “seam” in the lower left is on our island now.
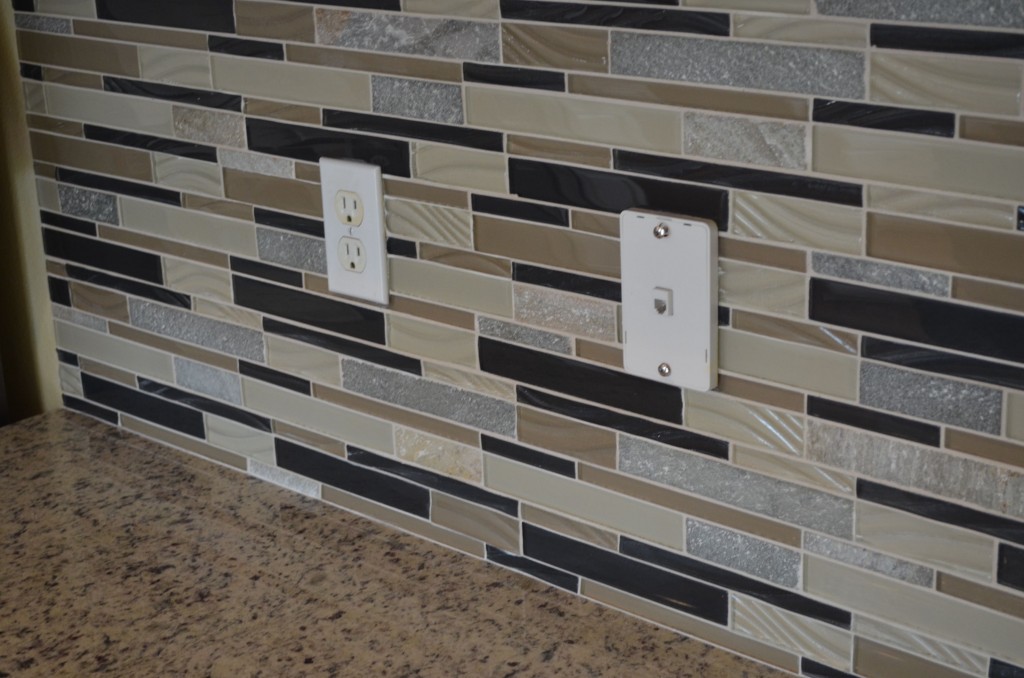
8.) Installed new backsplash. It’s on the bold side, but Dave and I wanted to have some fun!
All said and done, this was about a $10,000 job, spread out over 7 months (we got our appliances in early December). Painting the cabinets on our own saved a lot of money — we read recently that hiring someone for painting cabinets could cost as much as $50 per door! I think we would easily recoup this investment if we sell the house, so we don’t mind.
Jacob said, “It looks like we have one of those IKEA kitchens now!”
That concludes our (Mostly) DIY Kitchen Transformation. I will be returning to our sightseeing posts now.



Recent Comments