
Can you see the difference? The vibrant wood grain should be the biggest difference you see, but we also nudged the color a little bit to make it more brown…less yellow/orange in color.
On Thursday and Friday, we had a contractor come in to sand and re-stain our hardwood floors. Jeff from “A Cut Above Hardwood Flooring” was recommended to us by our carpet cleaning guy.
This piece of floor is continuous from the front door to the kitchen, and to access the front door, garage, basement, and staircase, you will step on the hardwood. I’ll discuss how we dealt with that in a minute.
As mentioned before, there were some areas to the floor that had clearly suffered water damage, but had subsequently dried out. The wood was structurally sound, but the sealer and stain color were messed up. It was important to me that those areas get extra attention, and Jeff did that very well. Here are some pictures of the sanded floor.
Dave came home from work, saw this floor, and said “Hey, I kinda like this color.”
I was thrilled to have that yellow/orange color sanded away.

I wasn’t ready to have a floor this color, though.
Dave and I were challenged with choosing a new stain color for our floor. The first couple color finalists were on the dark side, and we showed them to Jeff. He explained that he would need to do something called “water popping” of the wood planks to allow it to accept the darker stain more evenly. This process takes a lot more time and would make the flooring job cost substantially more.
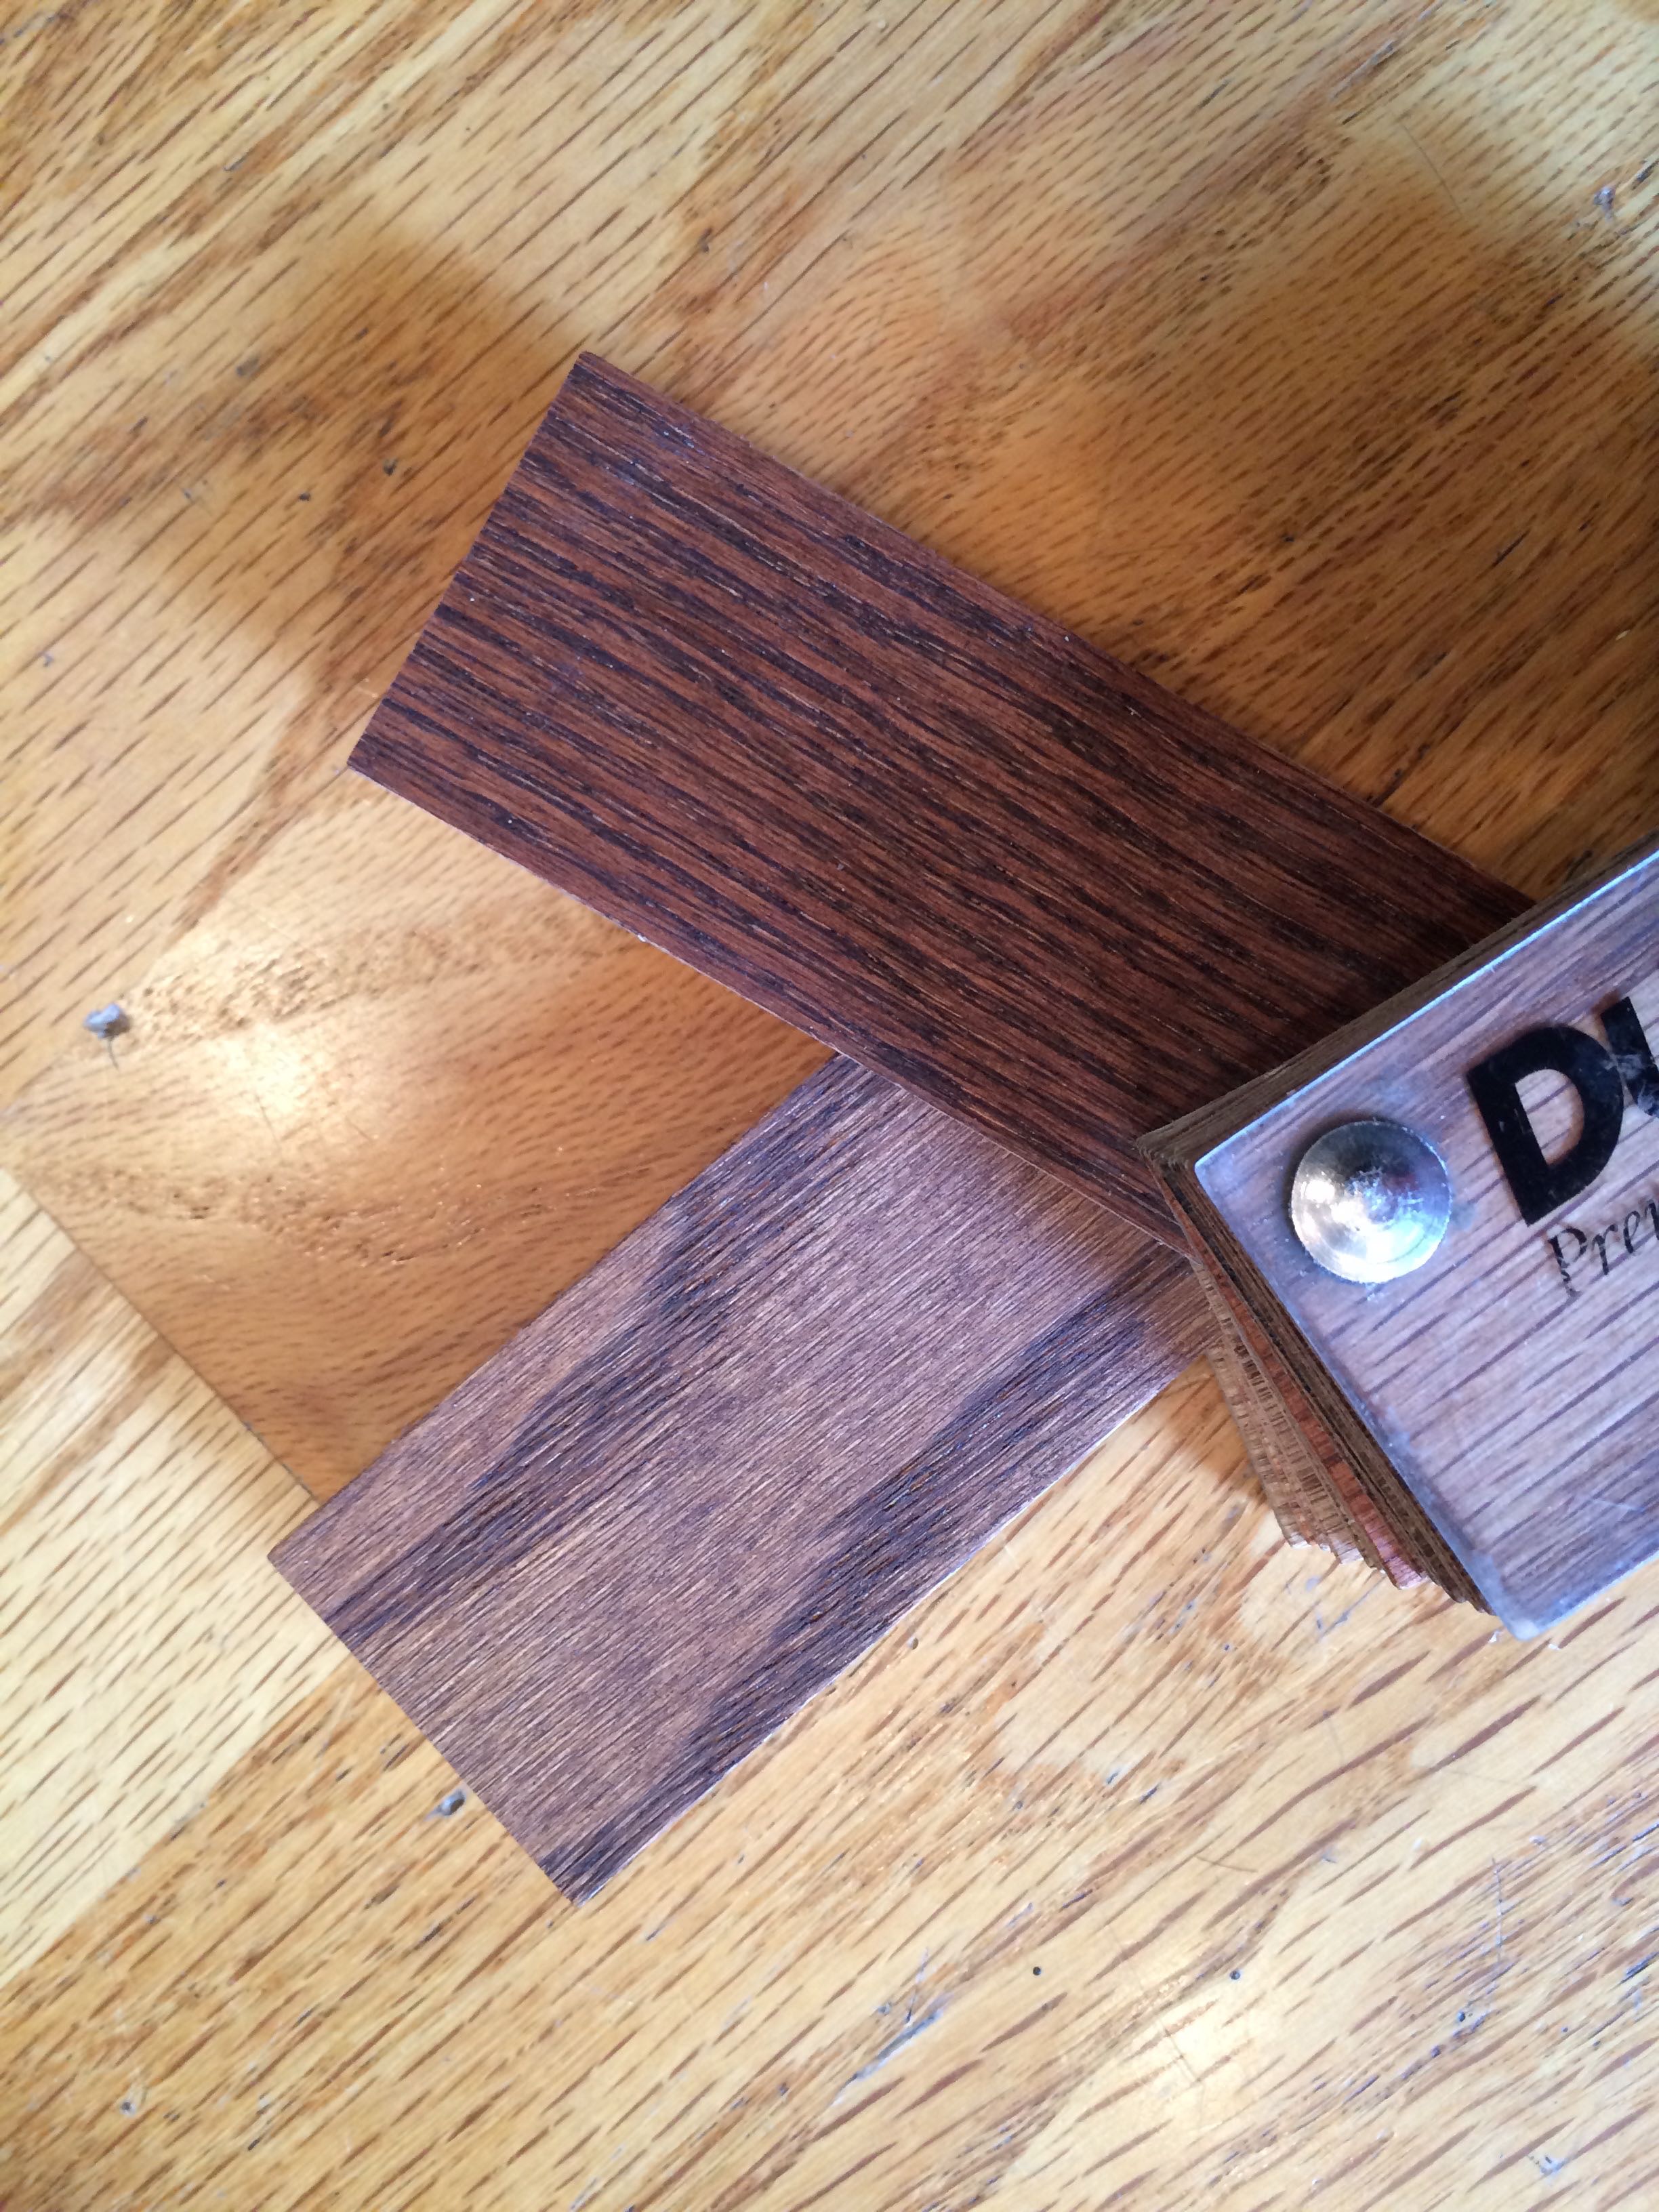
Choosing a new stain color is tough! This picture shows the two “finalist” colors, but the water popping process is so substantial, we elected to do something lighter. We are very glad we did.
When it came time to stain the floors, Jeff brought in an apprentice. The flooring job turned out very well, but it was clear where the apprentice had done the work: there is a little bit of stain on our baseboards…and even on the wall in a couple spots. Everywhere Jeff worked, there is none. After all of the kitchen work is done, we figured we’d have apply some touch up paint, and we will do that after the countertop/backsplash work.
Dave and I chose a color called “Nutmeg” and we couldn’t be happier with the results. This stain color brings out a slight rustic look (even though most of what we’re doing is on the modern-side). Jeff and the apprentice helped us pick the color, and when Jeff applied some to the floor as a test spot, we all said “WOW!” when the wood grain popped out.
On the first day of the job, Jeff was using a very loud sander machine. Imagine three or four lawn mowers running inside your house. I ended up taking the kids — and Ranger — out of the house for the day while Jeff did that work. Ranger went to doggie day camp, and the kids and I visited friends. Just because of the noise. When we came home, we were able to walk on the sanded floor and access my kitchen…although there was sawdust everywhere.
The second day was even more complicated. This was the stain/seal day and it was critical we stay off the floors. We took Ranger to the dog park in the morning while the first coat of stain went down, and then after lunchtime the boys and Ranger stayed down in our basement for 5 hours. This isn’t as horrible as it sounds: our basement has a bathroom, bar with a sink and small fridge, and all the video games. I brought plenty of snacks downstairs, and a water dish for Ranger. However, I forgot to get my laptop computer — it was on the other side of the hardwood floor, oop! — and was stuck with just my iPhone for the day.
Jeff told us not to walk on the floor until dinnertime, and avoid putting the rugs, chairs, and tables back for at least 24 hours. As of now, the table and chairs are back in place, but we are still waiting on the rugs. No shoes on the floor until further notice!
Enjoy some before and after pictures.
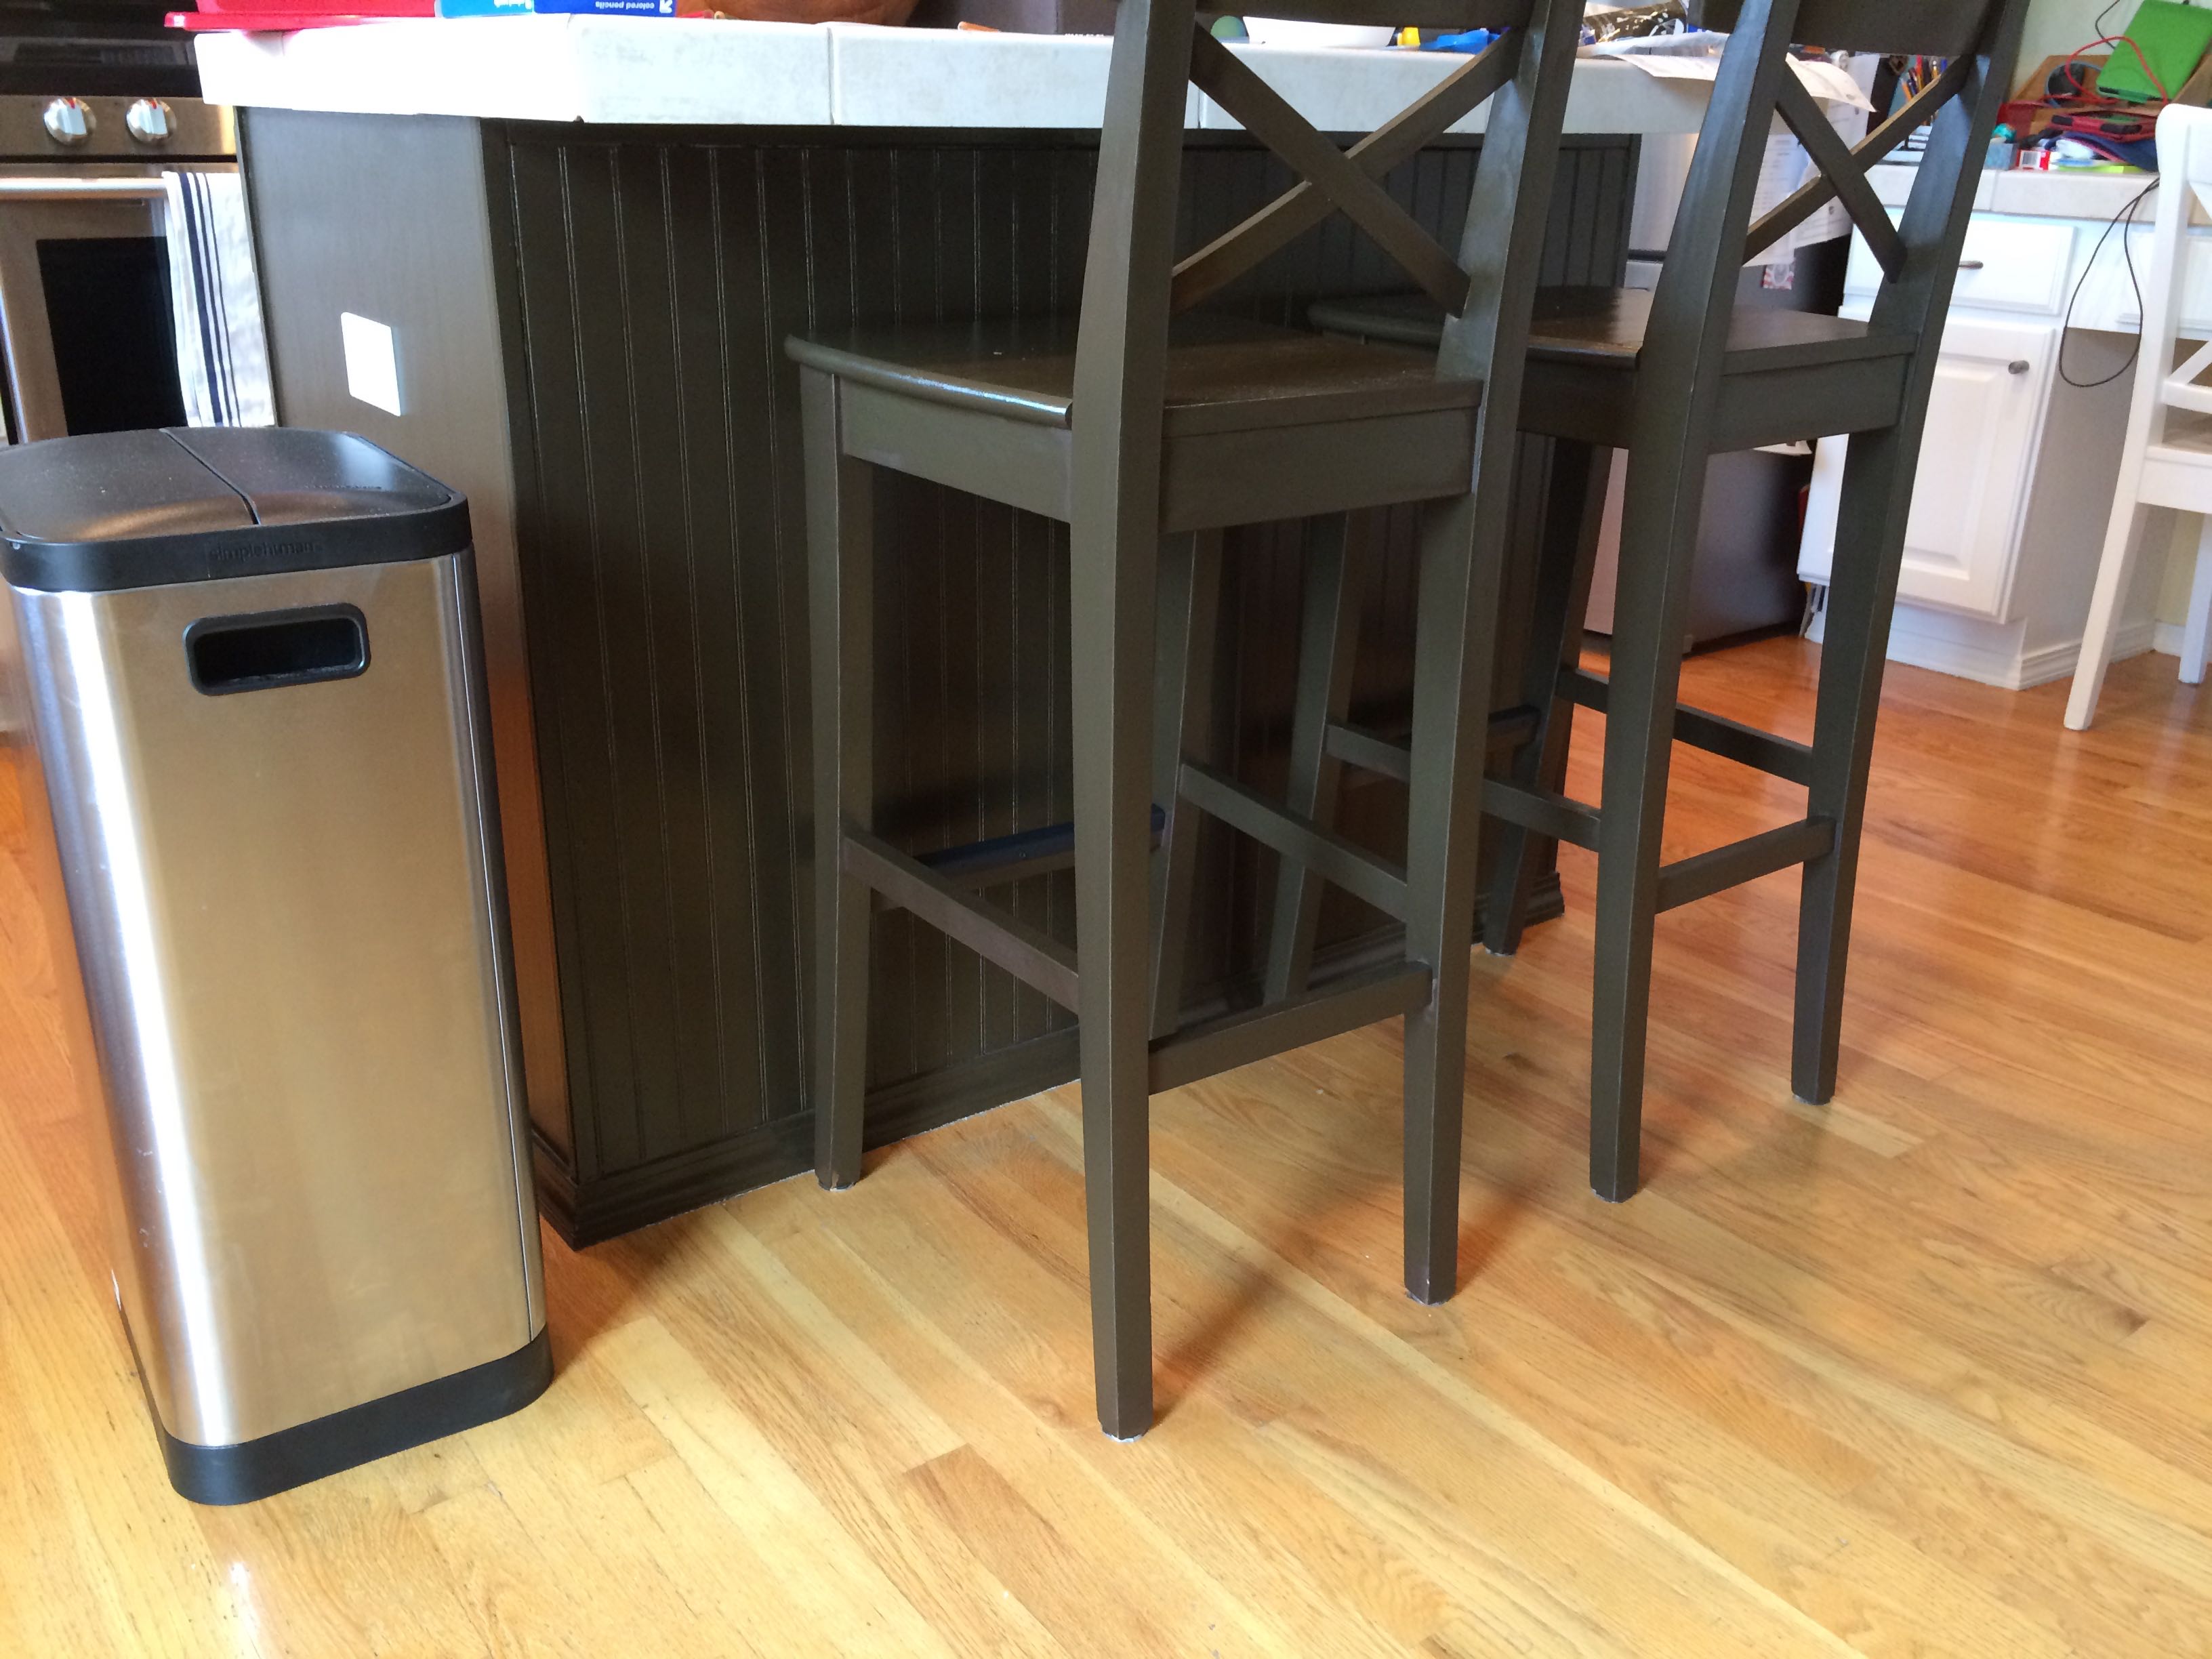
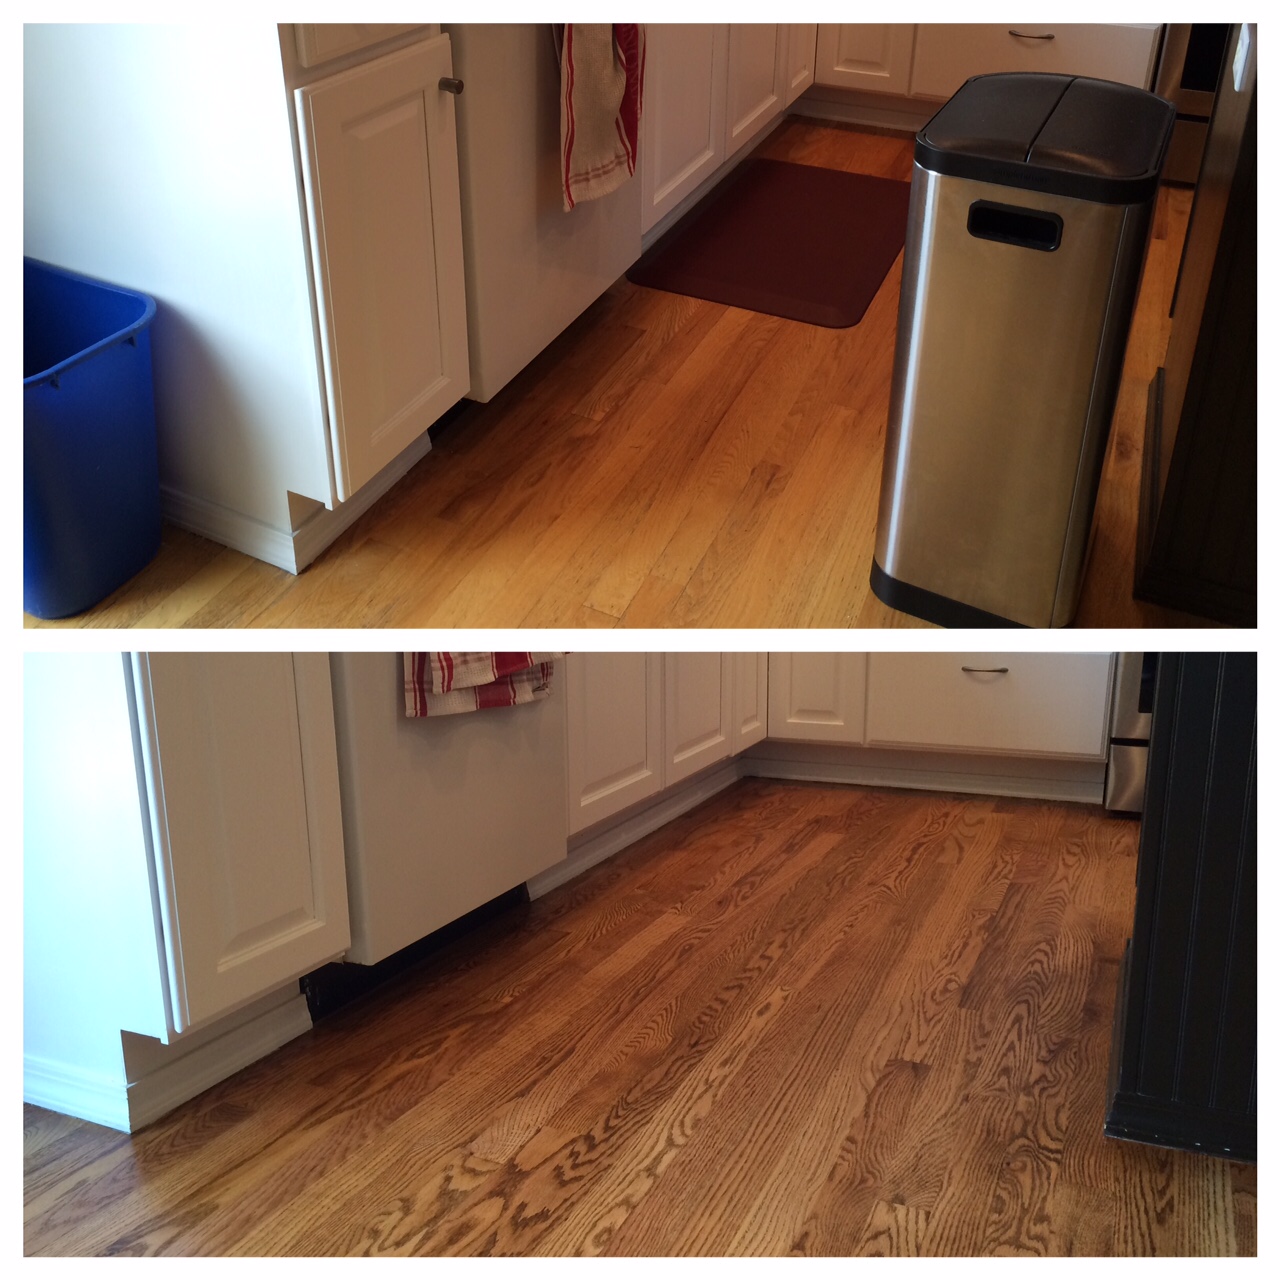
Before. Note that our bar stools are now the same color as the island. There was some flooring water damage/discoloration behind the bar stool that’s on the right side.
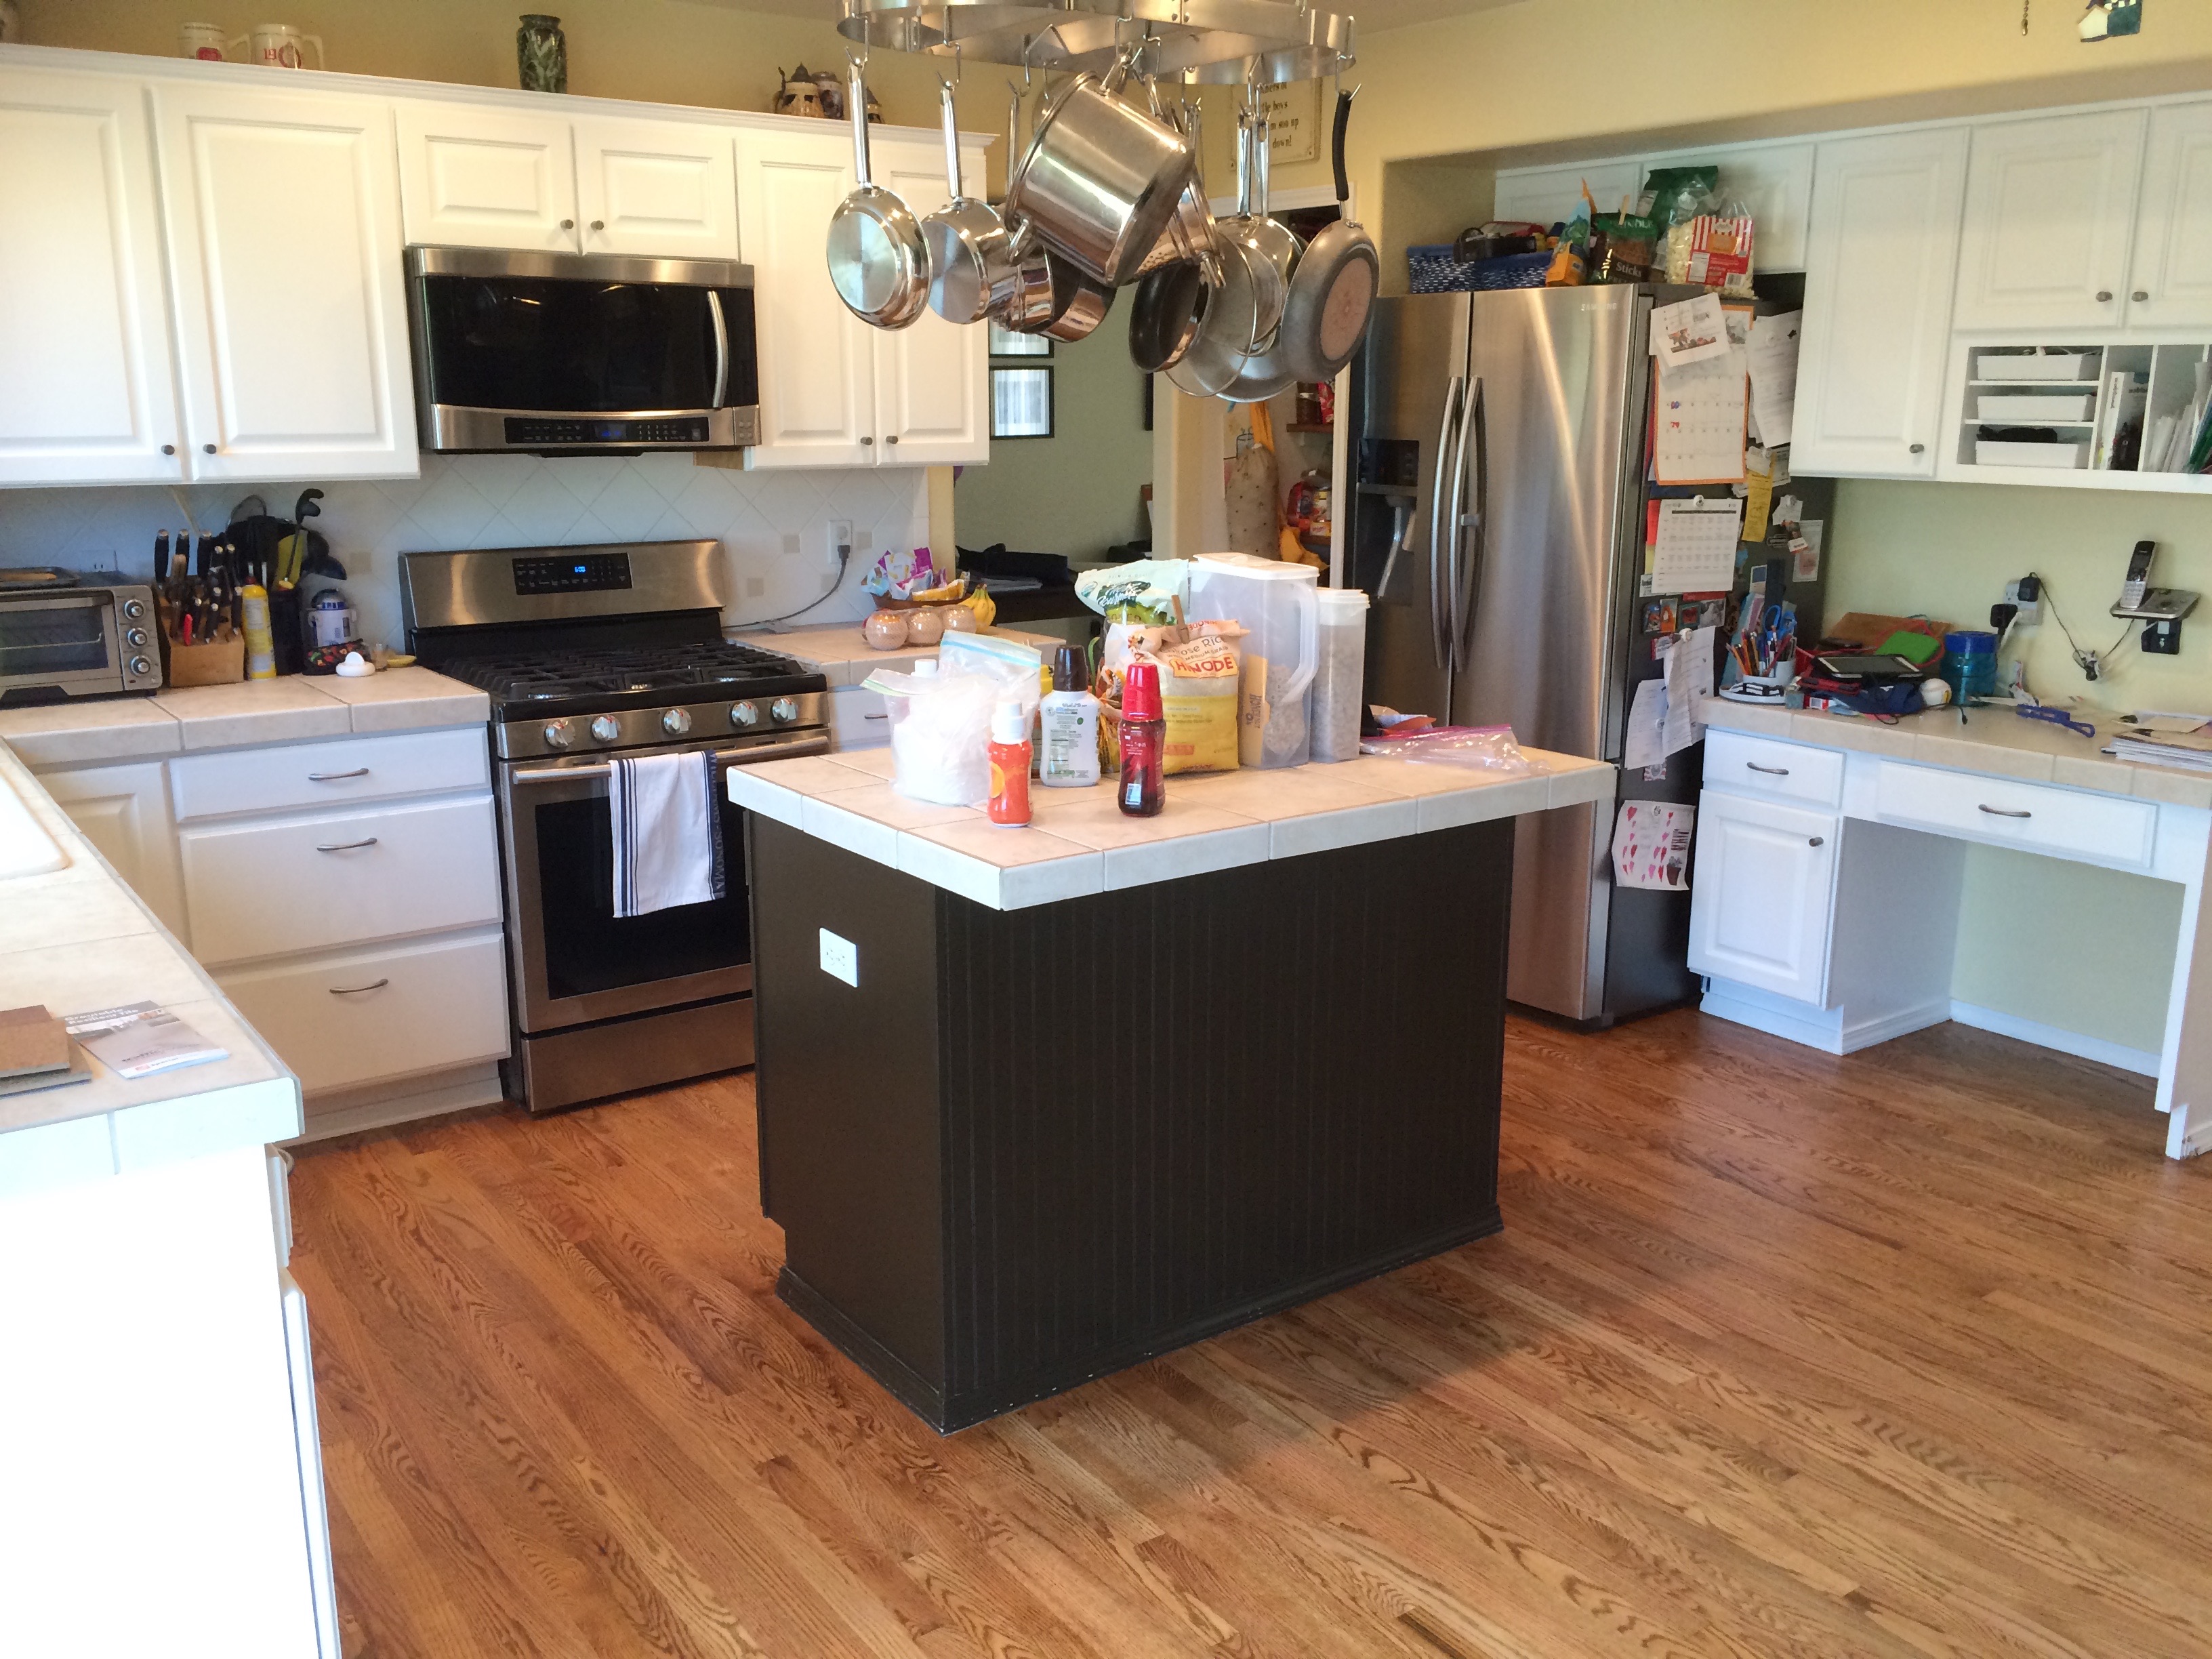
After. Pardon the mess on the island. We had to pull several items out of the pantry so they wouldn’t get covered in sawdust. All of this was covered in plastic while the work was done.
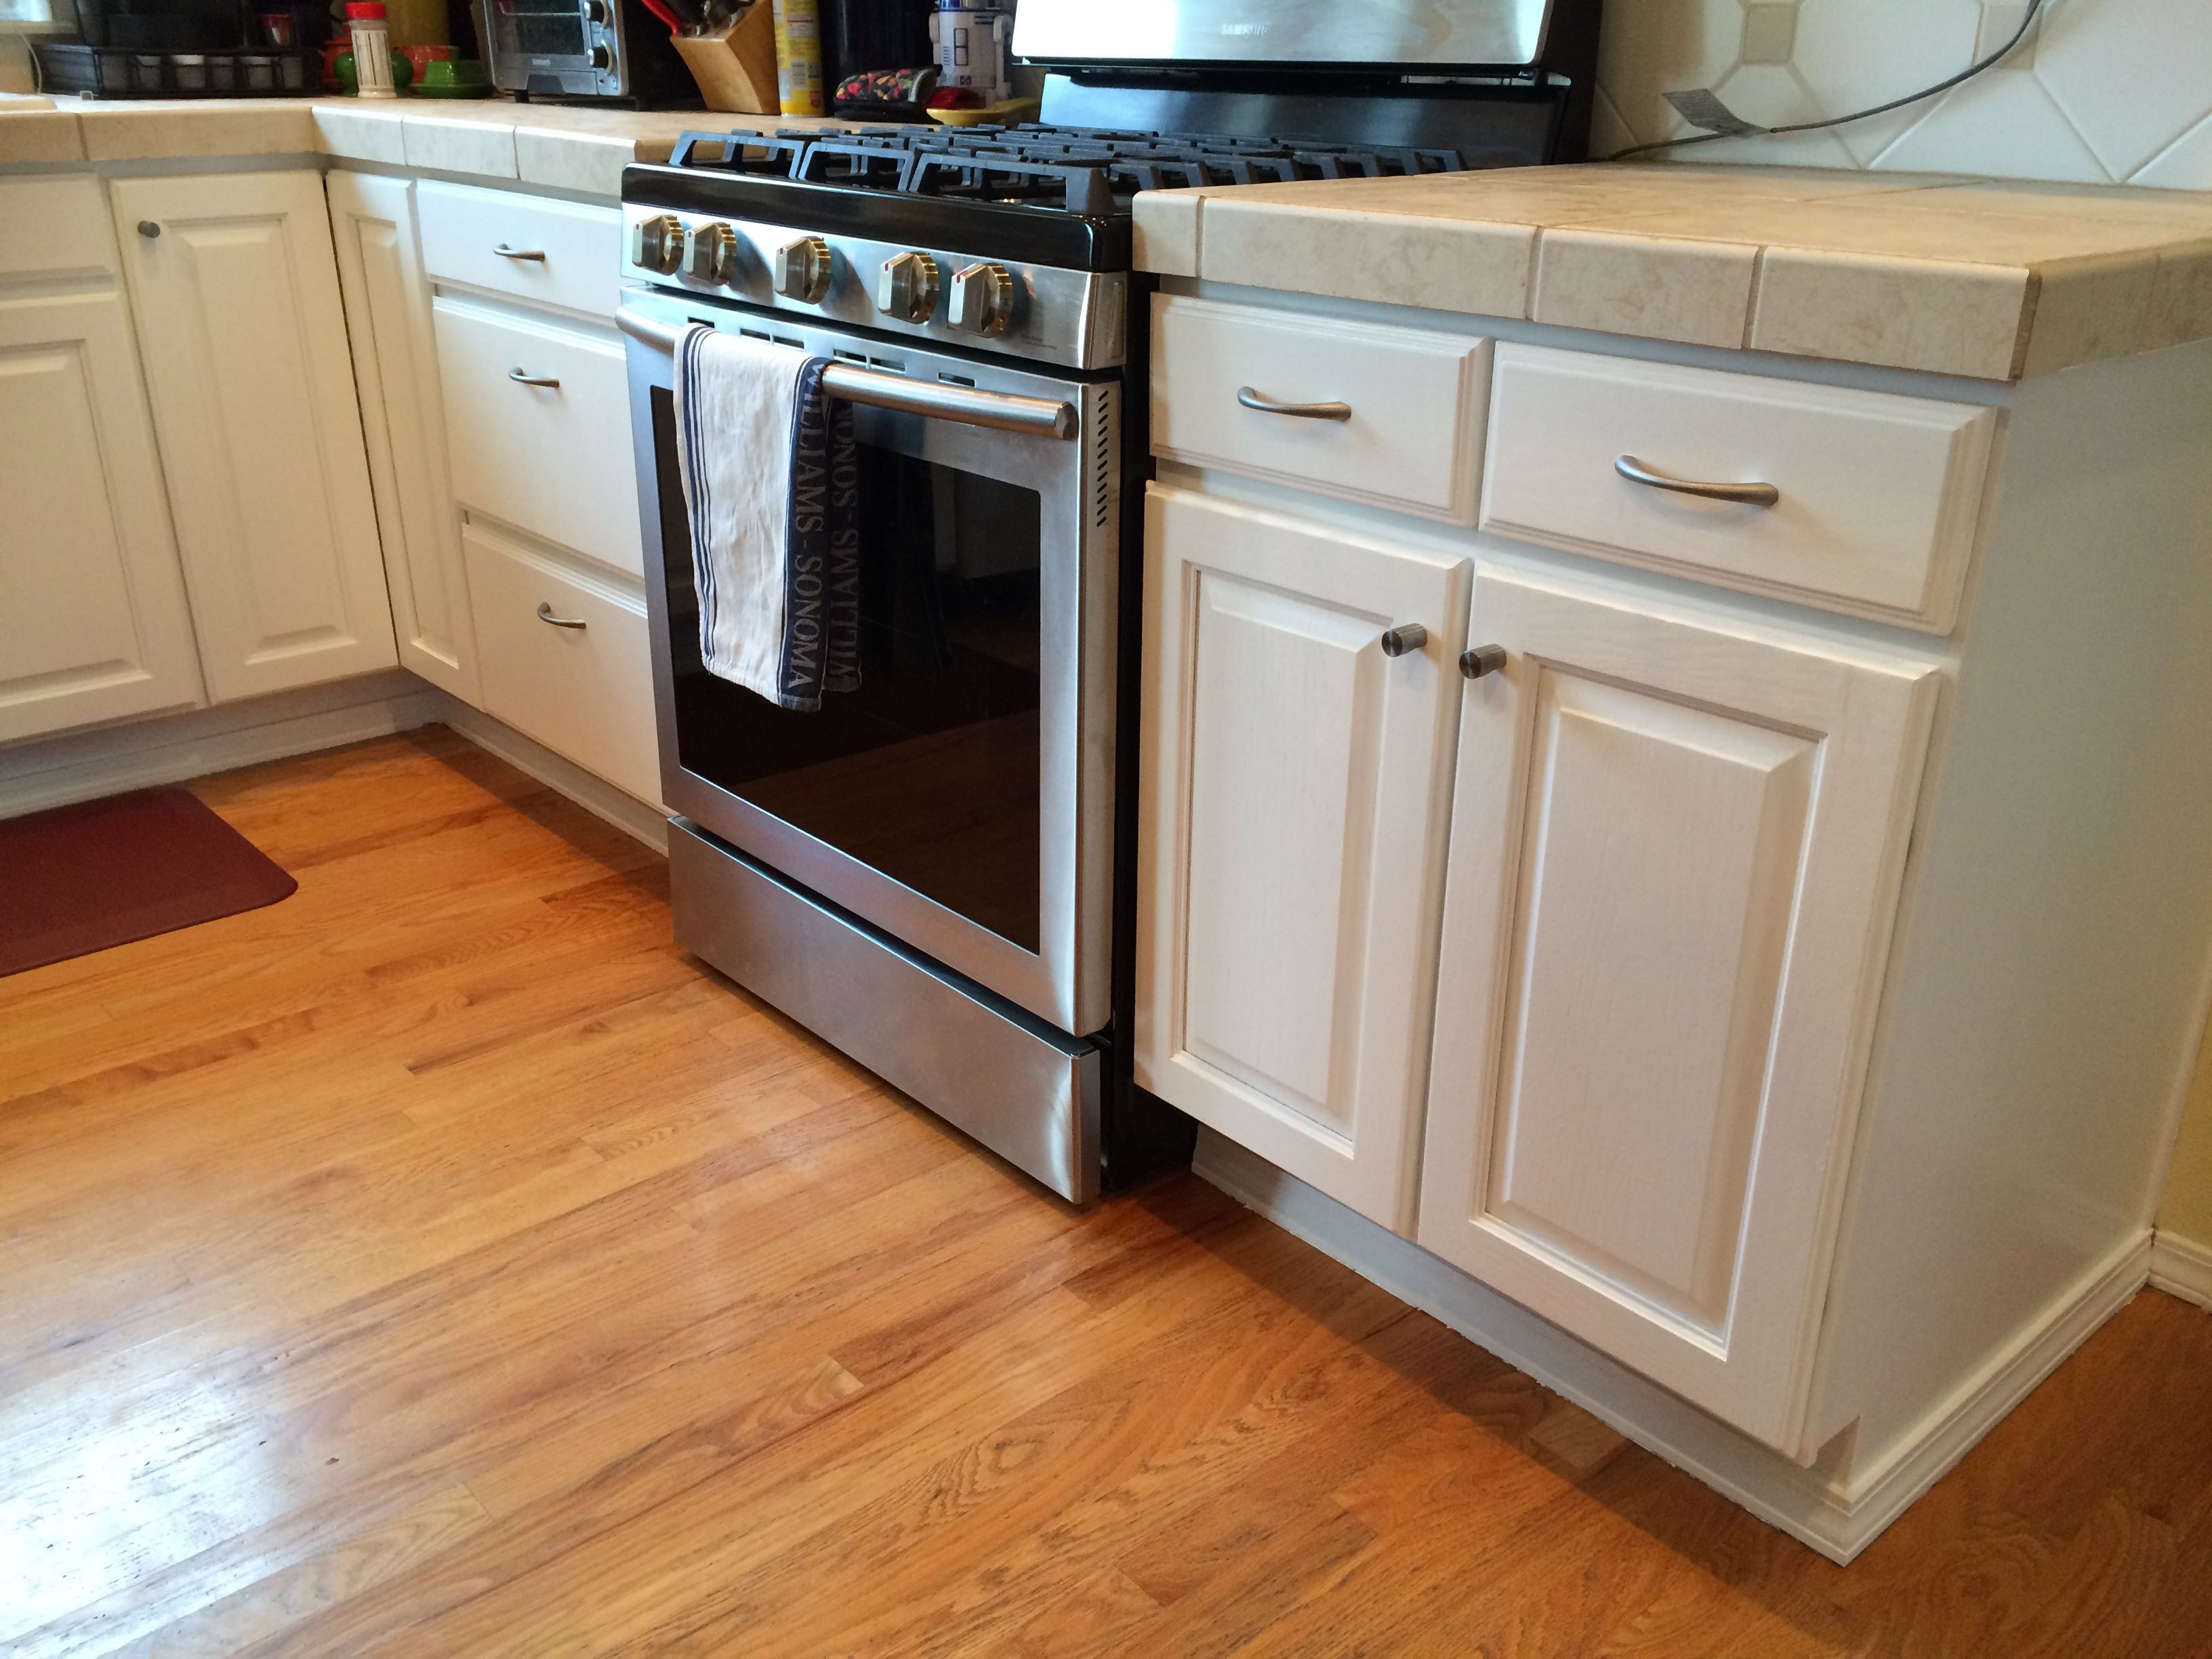
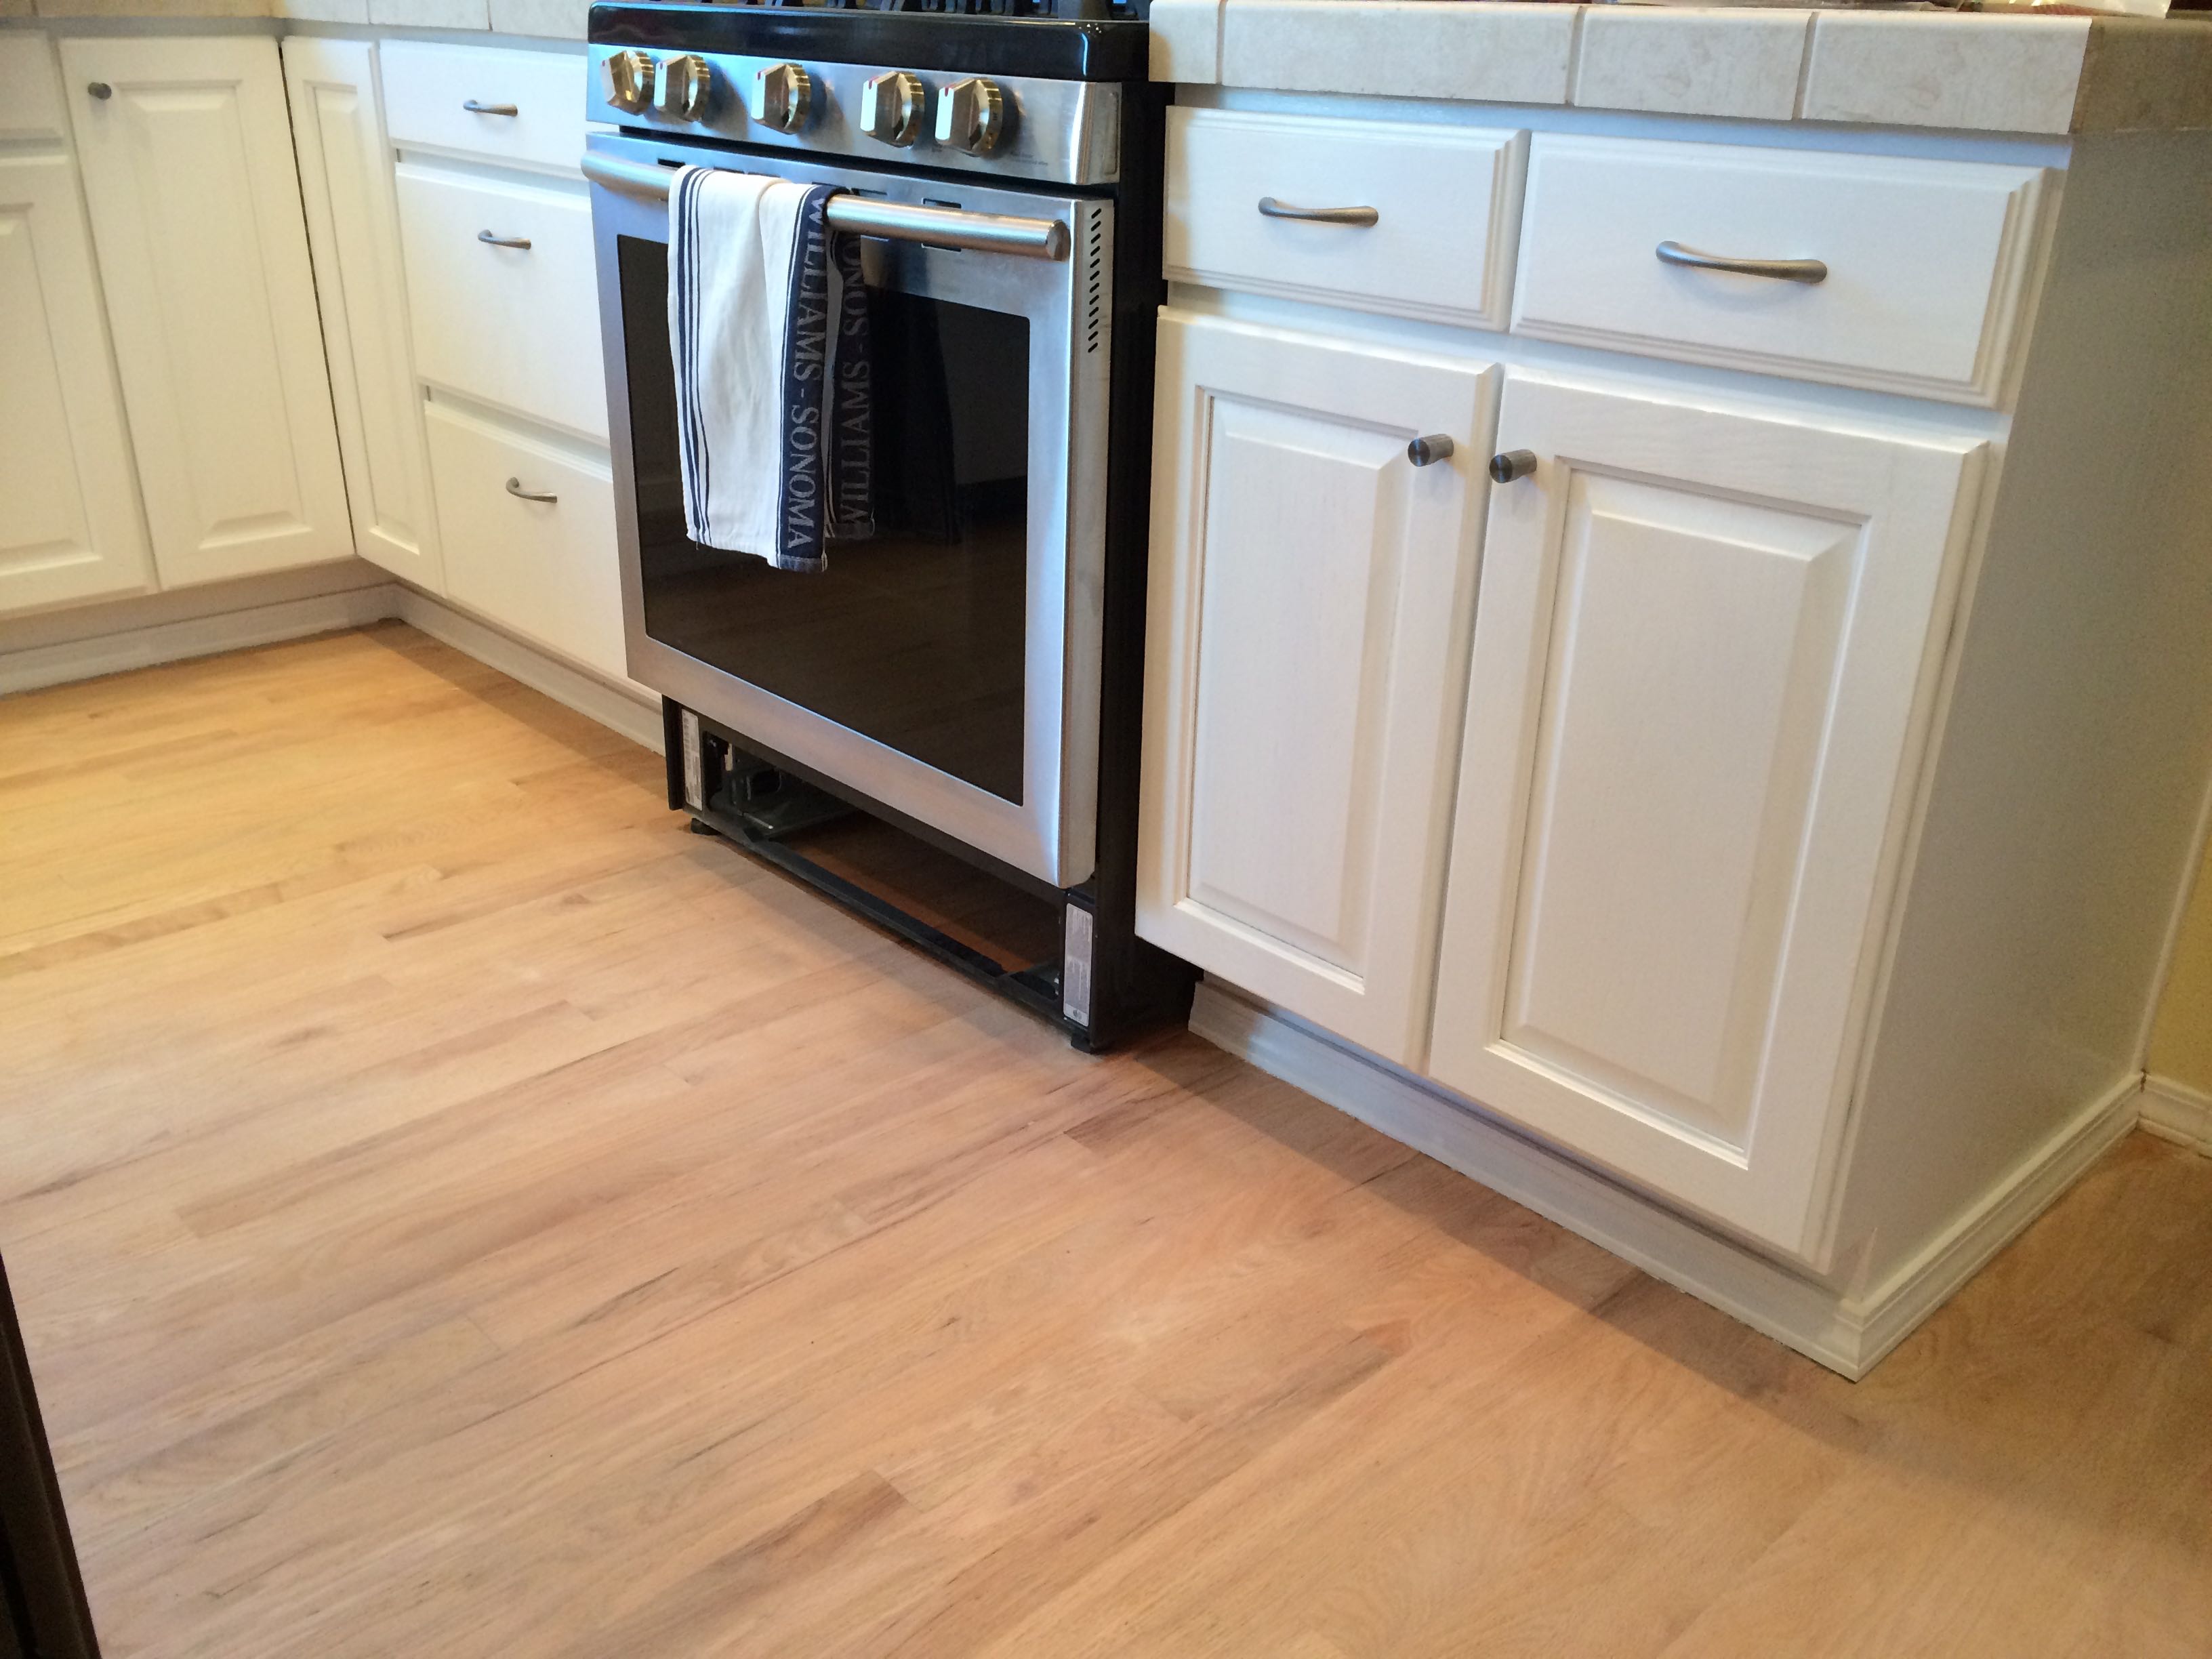
Before. There was some water damage/discoloration visible in this photo too…near the center bottom border of this picture.
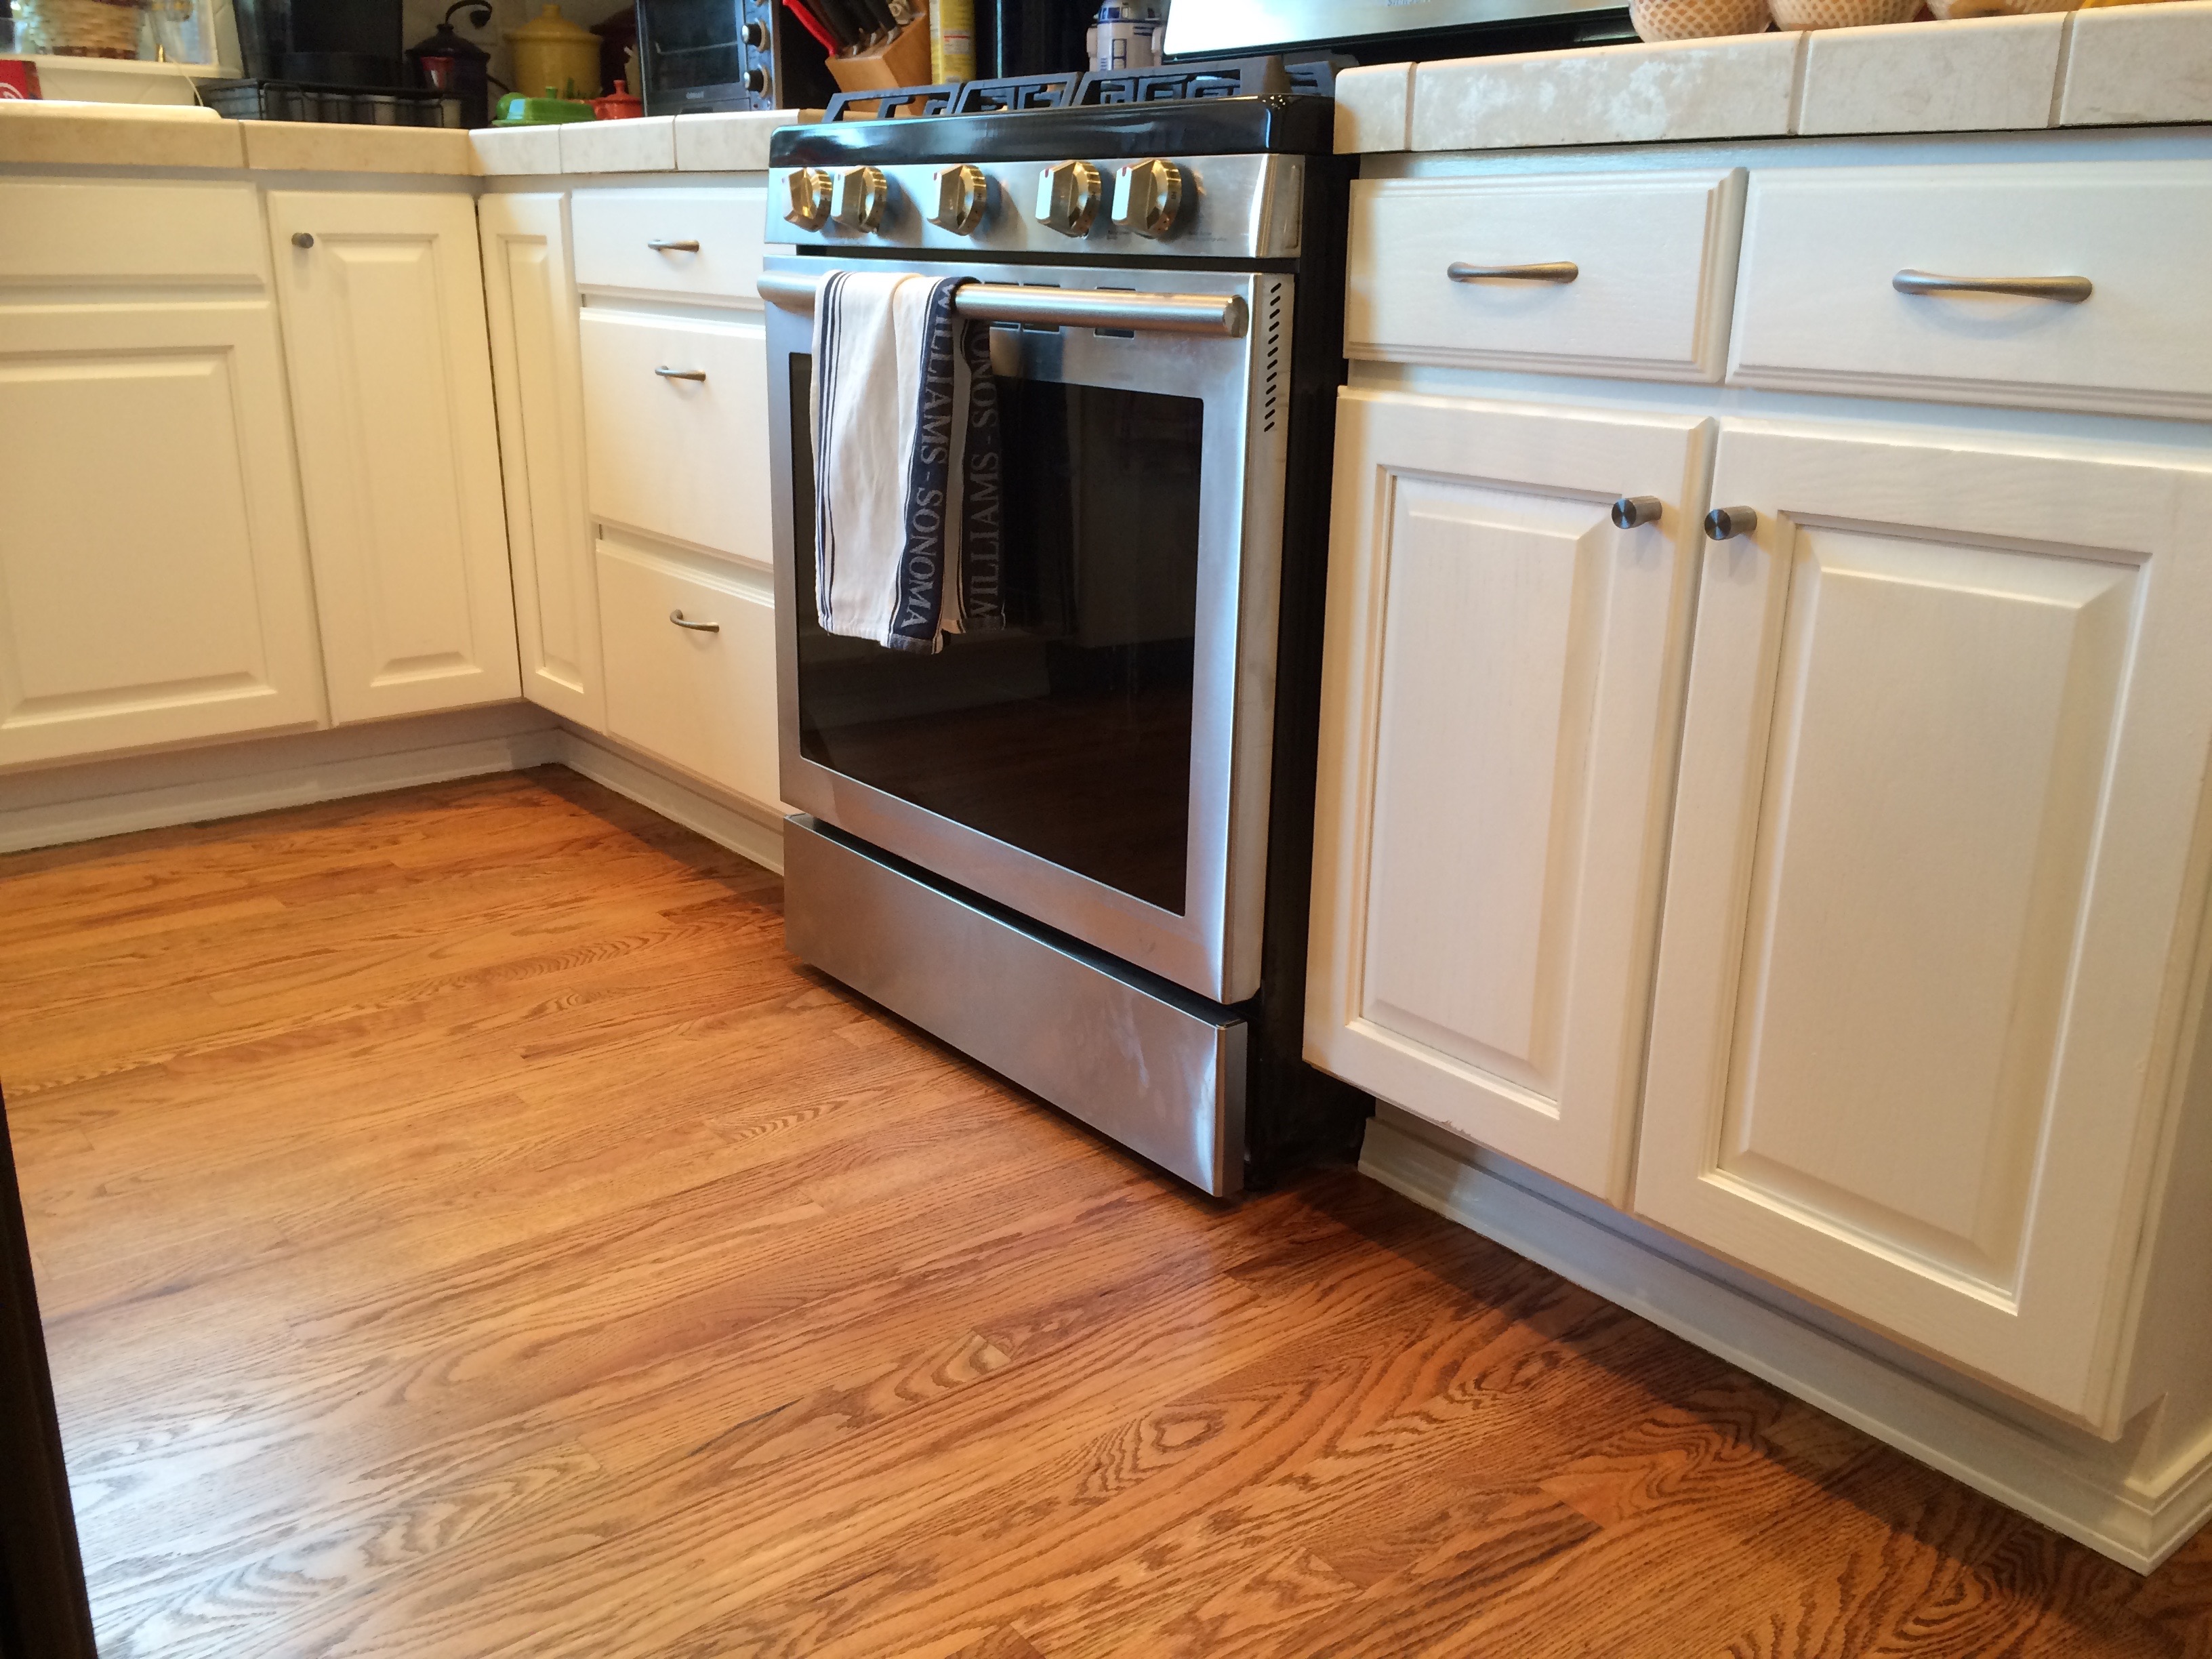
After. I’m thrilled with the wood grain now!
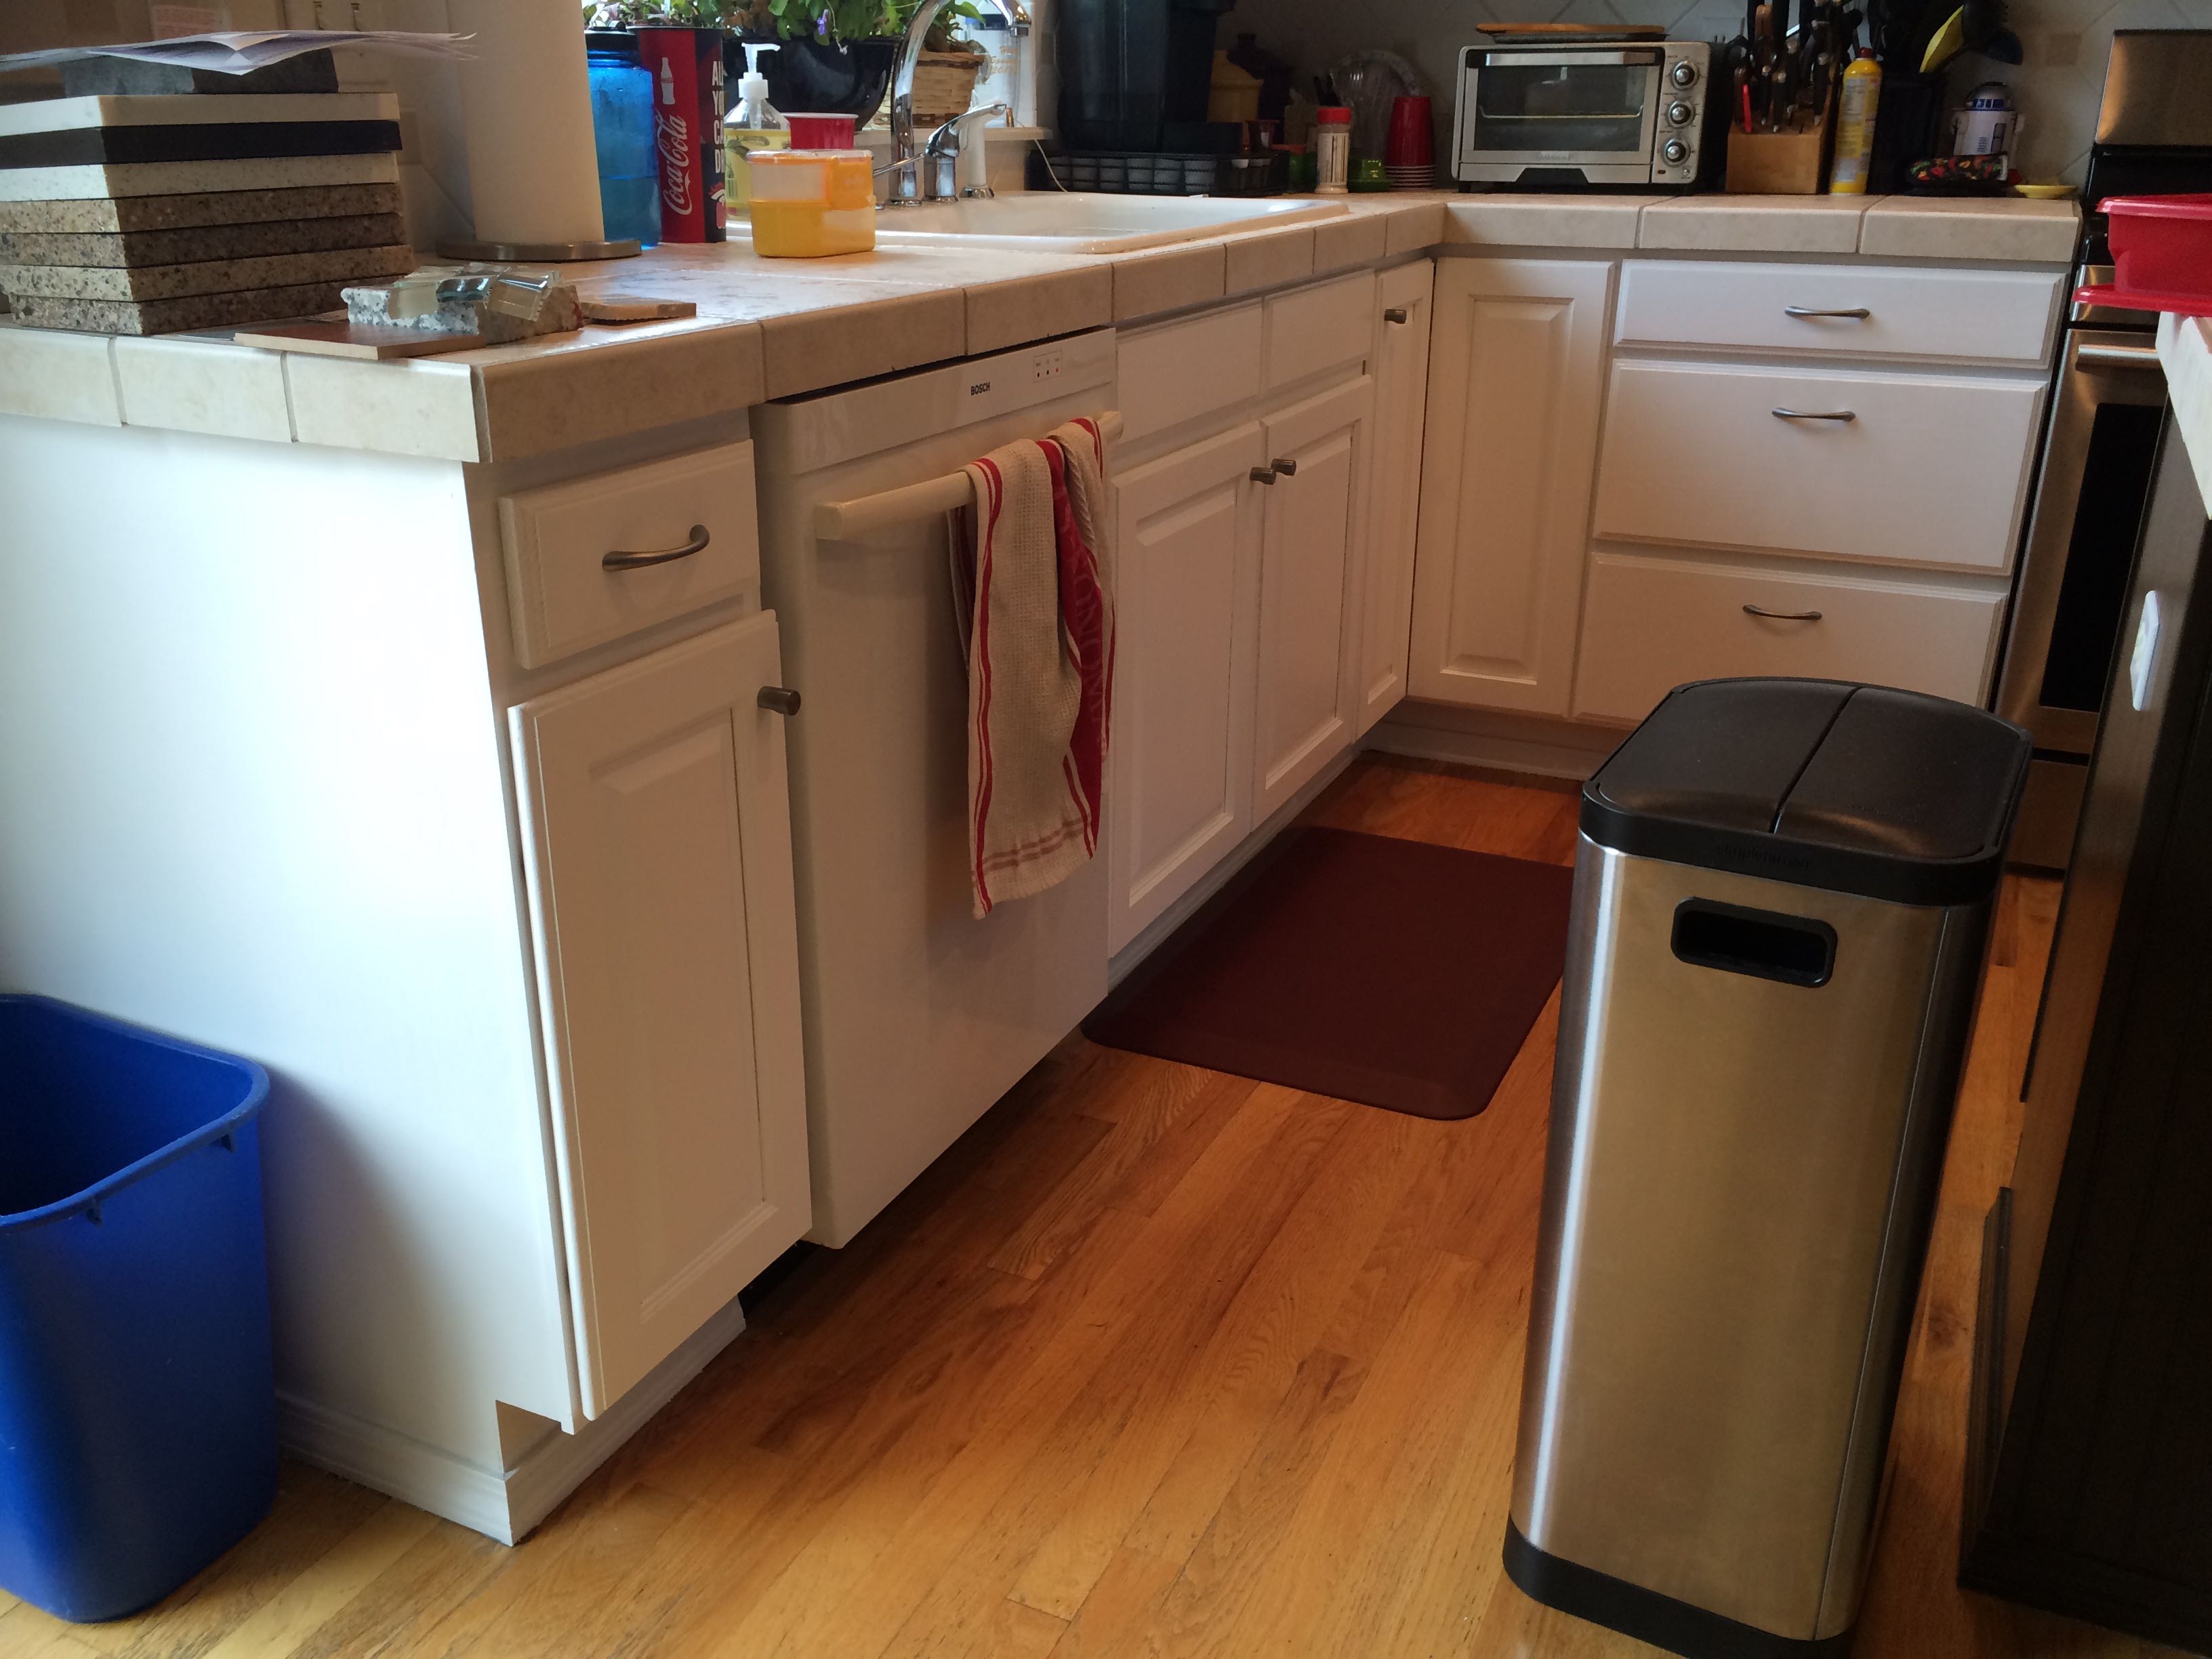
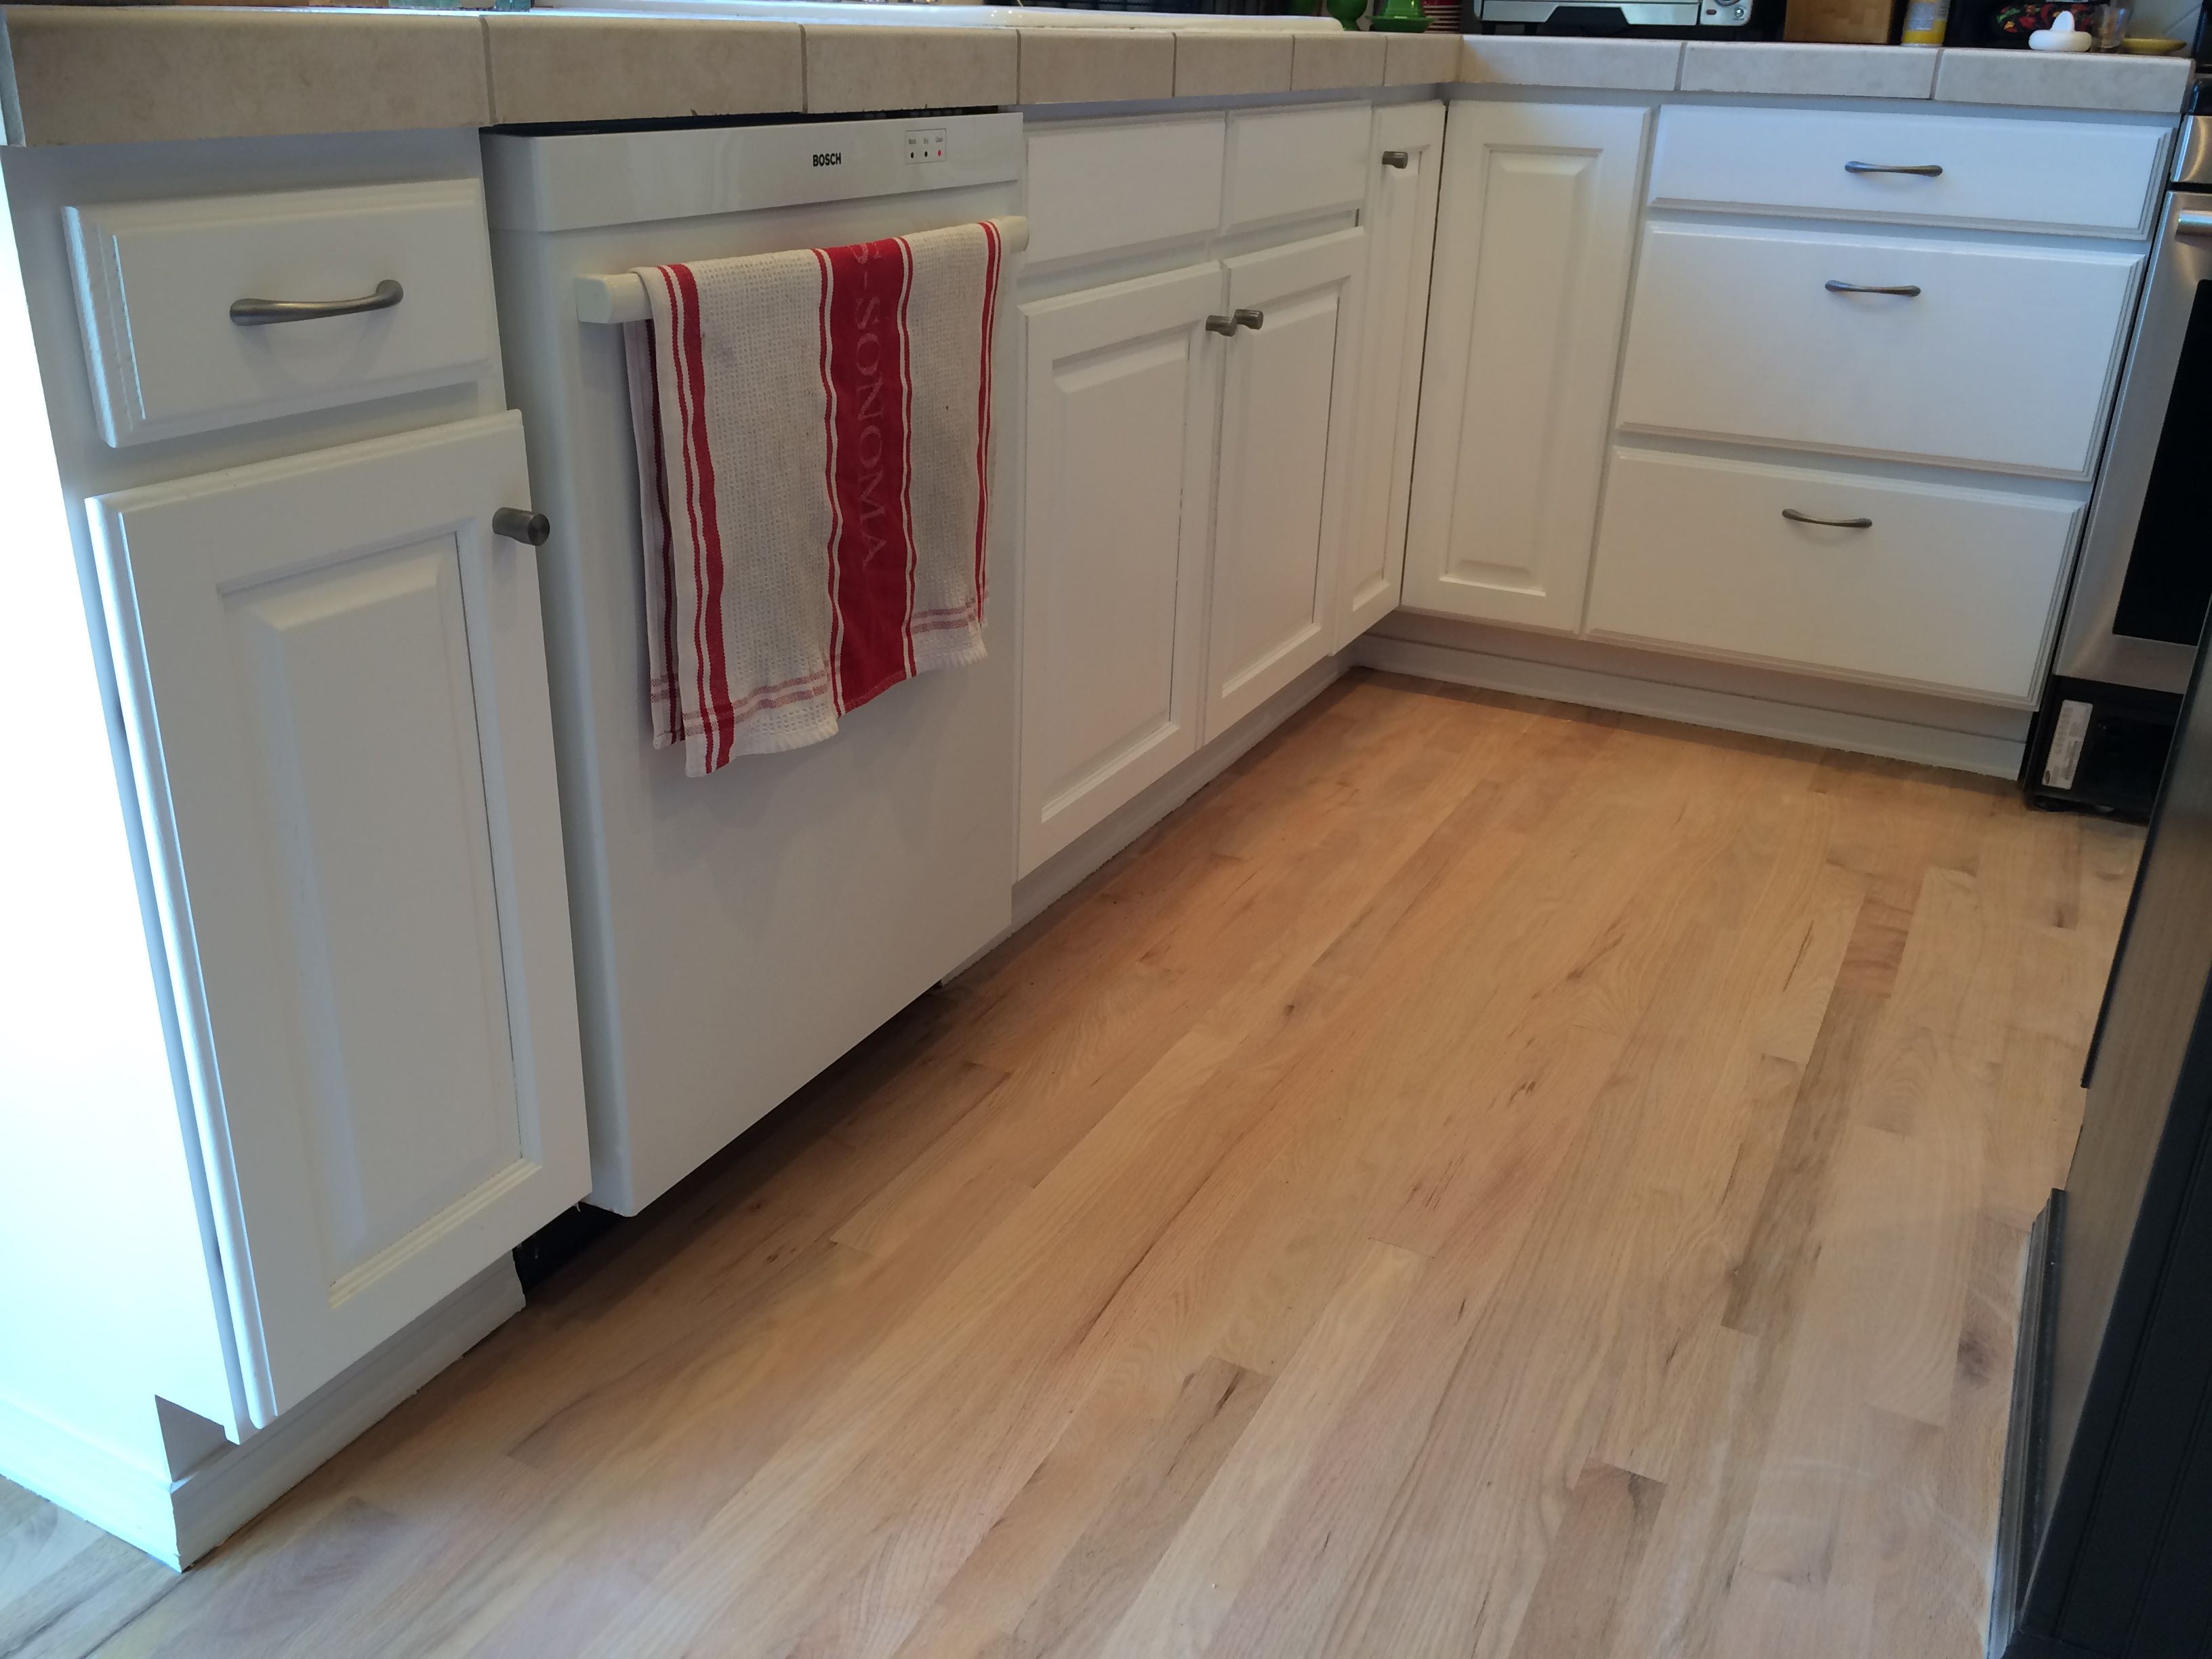
Before. You can see the stack of quartz and granite samples on the left. That’s our next discussion…but we’ve more or less decided what we’re doing.

After.
Recent Comments