
Every step we take towards the improved kitchen is making me hate the countertops more and more….
Tonight we were able to put the kitchen back together, at least for now.
What do you think? More »
Every step we take towards the improved kitchen is making me hate the countertops more and more….
Tonight we were able to put the kitchen back together, at least for now.
What do you think? More »
This is after the first coat…I think it’s going to be brilliant with the second coat! Compare to the “before” picture.
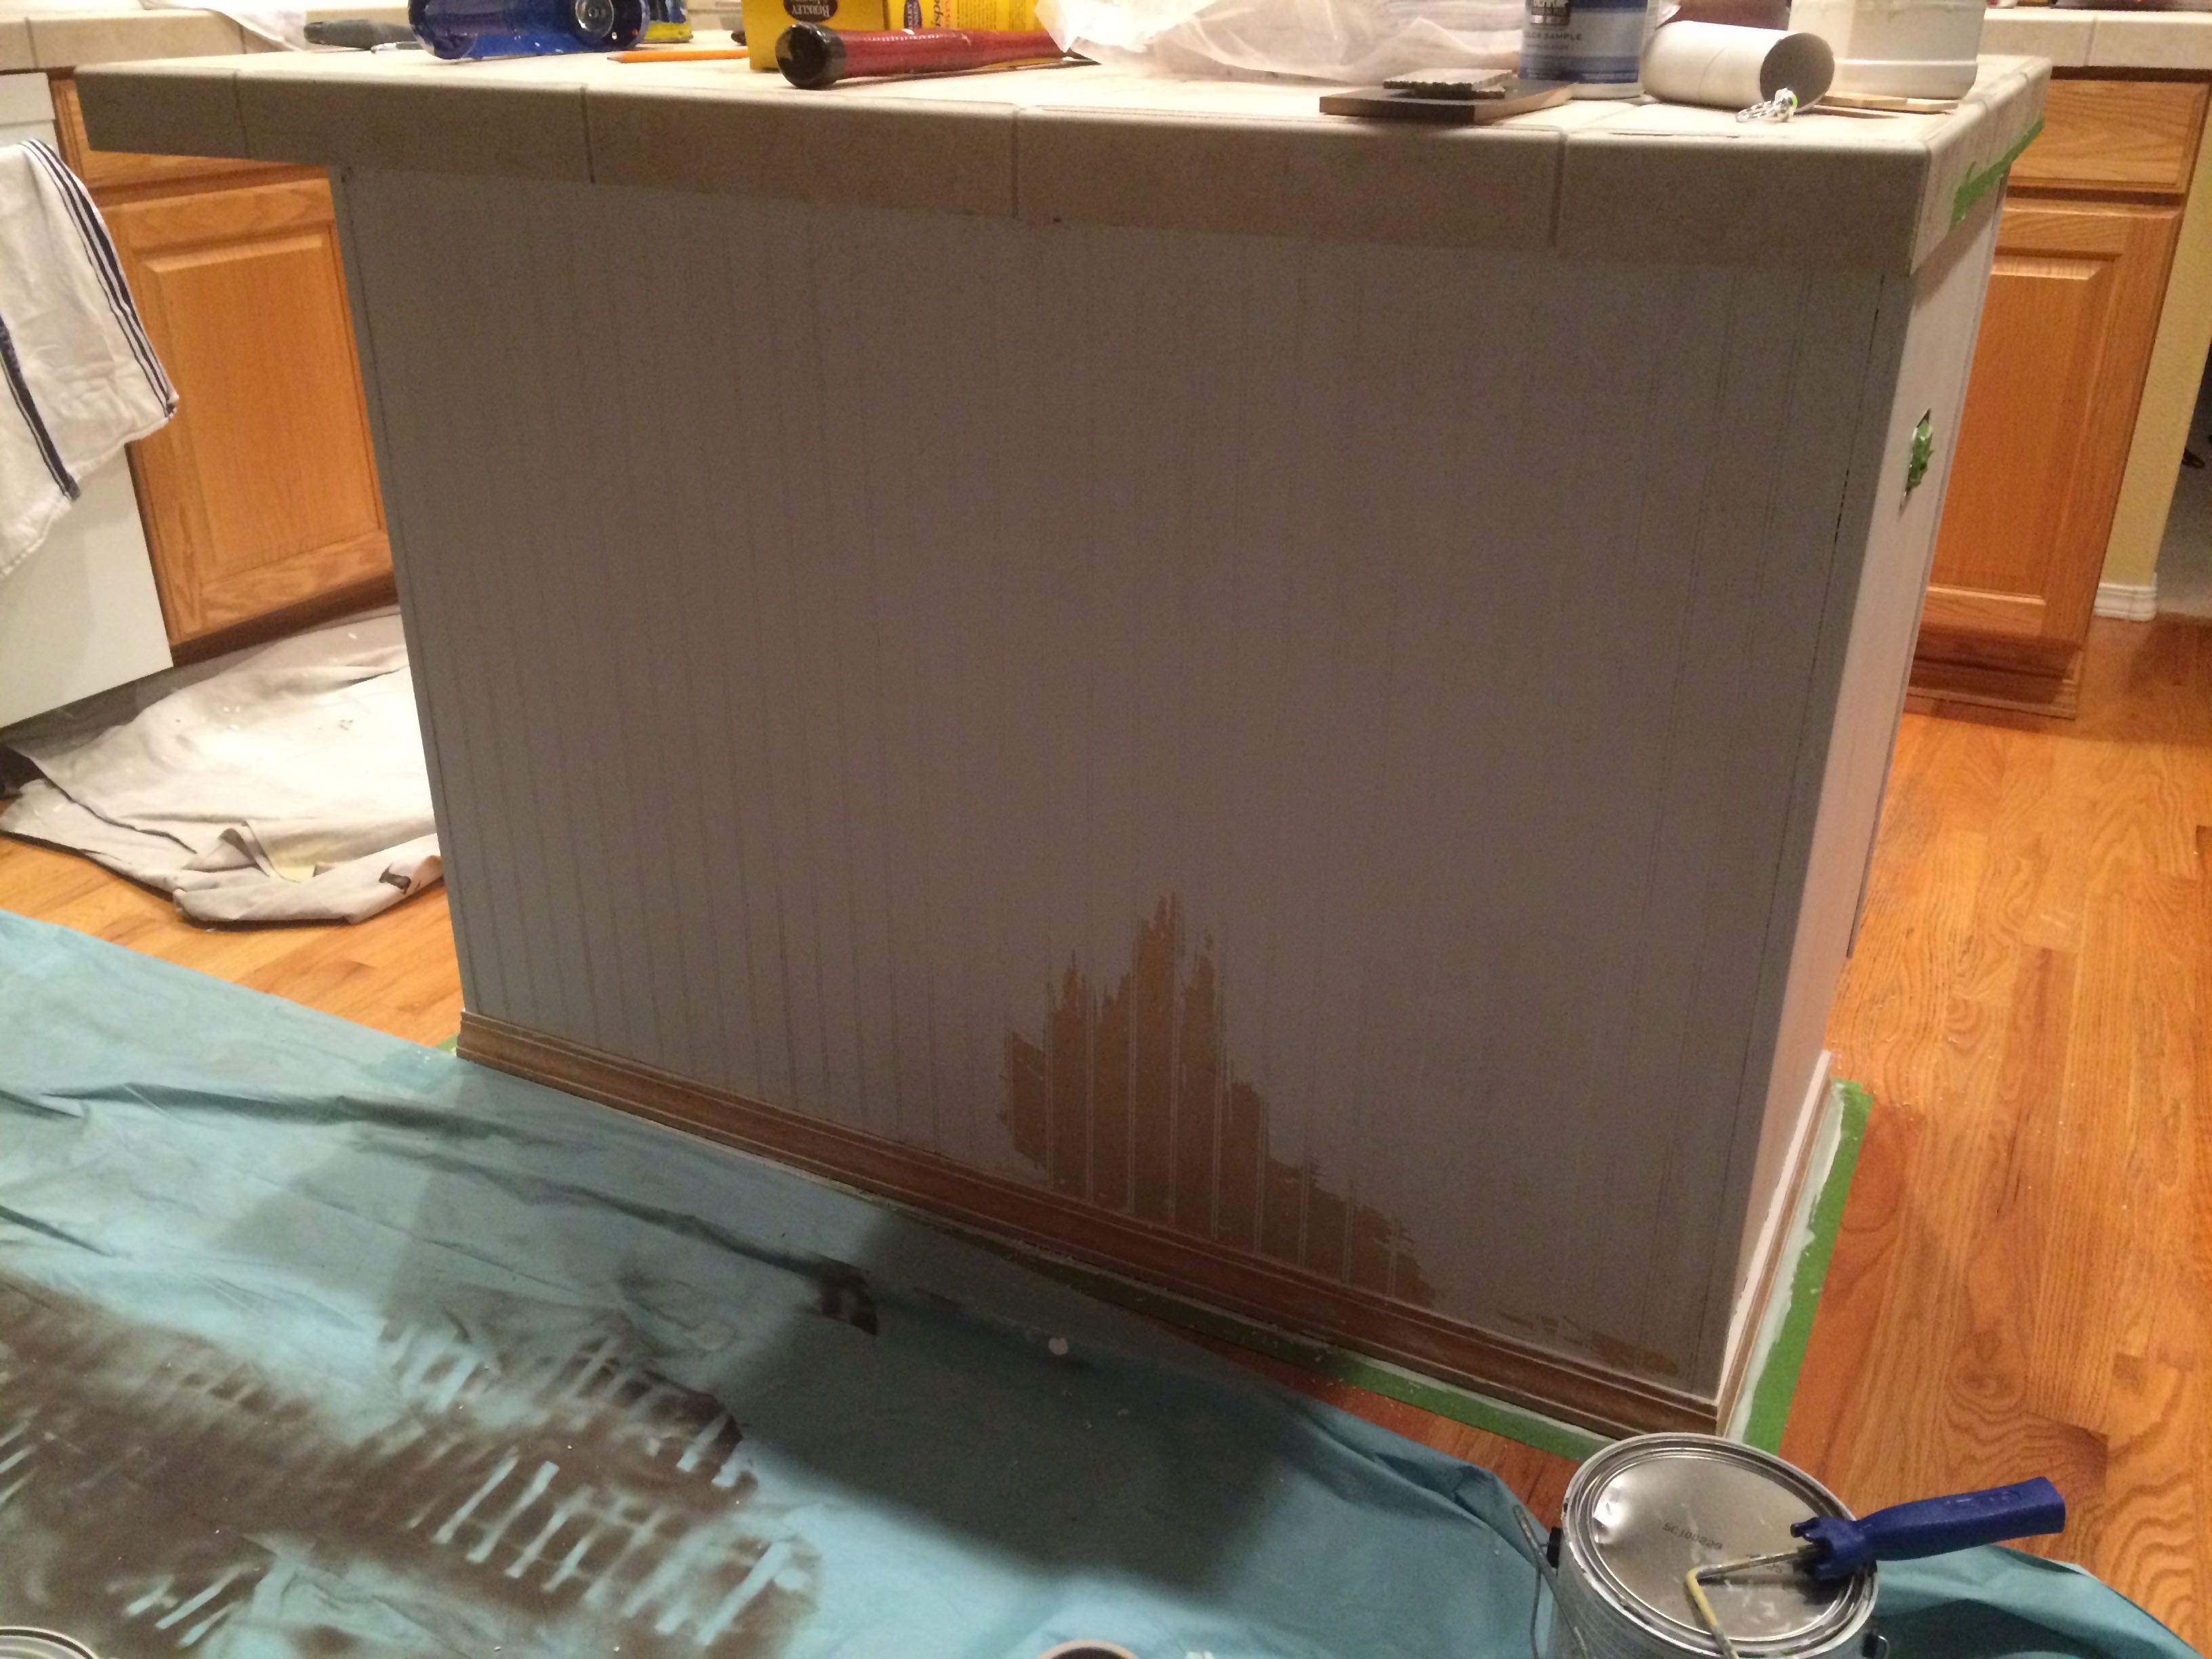
So…um…yeah…we had the wrong kind of primer the first go-round.
This morning I picked up a can of Zinnser Bullseye 1-2-3 primer and it made a HUGE difference! I was able to sand down the blemishes in the primer job before applying the first coat of paint and it didn’t peel off in two seconds. More »
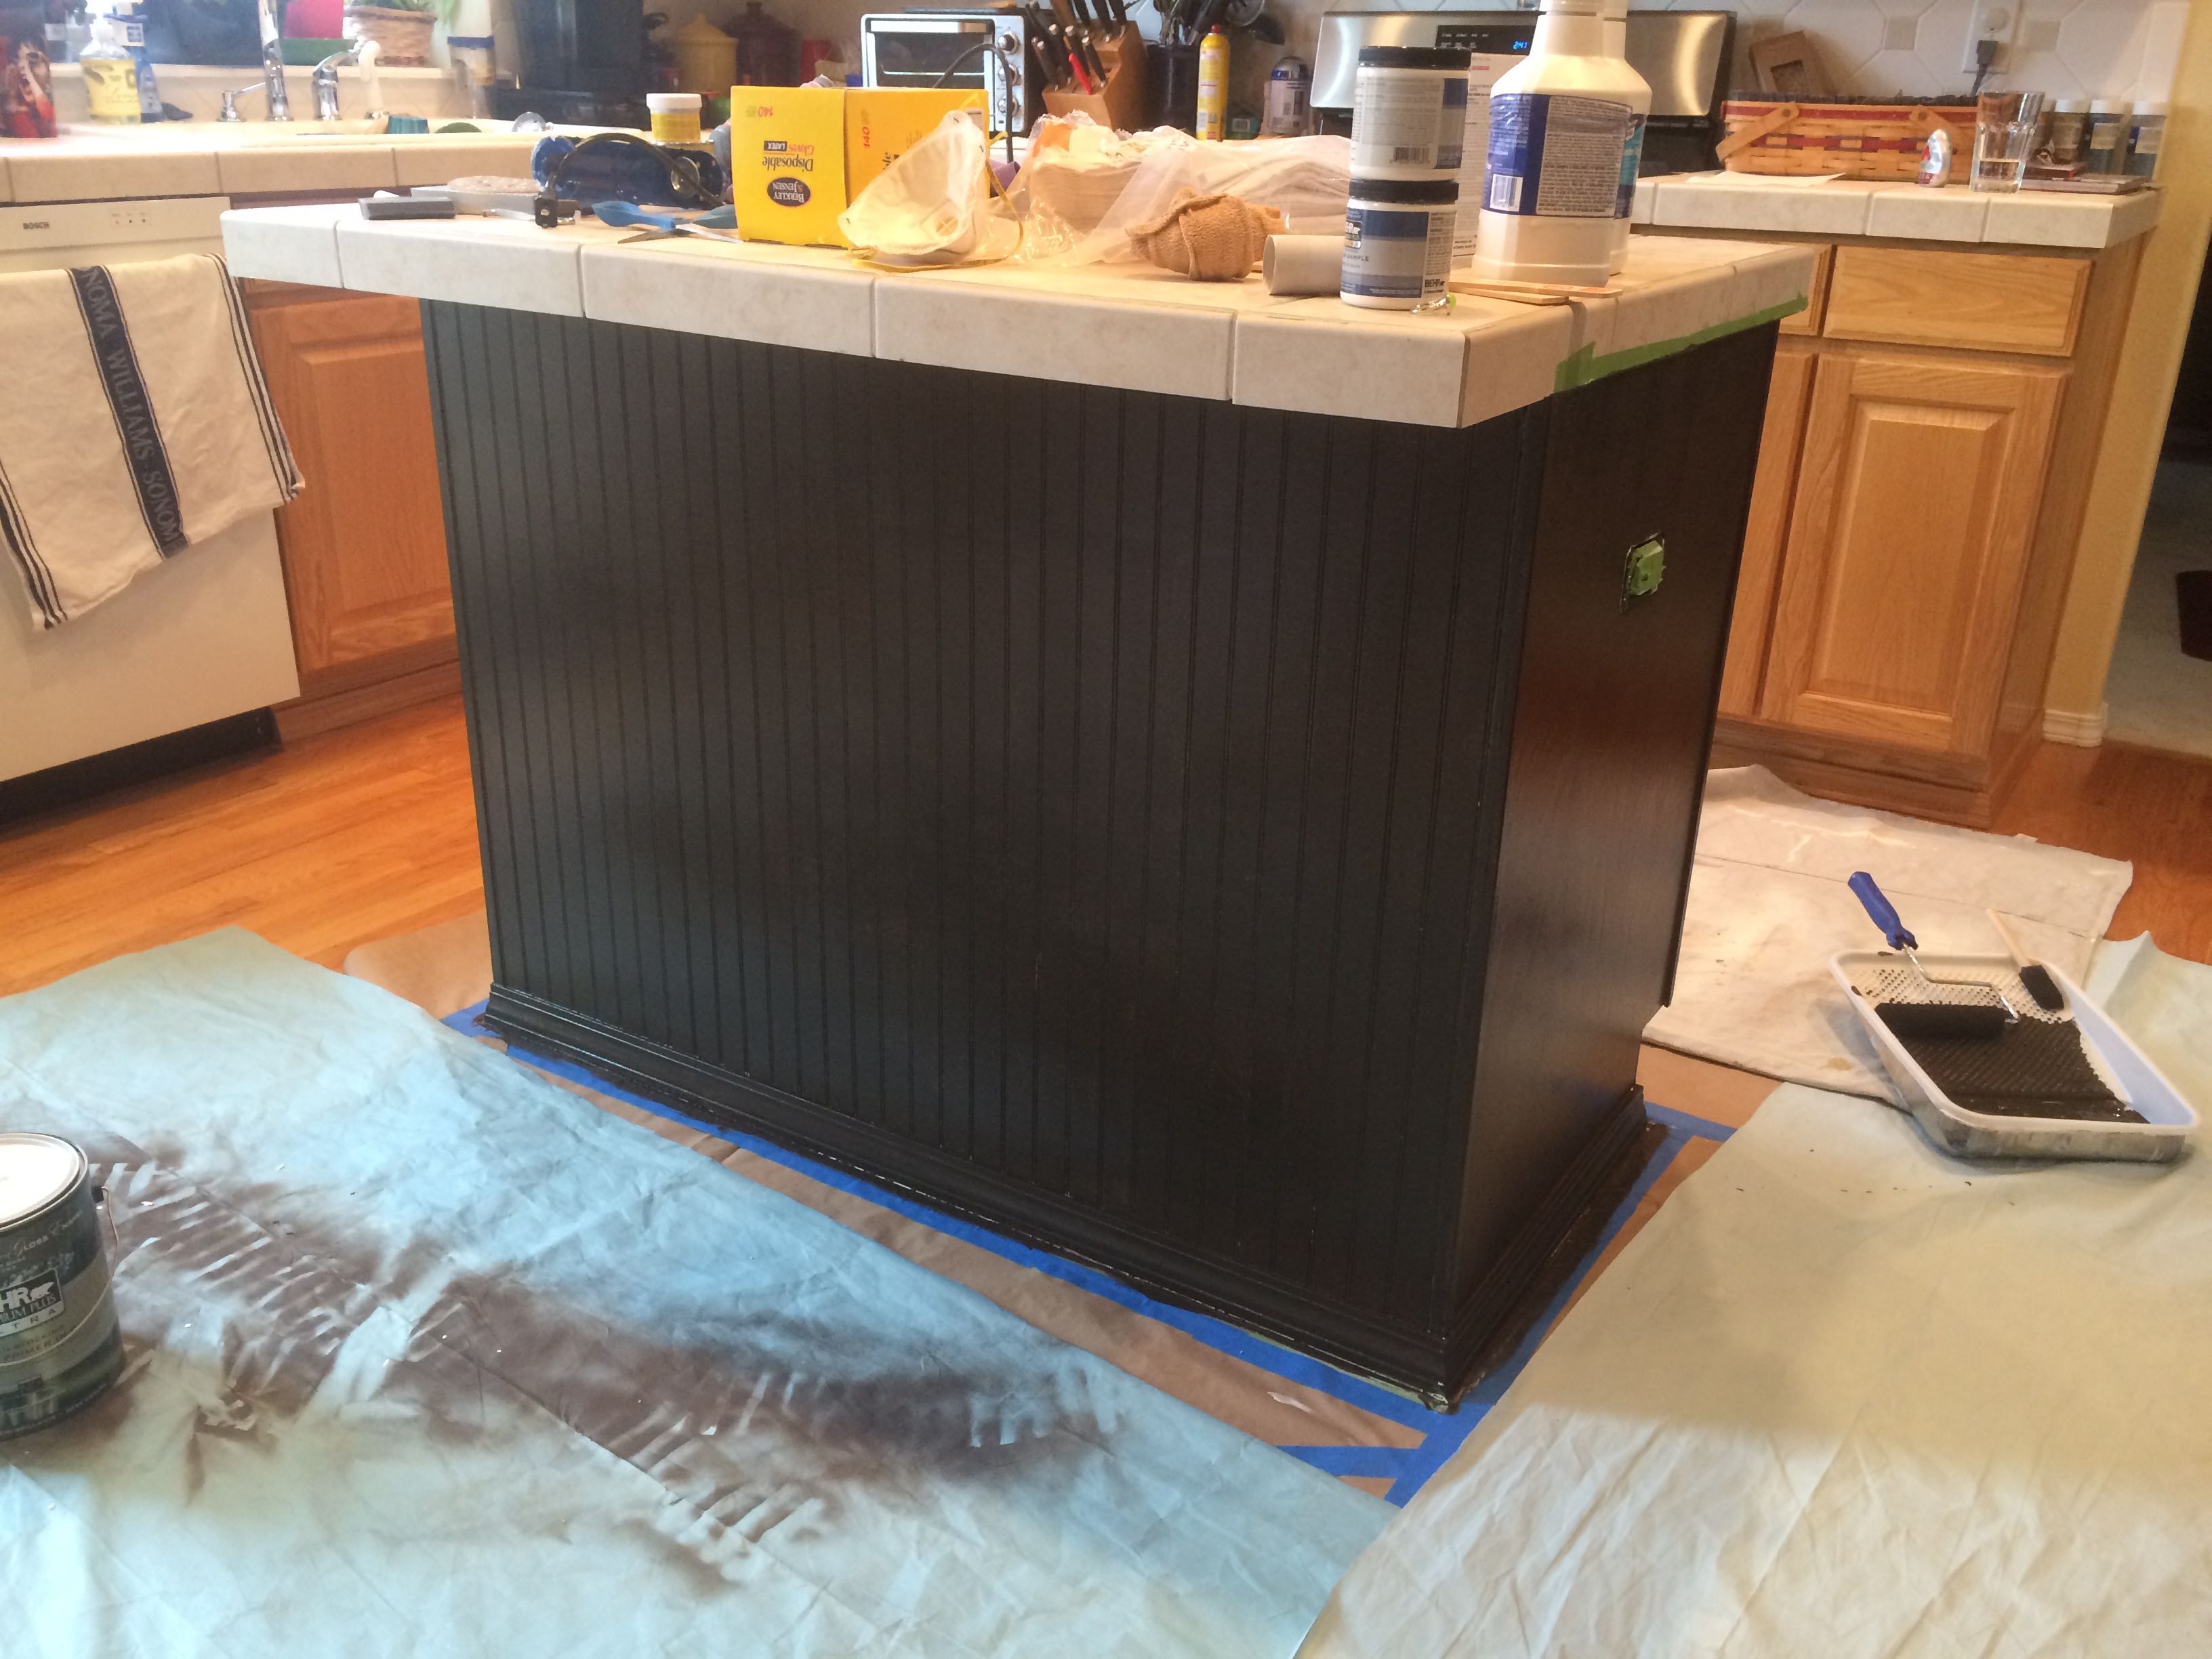
The prep work we did last night wasn’t good enough…
We had a pretty substantial setback today on our journey to (like) new cabinets.
Dave and I had read plenty of DIY tips suggesting that if one’s stained and sealed cabinets are old enough, a simple chemical treatment with a “sander deglosser” is all we would need before applying the primer, then paint.
Boy were we wrong!
Last night we had applied two coats of Kilz primer to the island and cabinet doors, and this evening, as Dave took a sanding block to some of the drips from last night’s work, large pieces of the primer came right off!
It turned out the deglosser didn’t do jack.
So tonight we had to break out the big guns: trisodium phosphate (TSP) and an orbiter sander to get all of the original primer off. It isn’t pretty. We will also be switching the primer to a “bonding primer“. We probably should have chosen the bonding primer all along…
So tomorrow we try all this again…we need to get the prep work right the first time, so this paint doesn’t chip and peel on us in a matter of months!
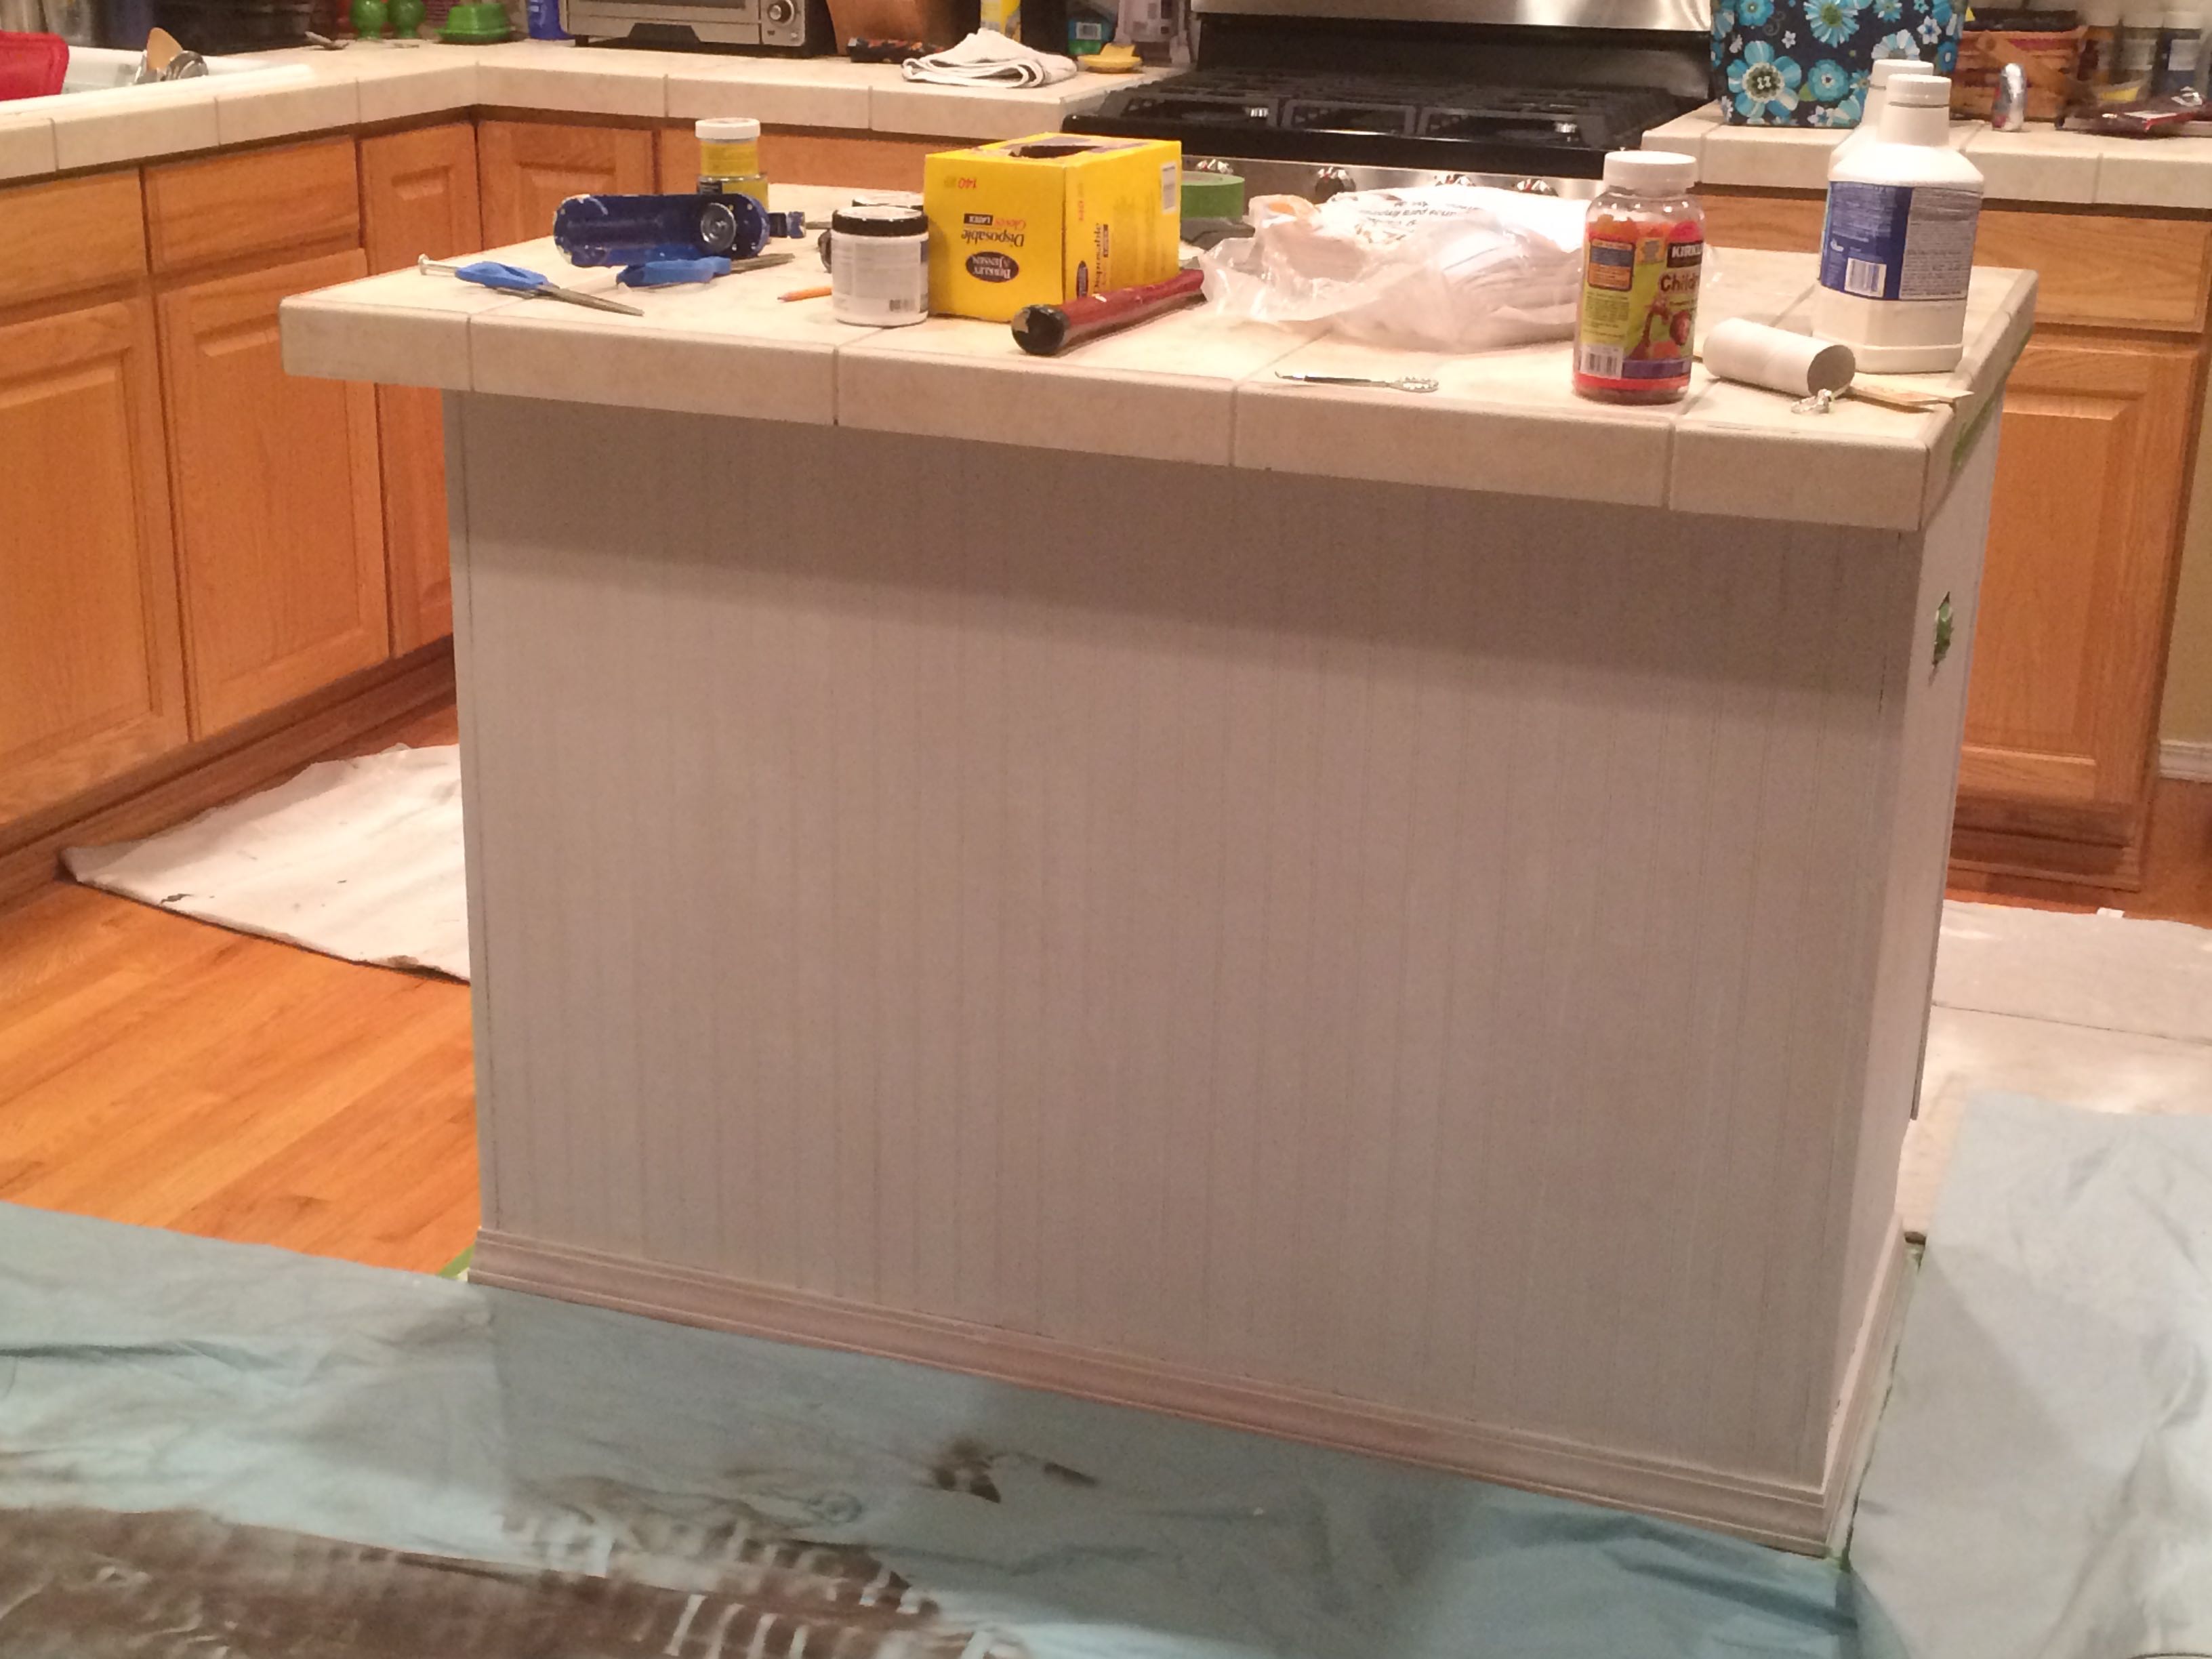
Primed and ready for the dark paint!
Today was the primer for the island. Once we started down this road, we told ourselves “There’s no turning back now”.
The island itself will be ready for the real paint color tomorrow, but we will need to degrease and sand down the cabinet doors more than the rest of the surfaces. The doors need a LOT of prep work, since they bear the brunt of the 16-years worth of grease and grime.
Our plan is to have the kitchen island painted by the end of this weekend. I’m not completely sure when we’ll get to the rest of the cabinets, which we’re painting white. But we plan to space things out some. As of now, I can still use most of my kitchen, which is nice.

Timmy studies his scrambled cube for 15 seconds before the timer starts.
Last week, Timmy was on a team representing his elementary school at a regional Rubik’s Cube competition. It was his first experience, and was the first time his school had entered a team. Timmy was the only 4th grader, the rest of his team were 5th graders. While the team didn’t take home any prizes, they certainly are competitive and I’m sure all the students learned a lot.
Dave, Jacob, and I certainly learned a lot. We had never seen a competition like that! More »
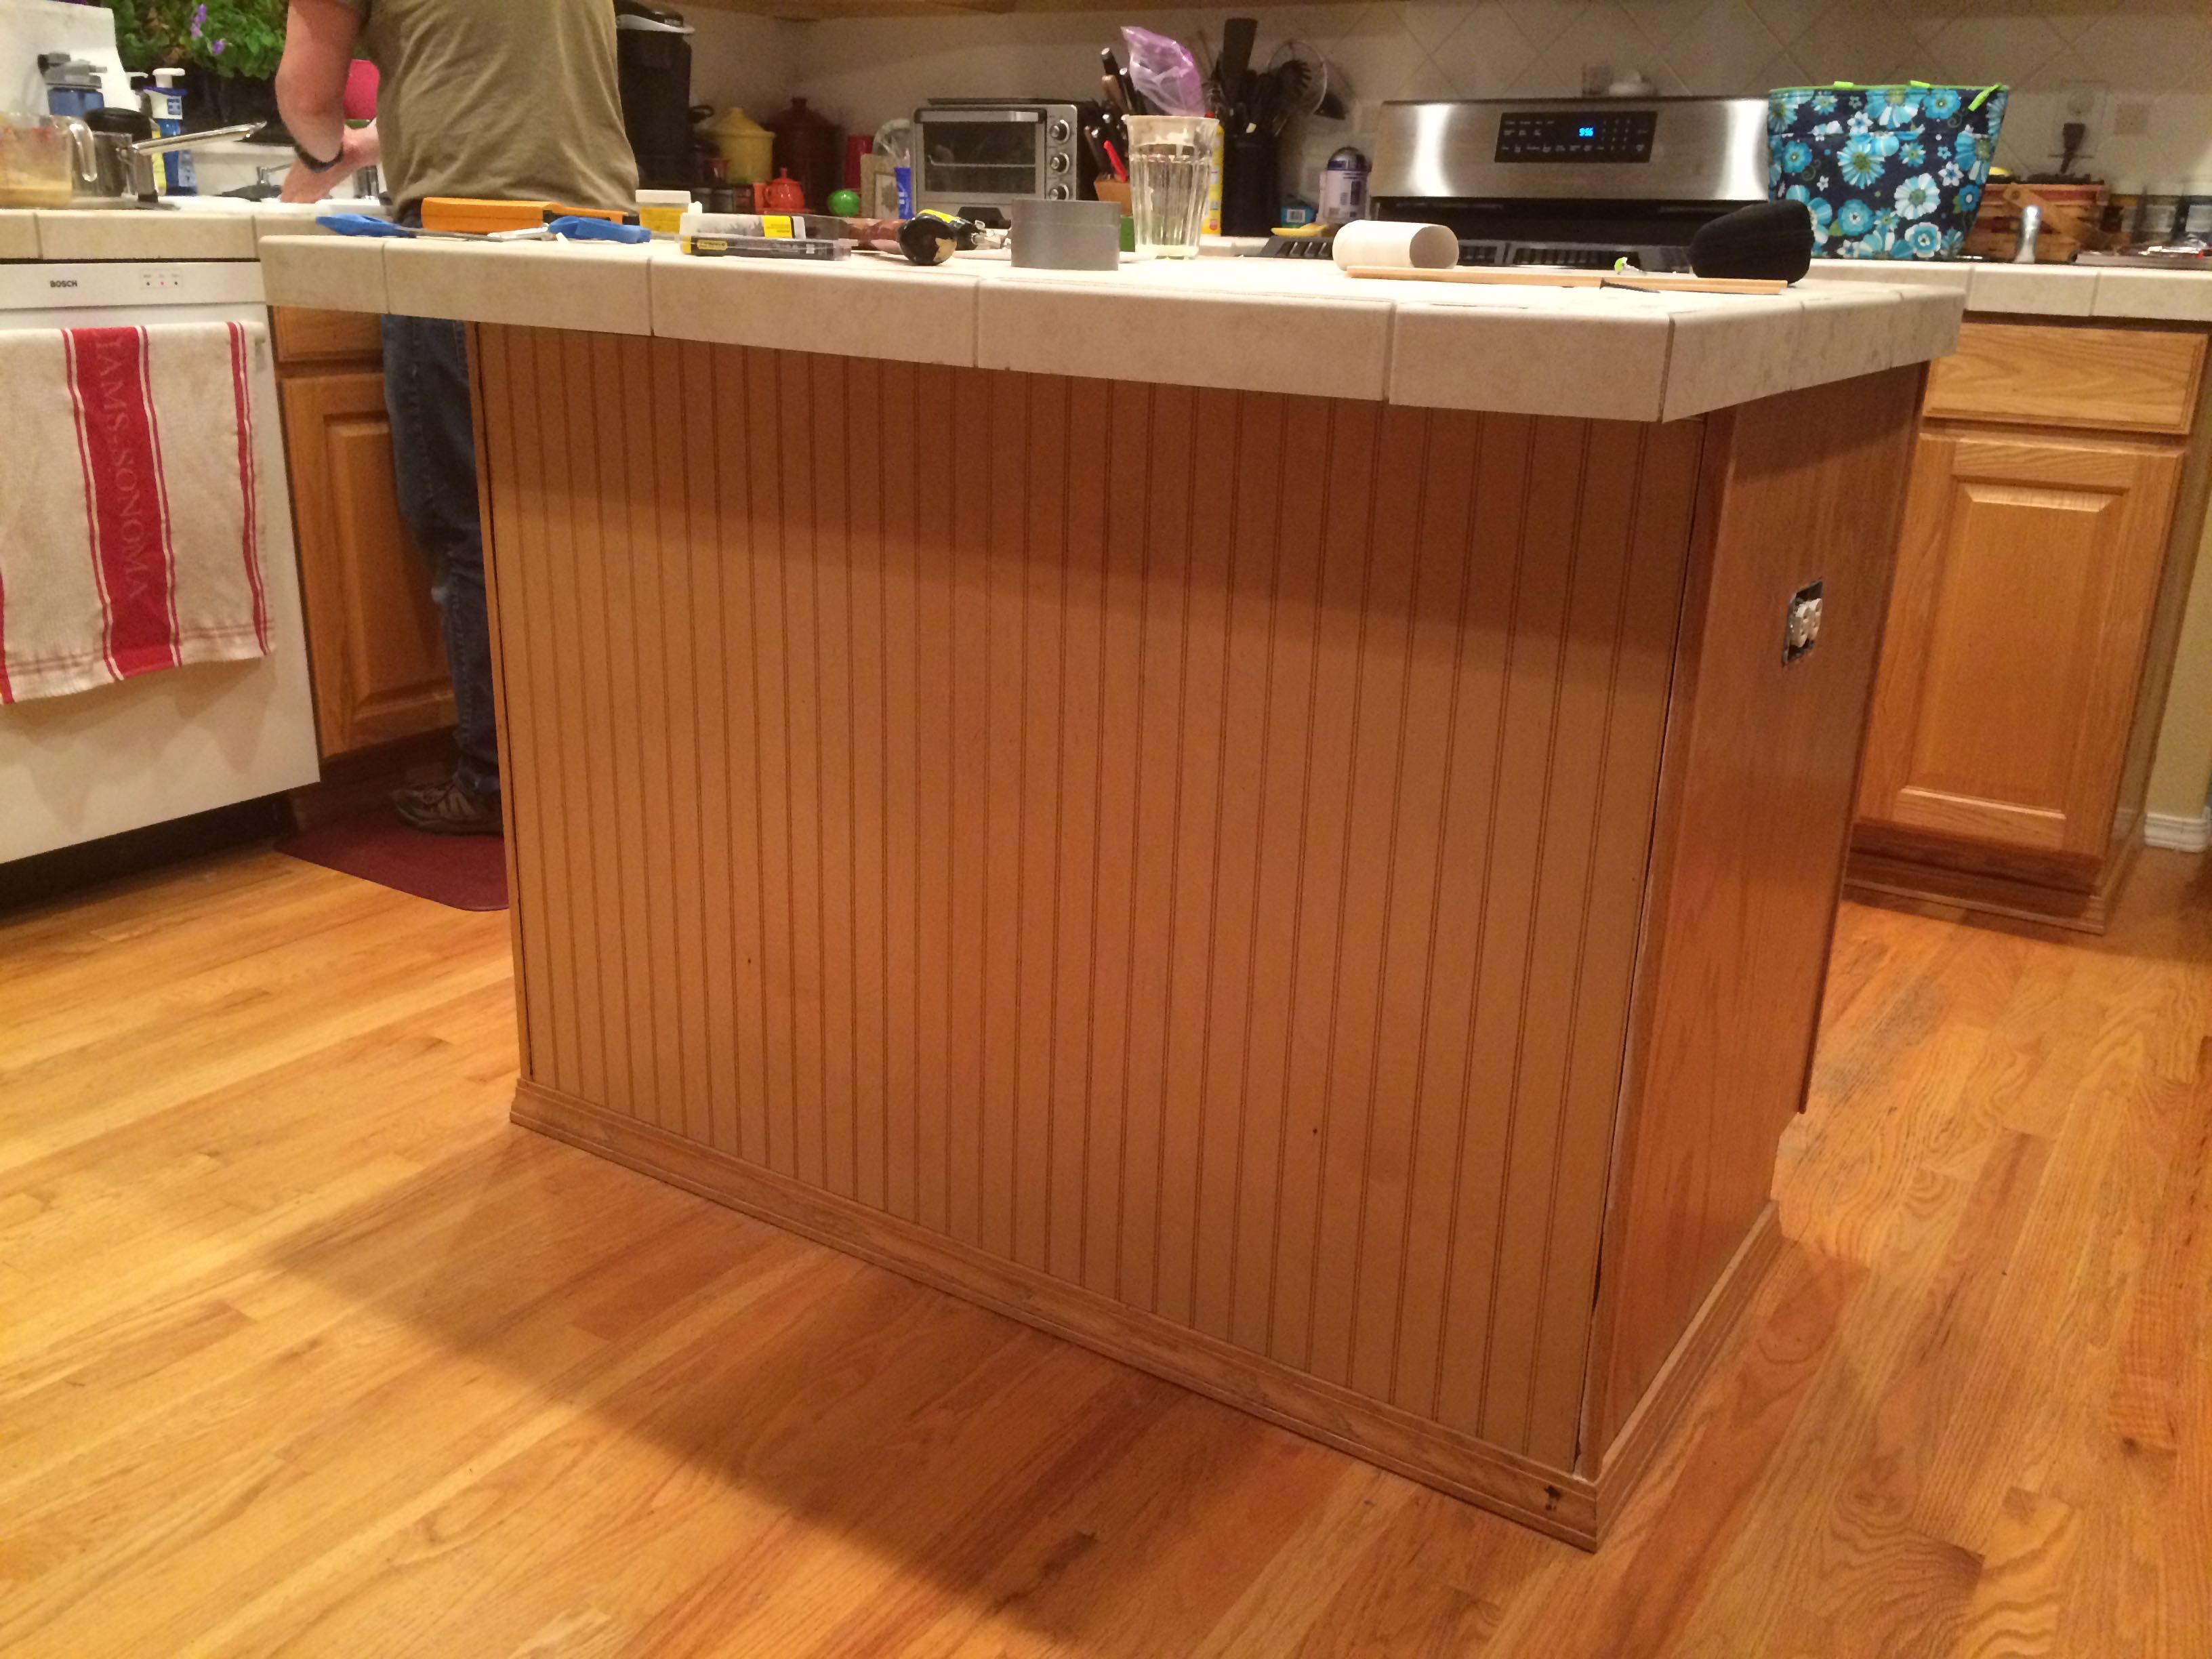
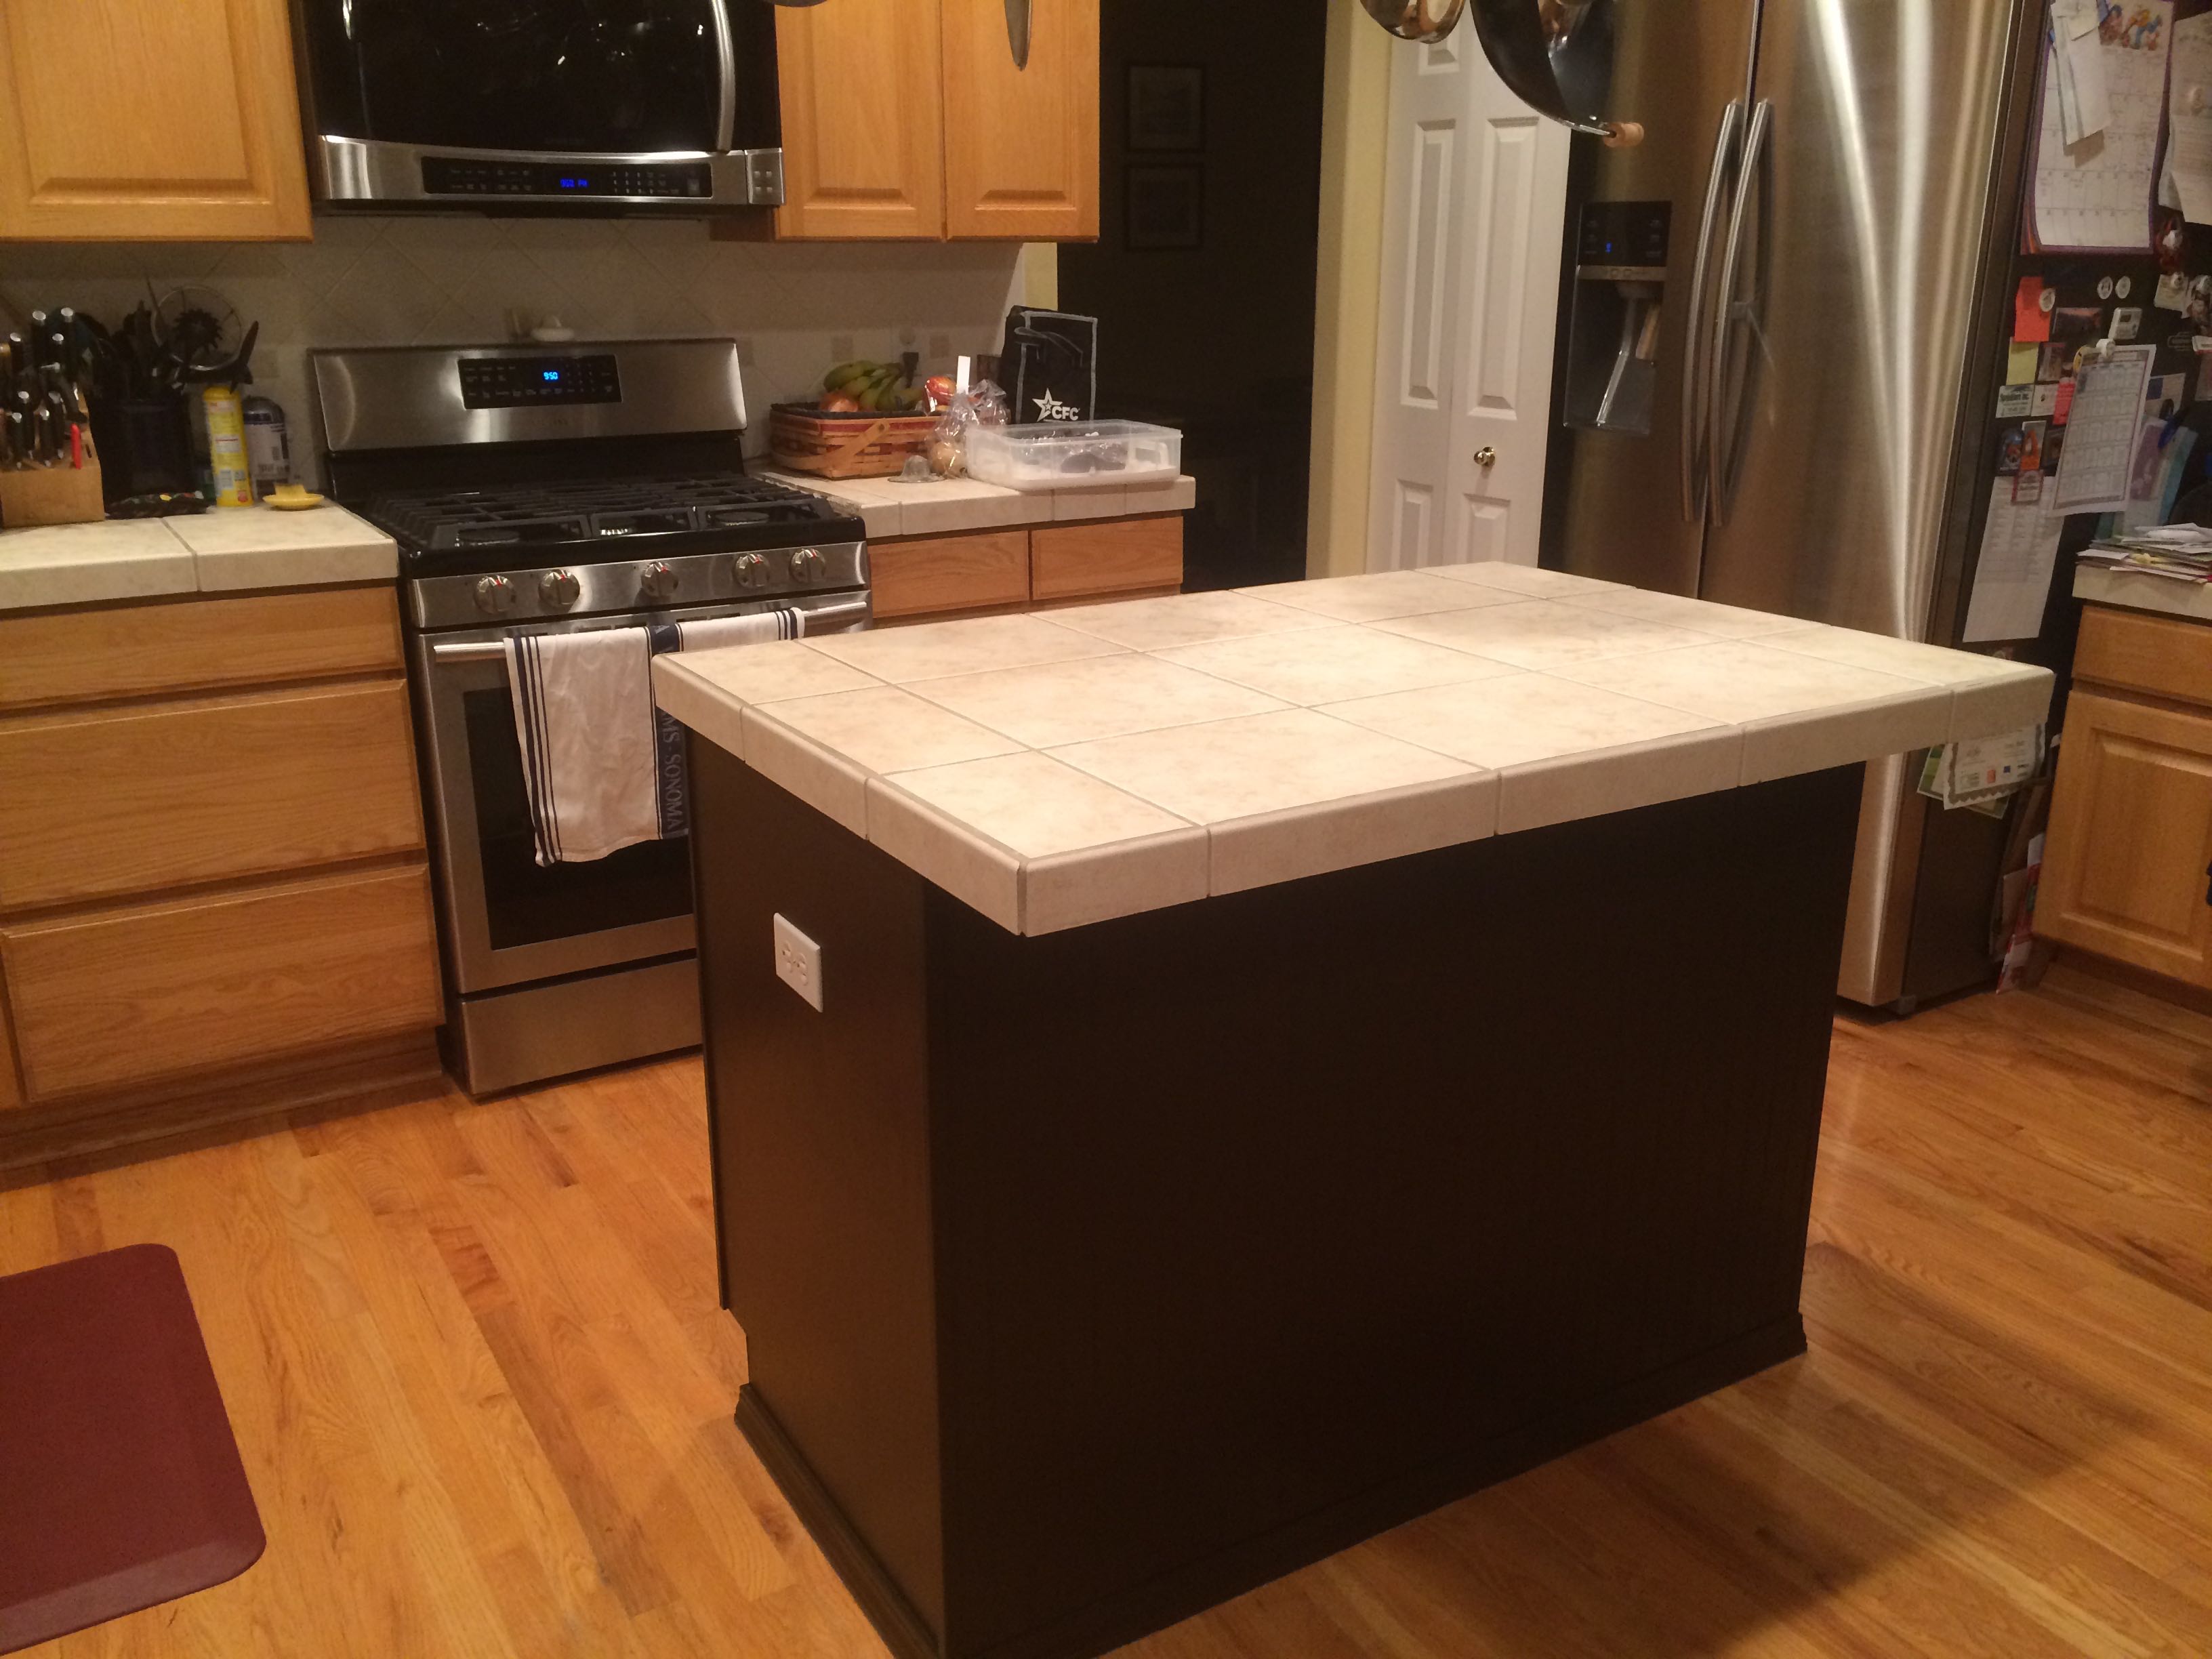
Tonight we added some beadboard to the kitchen island. This will all be painted by this weekend.
Tonight we continued our kitchen work by installing a panel of bead board to one side of the kitchen island. This was not only a cosmetic modification, but also somewhat structural: the original plain paneling was dried out and cracking. We simply glued the panel on with Liquid Nails and then nailed it into place.
We were challenged with cutting the board perfectly. While our table saw took care of the major cuts, we purposefully erred on not cutting it down enough. Dave chose to sand down any longer edges rather than risk splitting the wood with running it through our table saw for little slivers. More »
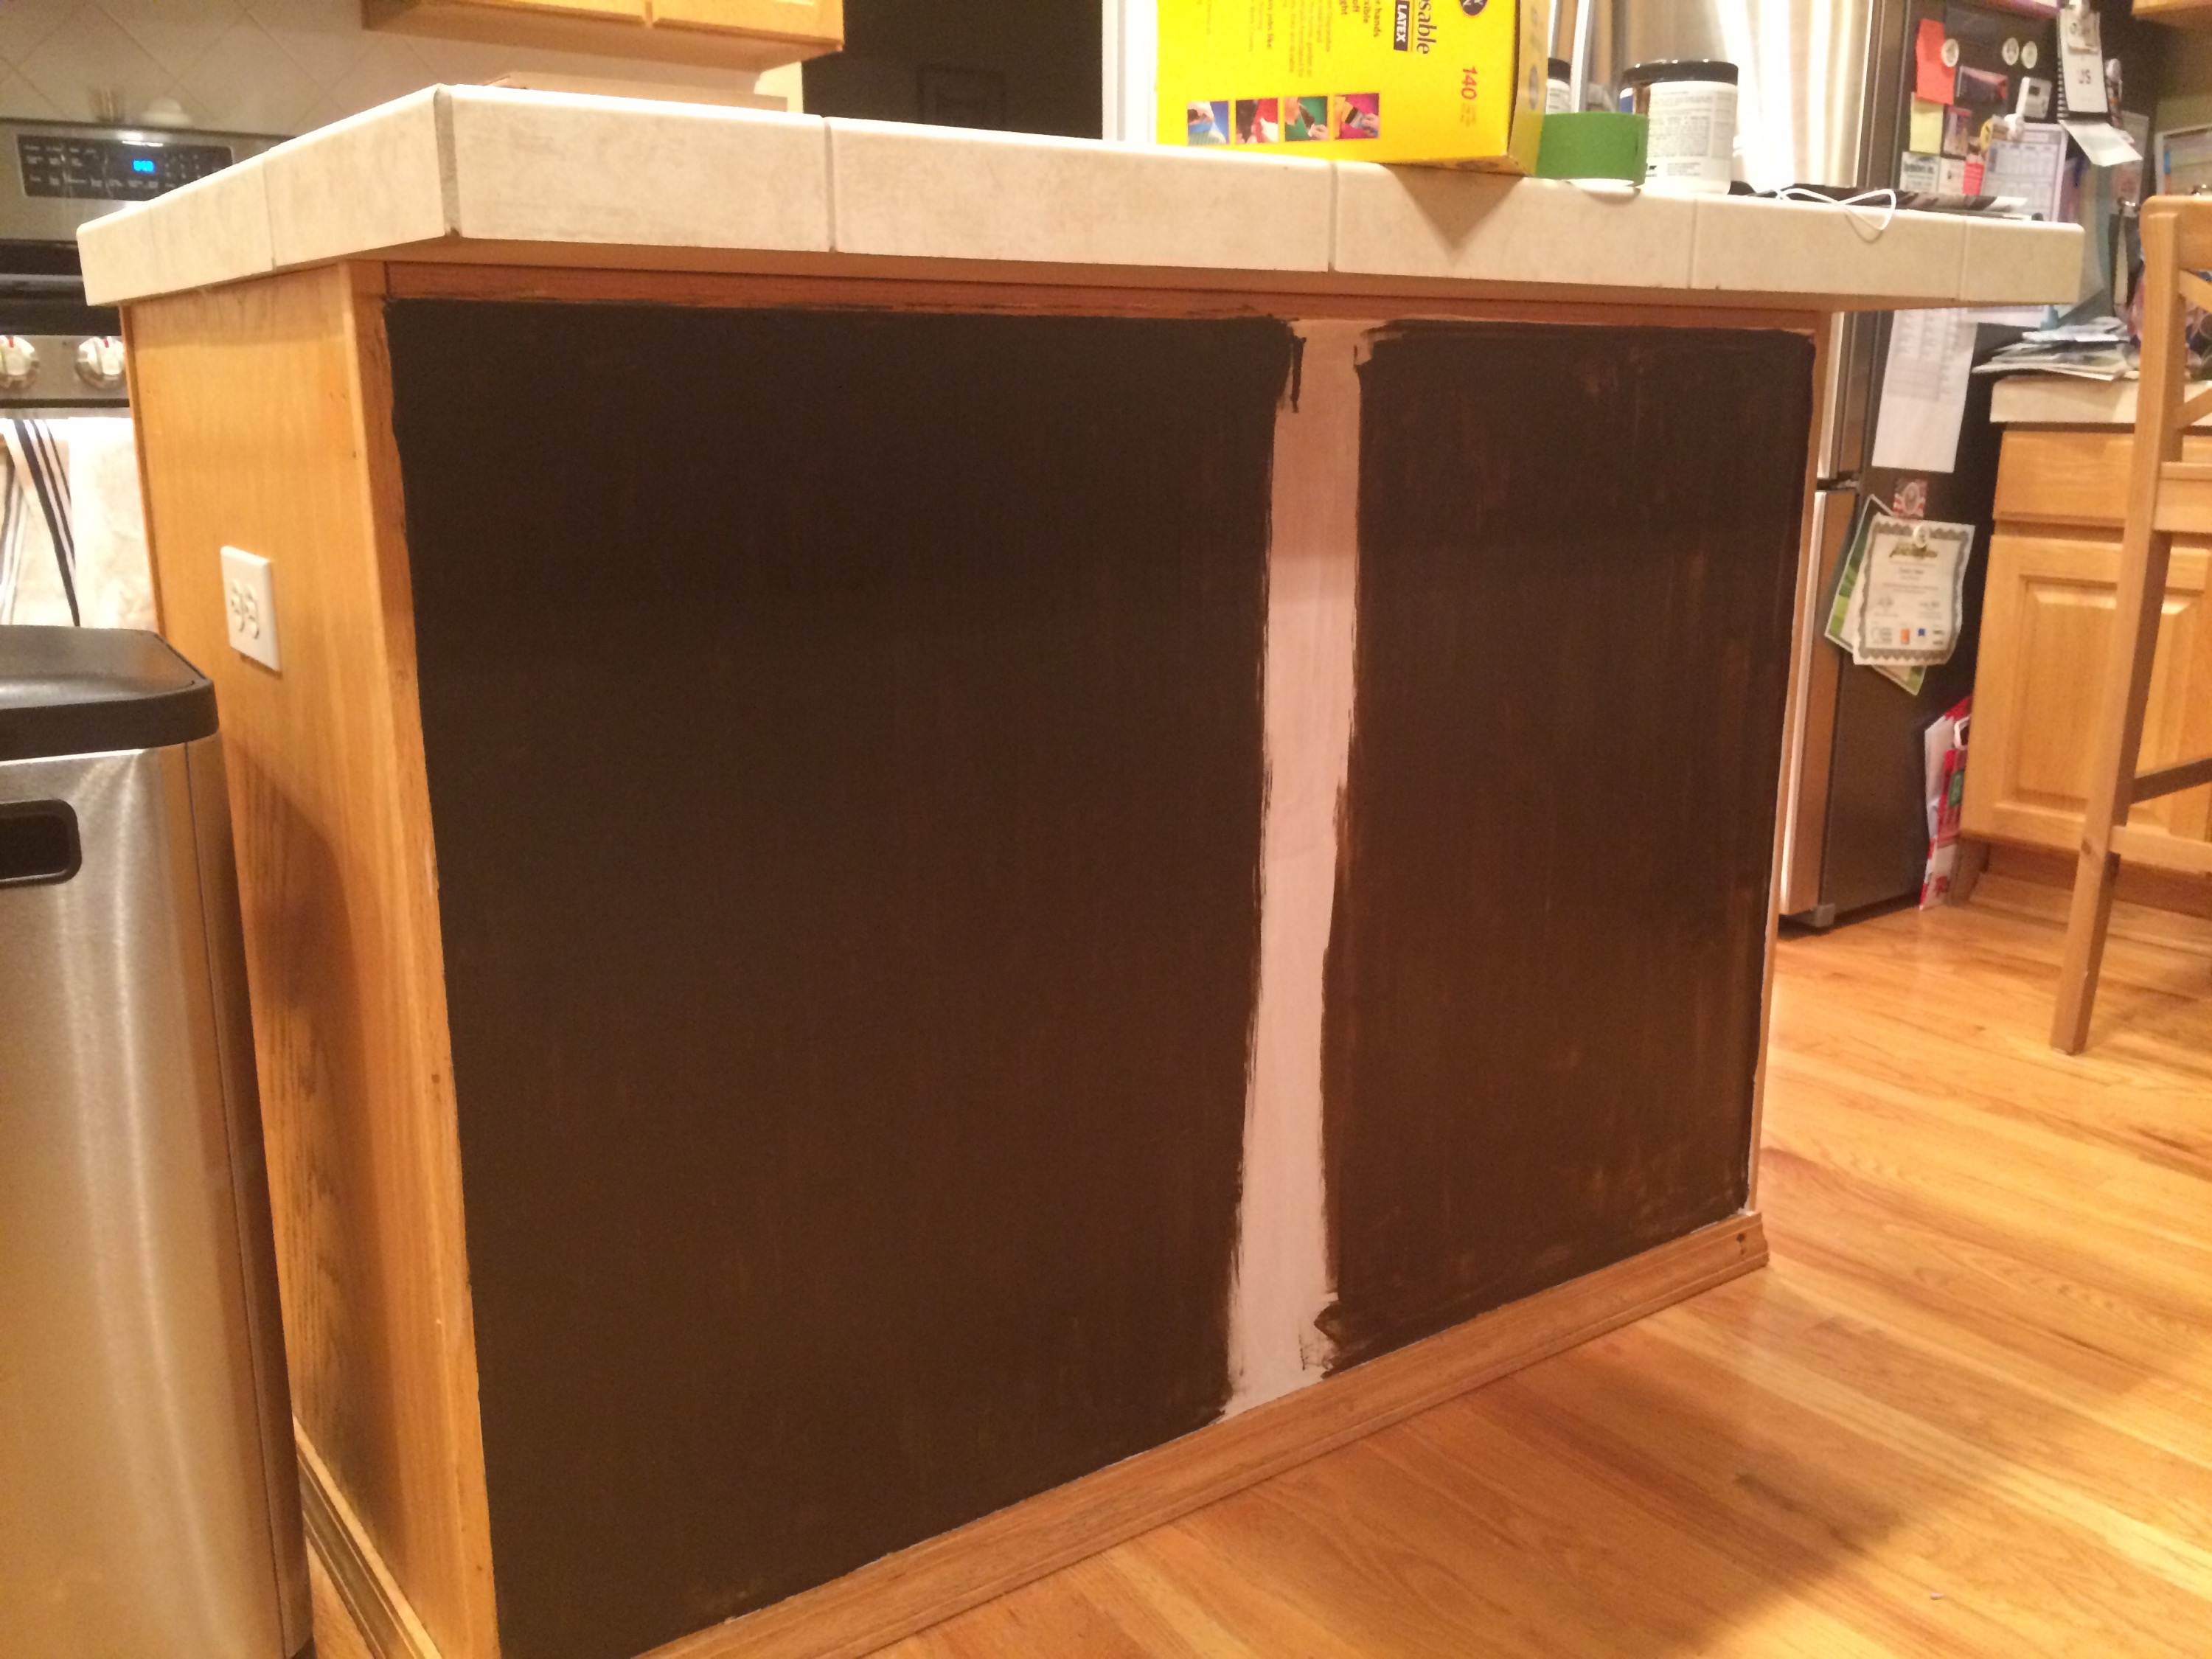
What do you think? Left color or right?
Bear with me while I try to figure out the iPhone version of my blog editor.
Tonight we tried out a couple “browns” for the kitchen island. This is a primer-less paint, and we are just covering this panel with beadboard so you aren’t seeing our “A game” in terms of paint prowess.
We overwhelmingly agreed on the left-hand color.
What do you think?
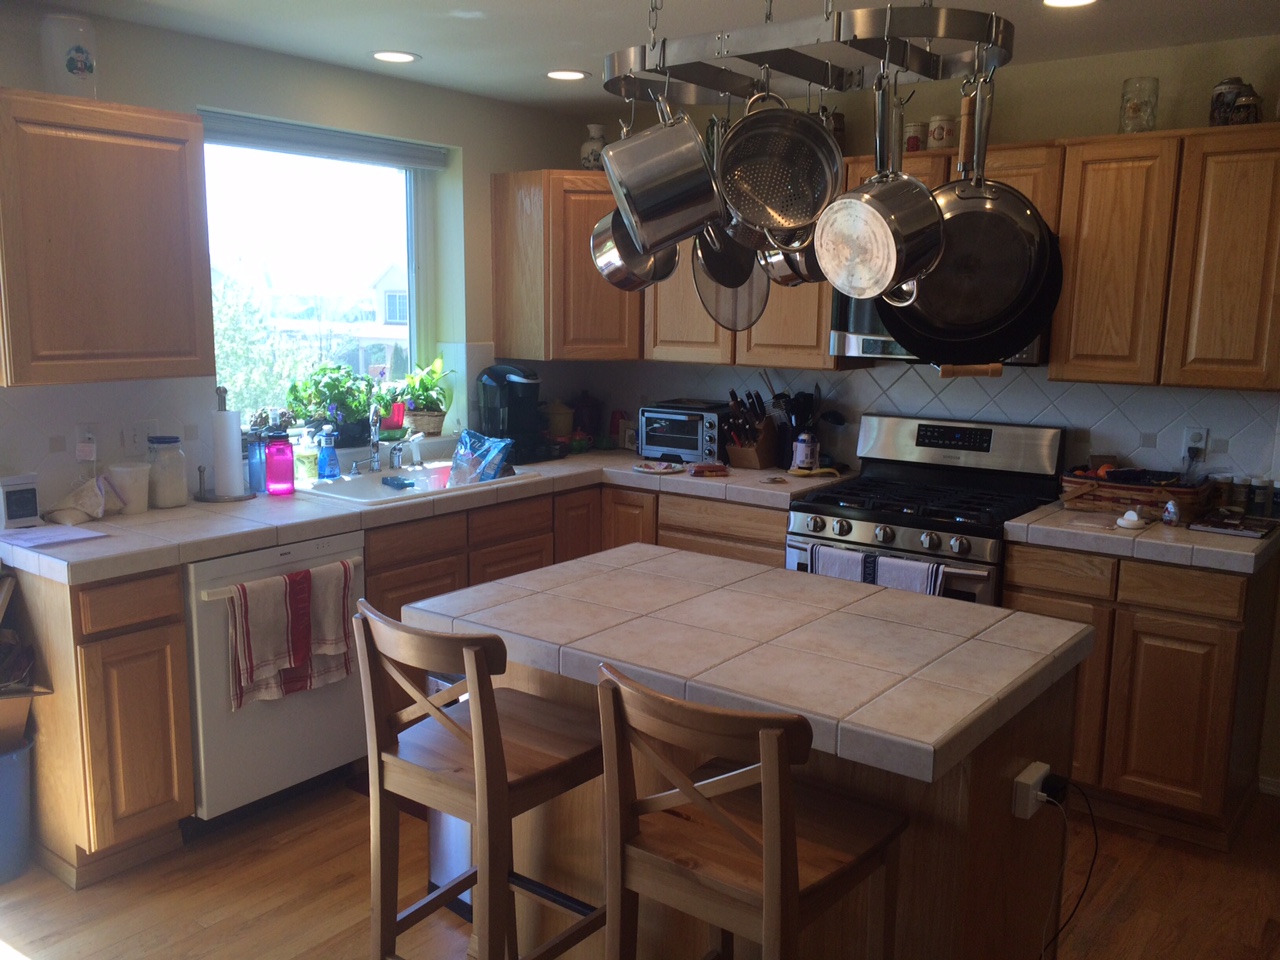
Our kitchen as of April 2015. Ignore the mess, every time we prepare a meal things just seem to explode. Jacob was off to the side waiting to put some balsa glider parts on the clean island.
We are embarking on our next DIY project over the next few months. Our plan is to make phased improvements to our kitchen between now and the end of 2015. We’re taking our time on this, in part so we can save up money and pay cash for each phase, but also because we have to fit the DIY tasks in between our busy work schedules. More »

Park City is a beautiful, classy mountain town. It’s worth visiting…
Thanks to some last minute planning on my part, we were unable to get lodging for some Spring Break skiing within Colorado, but we were able to get a condo in Park City, Utah. While it may seem strange that we travelled all the way to Utah for skiing that might have been no better than in Colorado, we realized there are some other things worth seeing in Utah and we were looking forward to that. I’d never been to Park City, and for those who know me well, you know that I’m always game to check out new places in our great country.
For the drive westward, Dave and I elected to go off the beaten path a little and see some of the more remote parts of Colorado and Utah. It was interesting to say the least. Below I’ve included a map of the westward route we took, which took us to such places as Rangely and Dinosaur, Colorado. You should be able to zoom in, zoom out, and pan around this map.
Rangely was particularly interesting because it’s a very busy oil field, owned and operated by a division of Chevron.
I had no idea the field was there. It dominates the northwest corner of Colorado, and it appeared that everything in the area was designed to support the oil well operations. The field produces about 11,000 barrels of crude oil per day, on part with other domestic drilling operations. The town of Rangely itself is small, but sufficient enough that trips to “nearby” Grand Junction (nearly 100 miles away) could be few and far between.
Learn more about the geography of the Rangely fields here.
Once we crossed into Utah, we spent the rest of the drive traveling into and out of Native American Reservation lands, although, unlike in Arizona last summer, there was nothing indicating with certainty whose land we were in. The drive was long…and the kids were restless from the drive. Most of the route was a two-lane highway, and we were often behind RVs and semitrailer trucks.
However, once we came into Park City, we were greeted with an absolutely gorgeous mountain town, although we noticed right away that the Park City Ski Resort was devoid of snow, except for just a few runs.
We stayed at the Skiers Lodge, which was sufficient for our purposes: it was clean, warm, and spacious. But we quickly realized that our condo complex was very old compared to the other ones surrounding us.

We didn’t have this much snow when we were at Skier’s Lodge, but you get the idea.

This wasn’t our condo, but the kitchen/eating area looked like this. Old? Yes. Clean and warm? Also yes.
Upon our arrival, we took a walk around town and the base of the ski area.
You can see that there’s plenty of snow at the base, but it was being brought in every evening from further up the mountain. Can you see the huge competition ski jumps just over Dave’s head? That lodge behind him is really nice too, designed to look like a an old stamp mill.
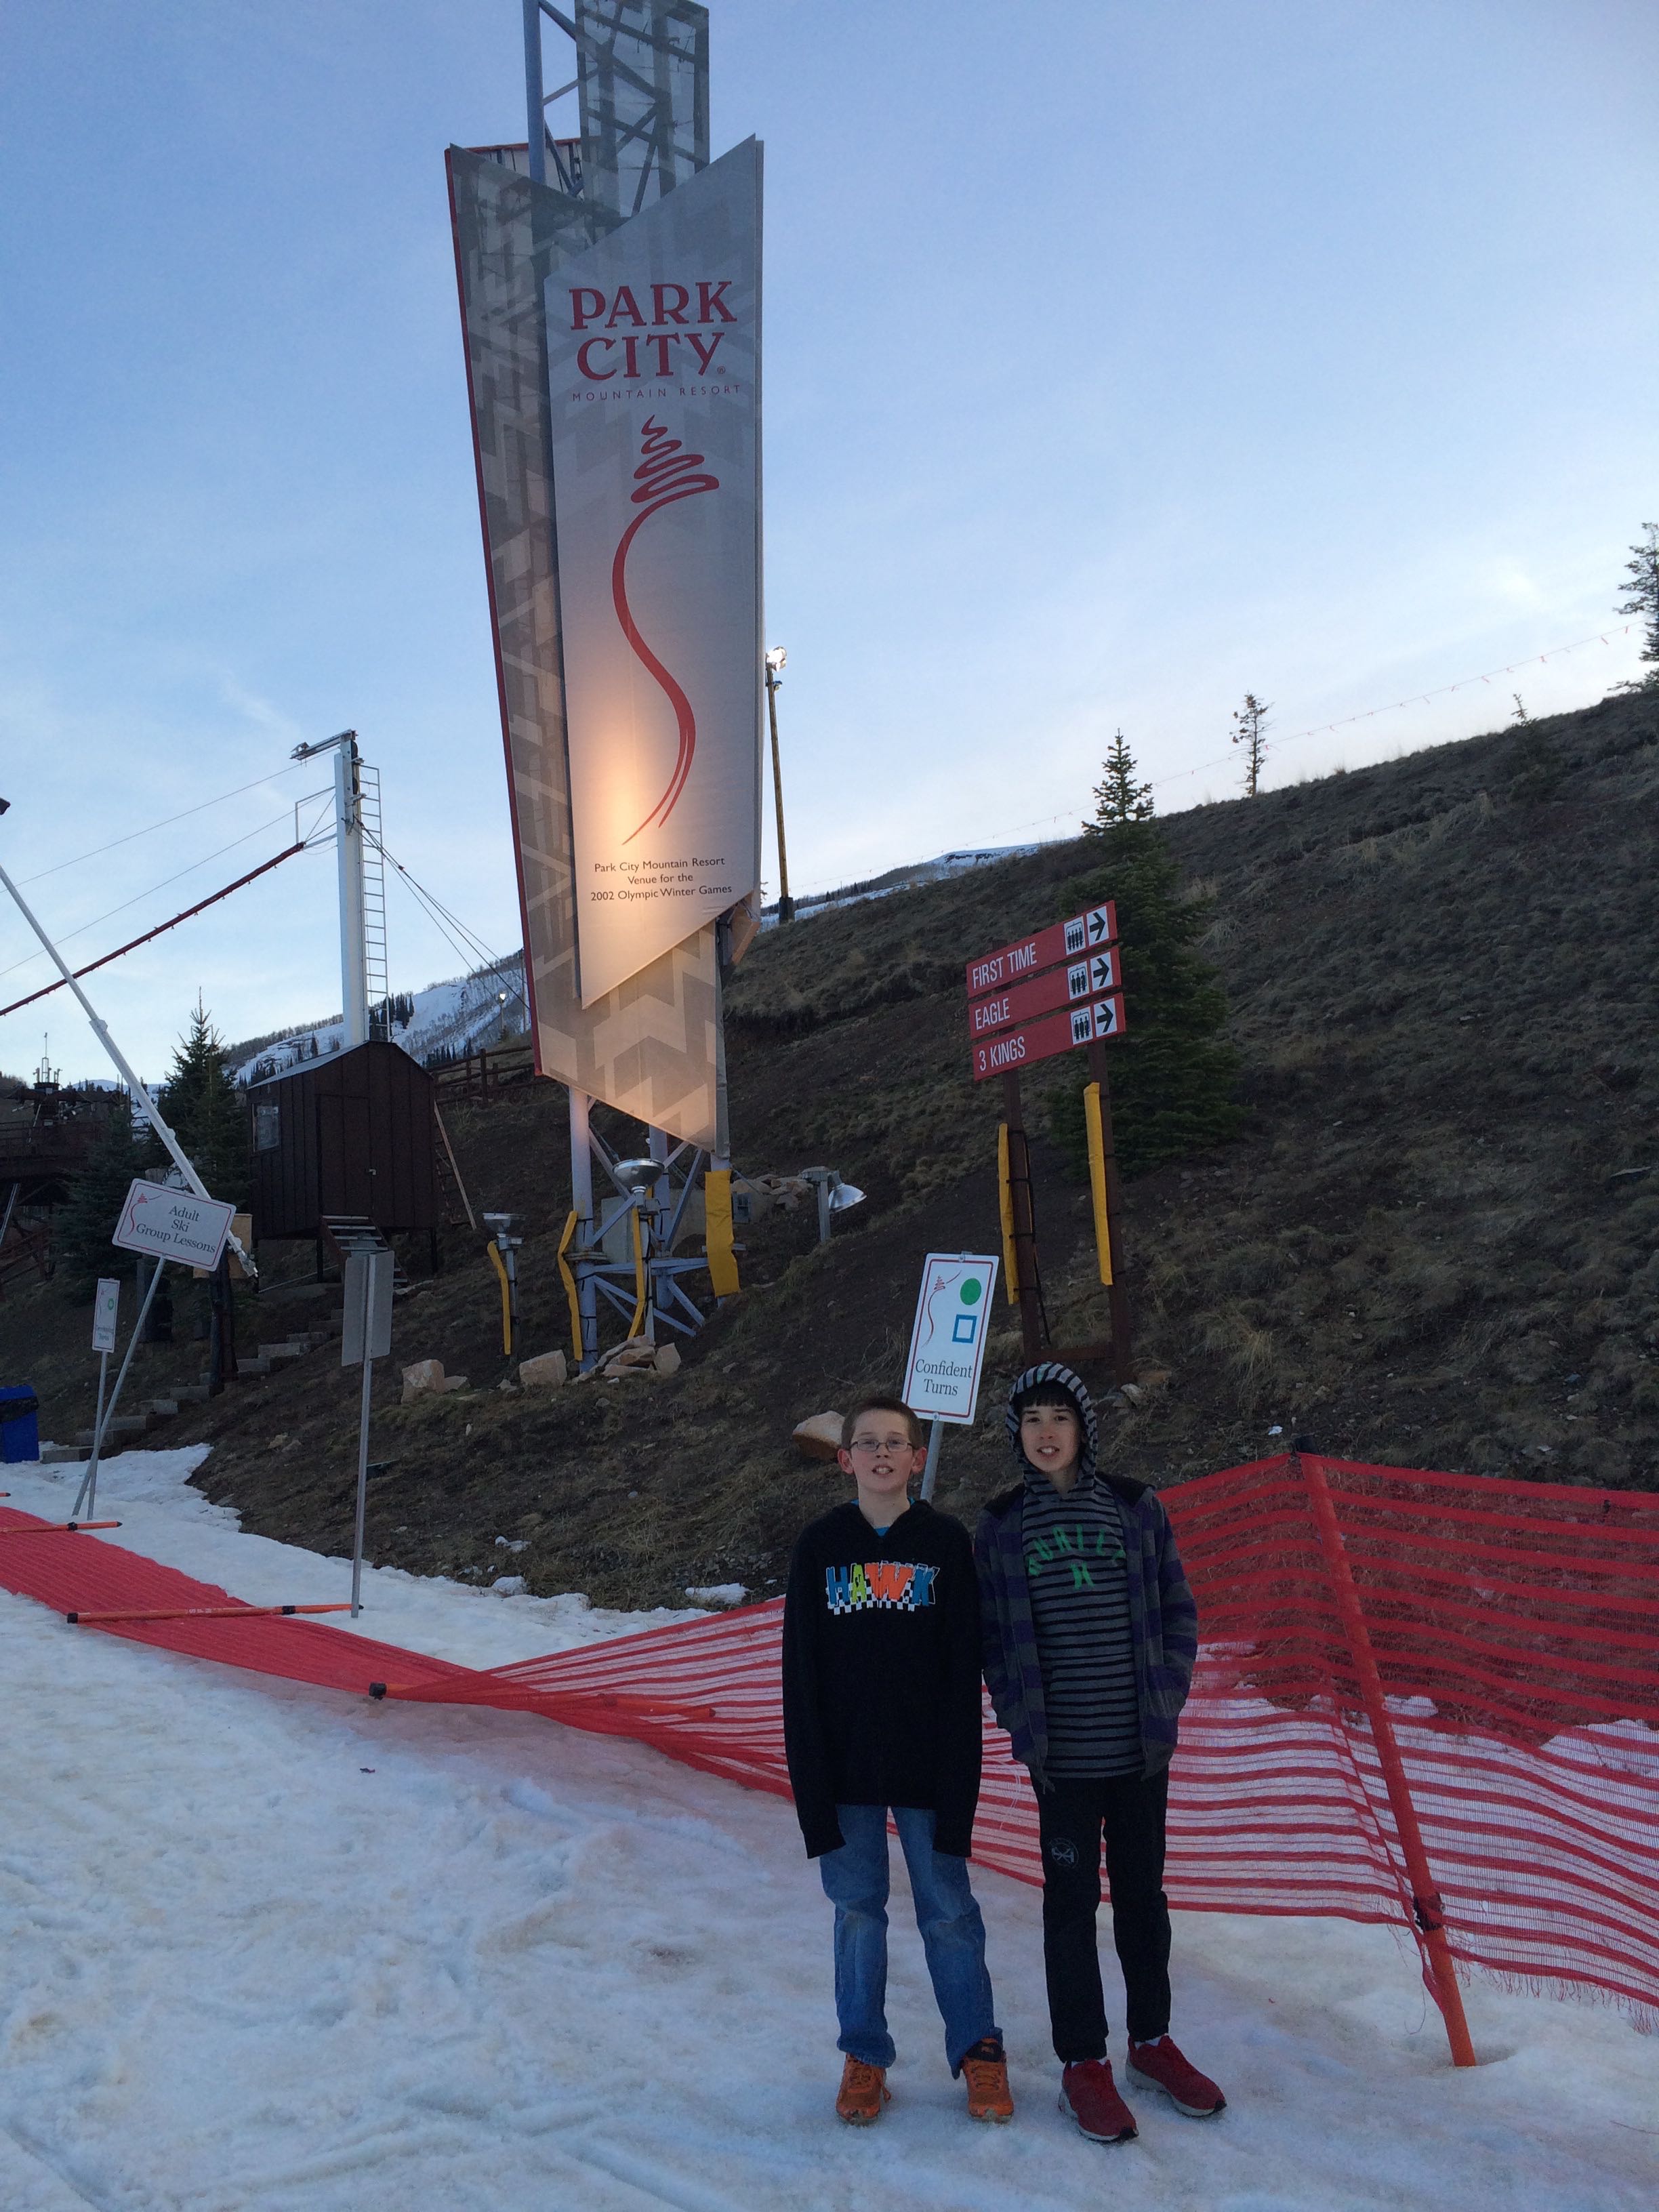
Note the lack of snow behind the boys. Park City has night skiing, so we were able to hang out at the base even after sunset.

This is in town. Note the quickly melting snow. This is called the “Town Lift”…skiiers can come straight into and out of Park City’s downtown area for meals or their condos. There’s a ticket counter at the base of this lift too. However, when the snow is this low, only the better skiers can navigate the trails down into town.
Stay tuned for my posts about skiing at Park City and Alta, as well as our day trip to the Golden Spike National Monument.
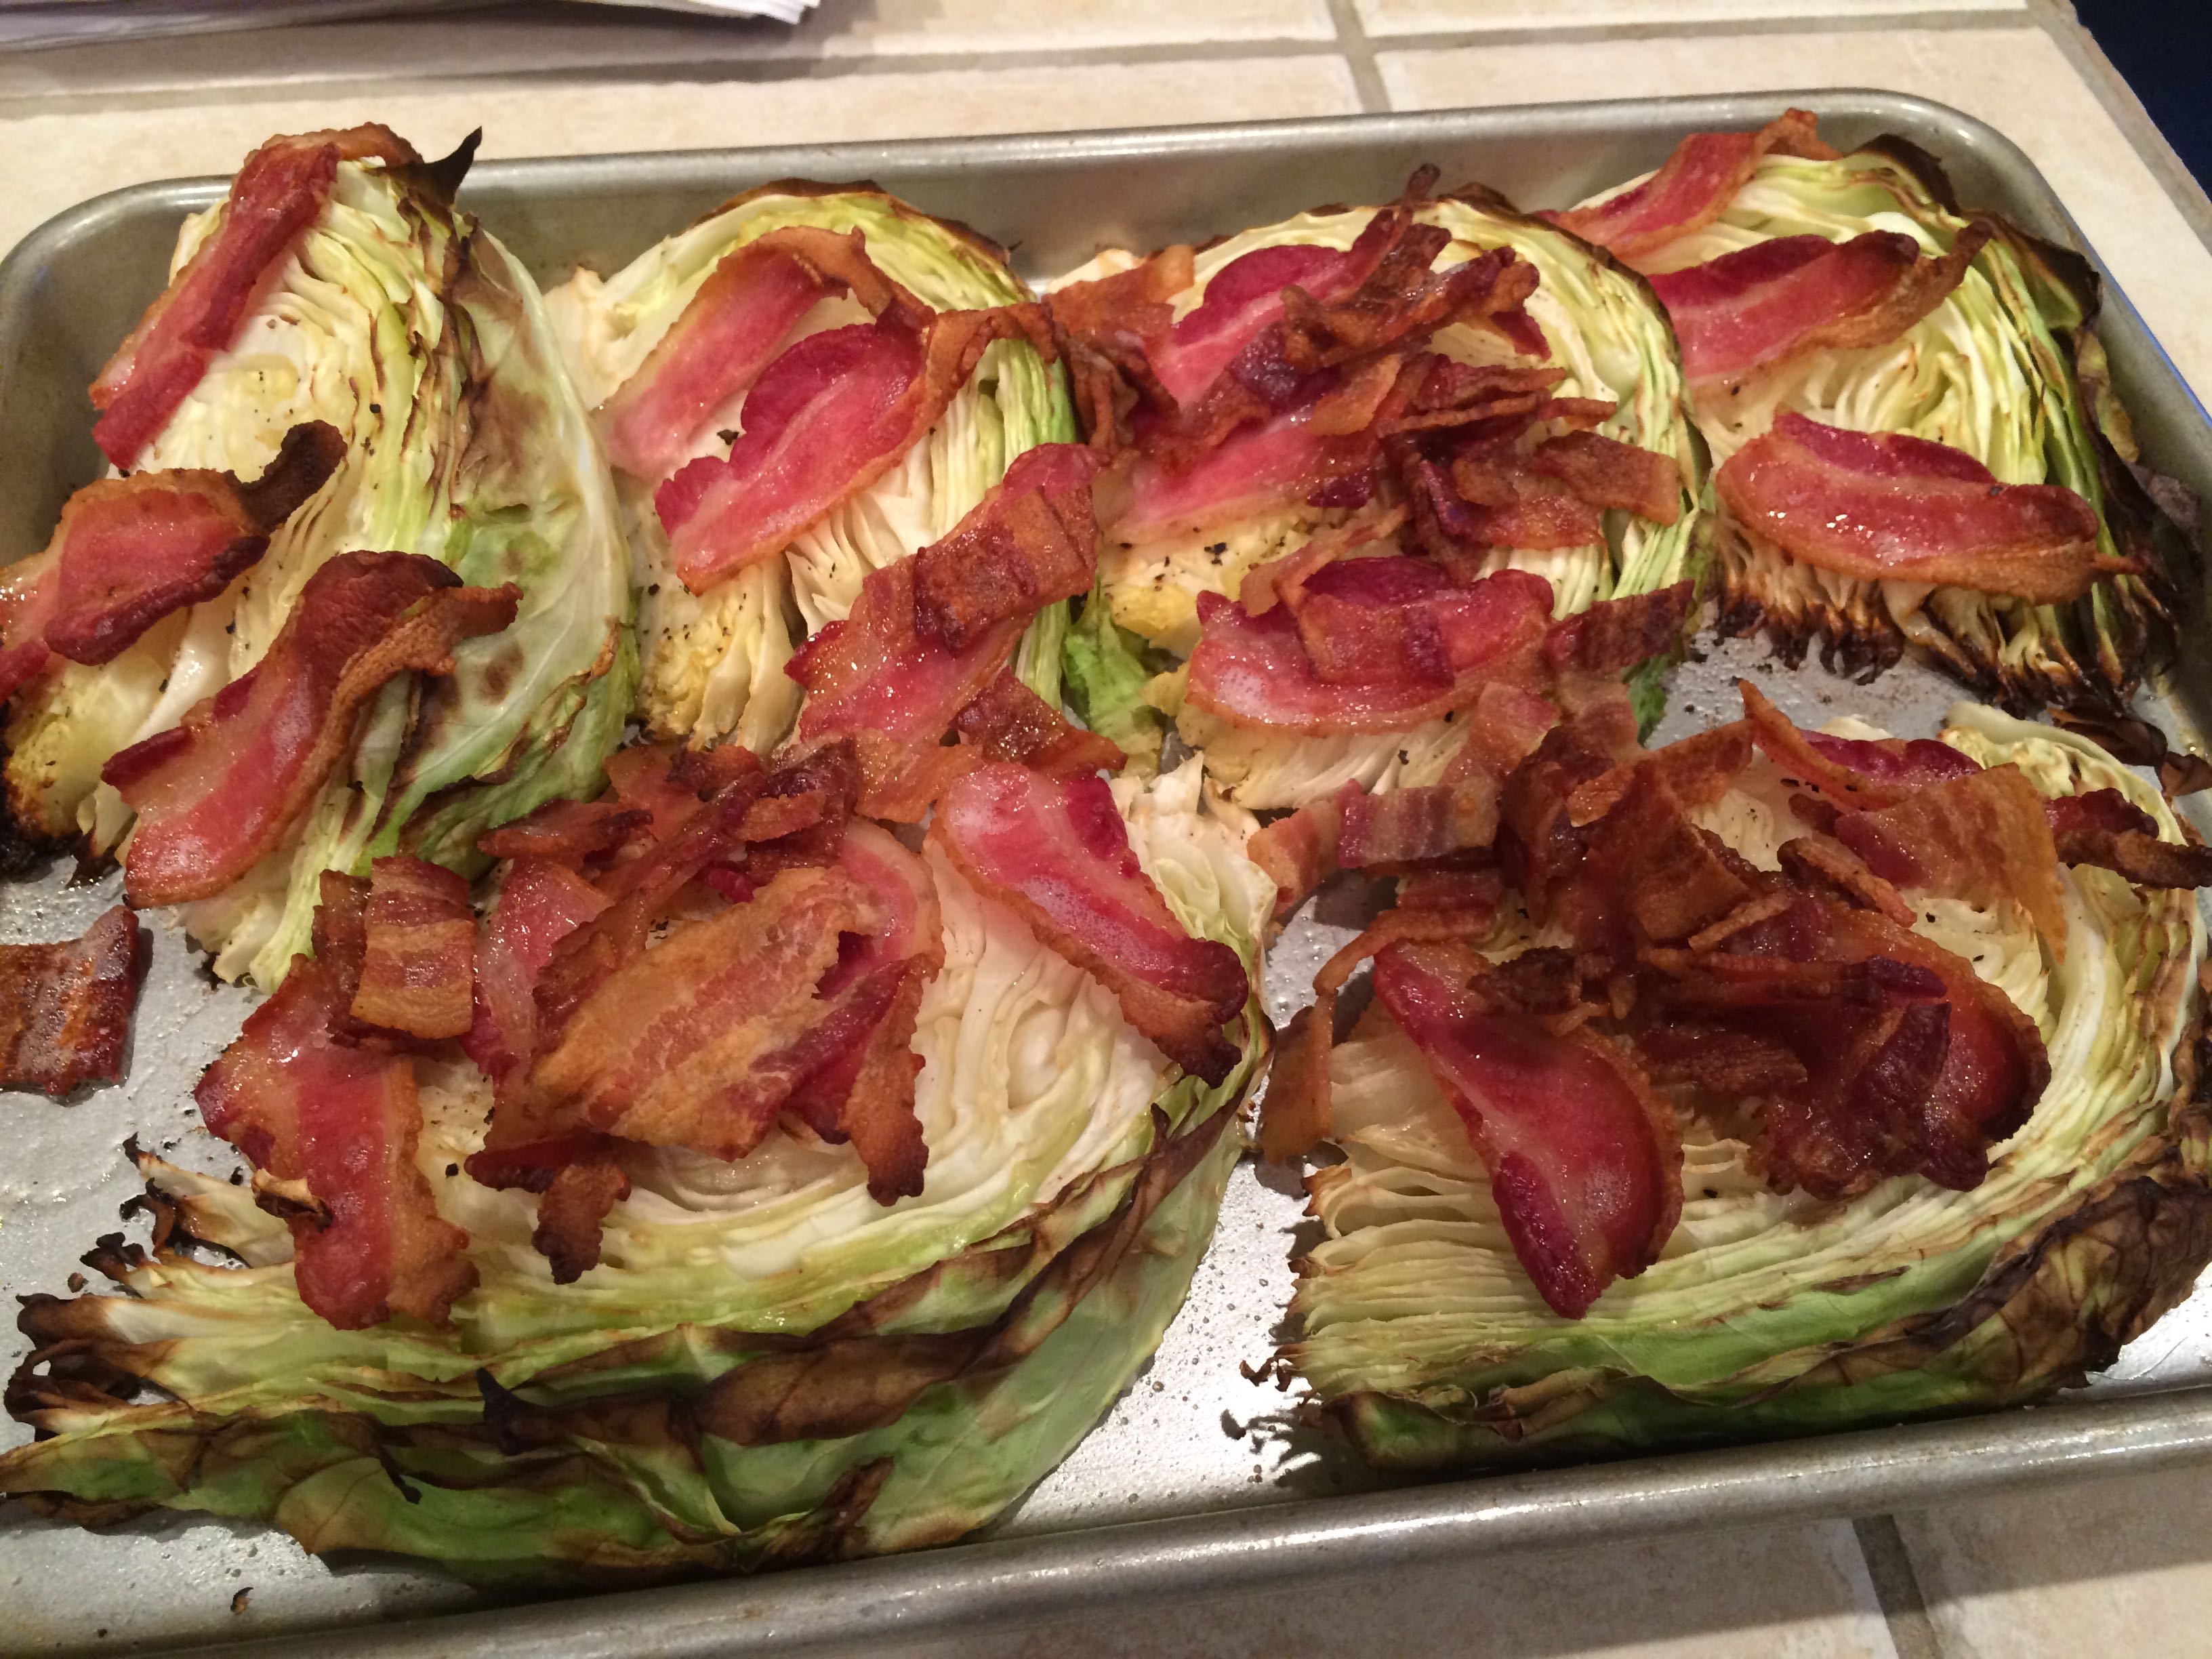
The bacon was meant to make it appealing to my sons. It seemed to work!
Happy St. Patrick’s Day!
It was just another day here: the boys had school, and Dave and I went to work as usual. Last weekend I made a corned beef and cabbage boiled dinner (complete with homemade sourdough bread, for another post) because today I needed the Crock Pot for a potluck luncheon.
We decided to have our traditional corned beef on Sunday, and tonight I made bangers and mash. Which actually works out pretty well for a weeknight dinner.
Today I want to share with you the delicious roasted cabbage recipe. This was something I “threw together”, using the 1/2 head of cabbage left from Sunday’s dinner, along with some saved bacon fat, Himalayan salt, fresh ground pepper, and strips of bacon.
I had a basic idea of how to roast cabbage. Hot oven, wedges of cabbage, drizzled with oil, sprinkle with salt and pepper. 30 minutes and you’re done. You can do something similar with cauliflower and broccoli (or other cole crops). Let me walk you through it.
But I had this jar of bacon fat…which I keep on hand for sautéing greens or stir frying. There’s usually salt in the fat that keeps me from having to add extra salt.
So here’s what I did. First heated my oven to 450F.
Then I sliced my cabbage into wedges. The half-head of cabbage — leftover from Sunday’s boiled dinner — yielded six somewhat-thin wedges. Let’s call them 30 degree wedges. I broke out my jar of bacon fat and started “buttering” the cabbage with it. Actually, I had to let the jar of fat sit out for about an hour, this gave it a peanut-butter-like consistency.
No formal measurements with the application, but I wanted to be generous so it would trickle down through the wedges while it baked.
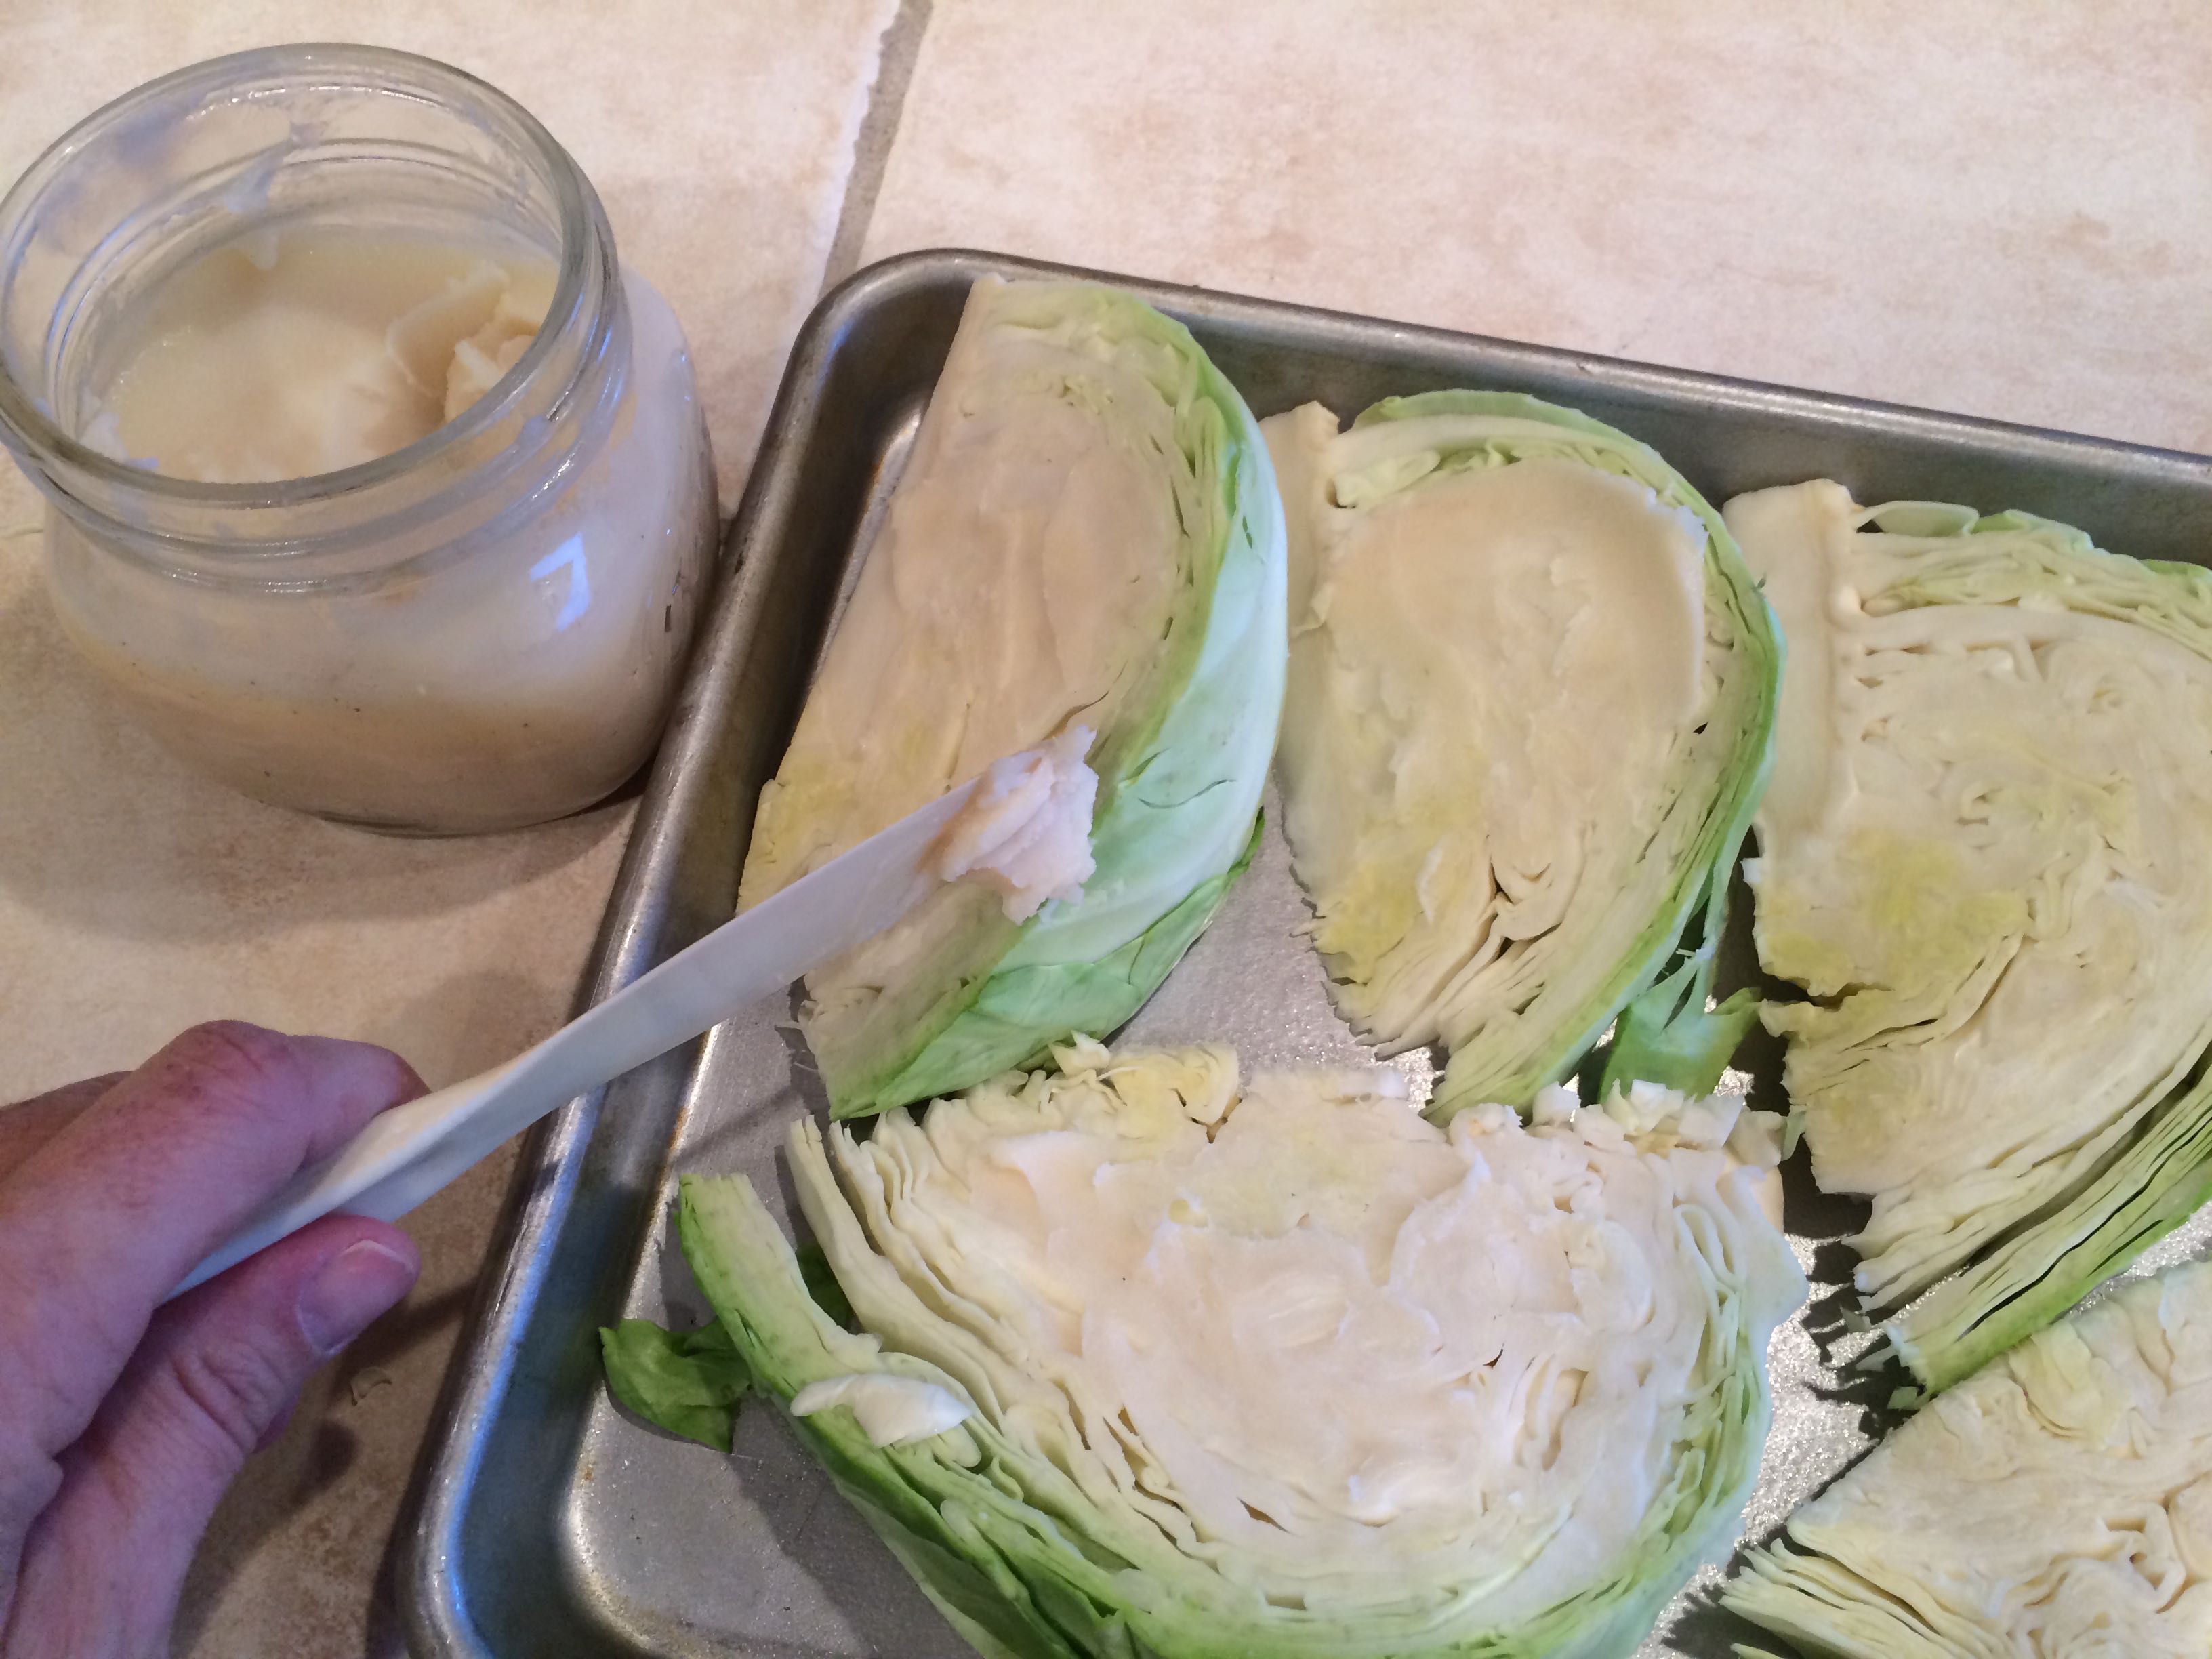
Looks like I’m buttering the slices of cabbage, doesn’t it? But that’s bacon fat I’m smearing across it…
Next, I salted and peppered the cabbage. I didn’t need a lot of salt, but I was quite generous with the pepper.
Oops, I didn’t take any pictures of the salting/peppering operation.
I then broke out a package of bacon and simply cut off 2-3″ of the package:
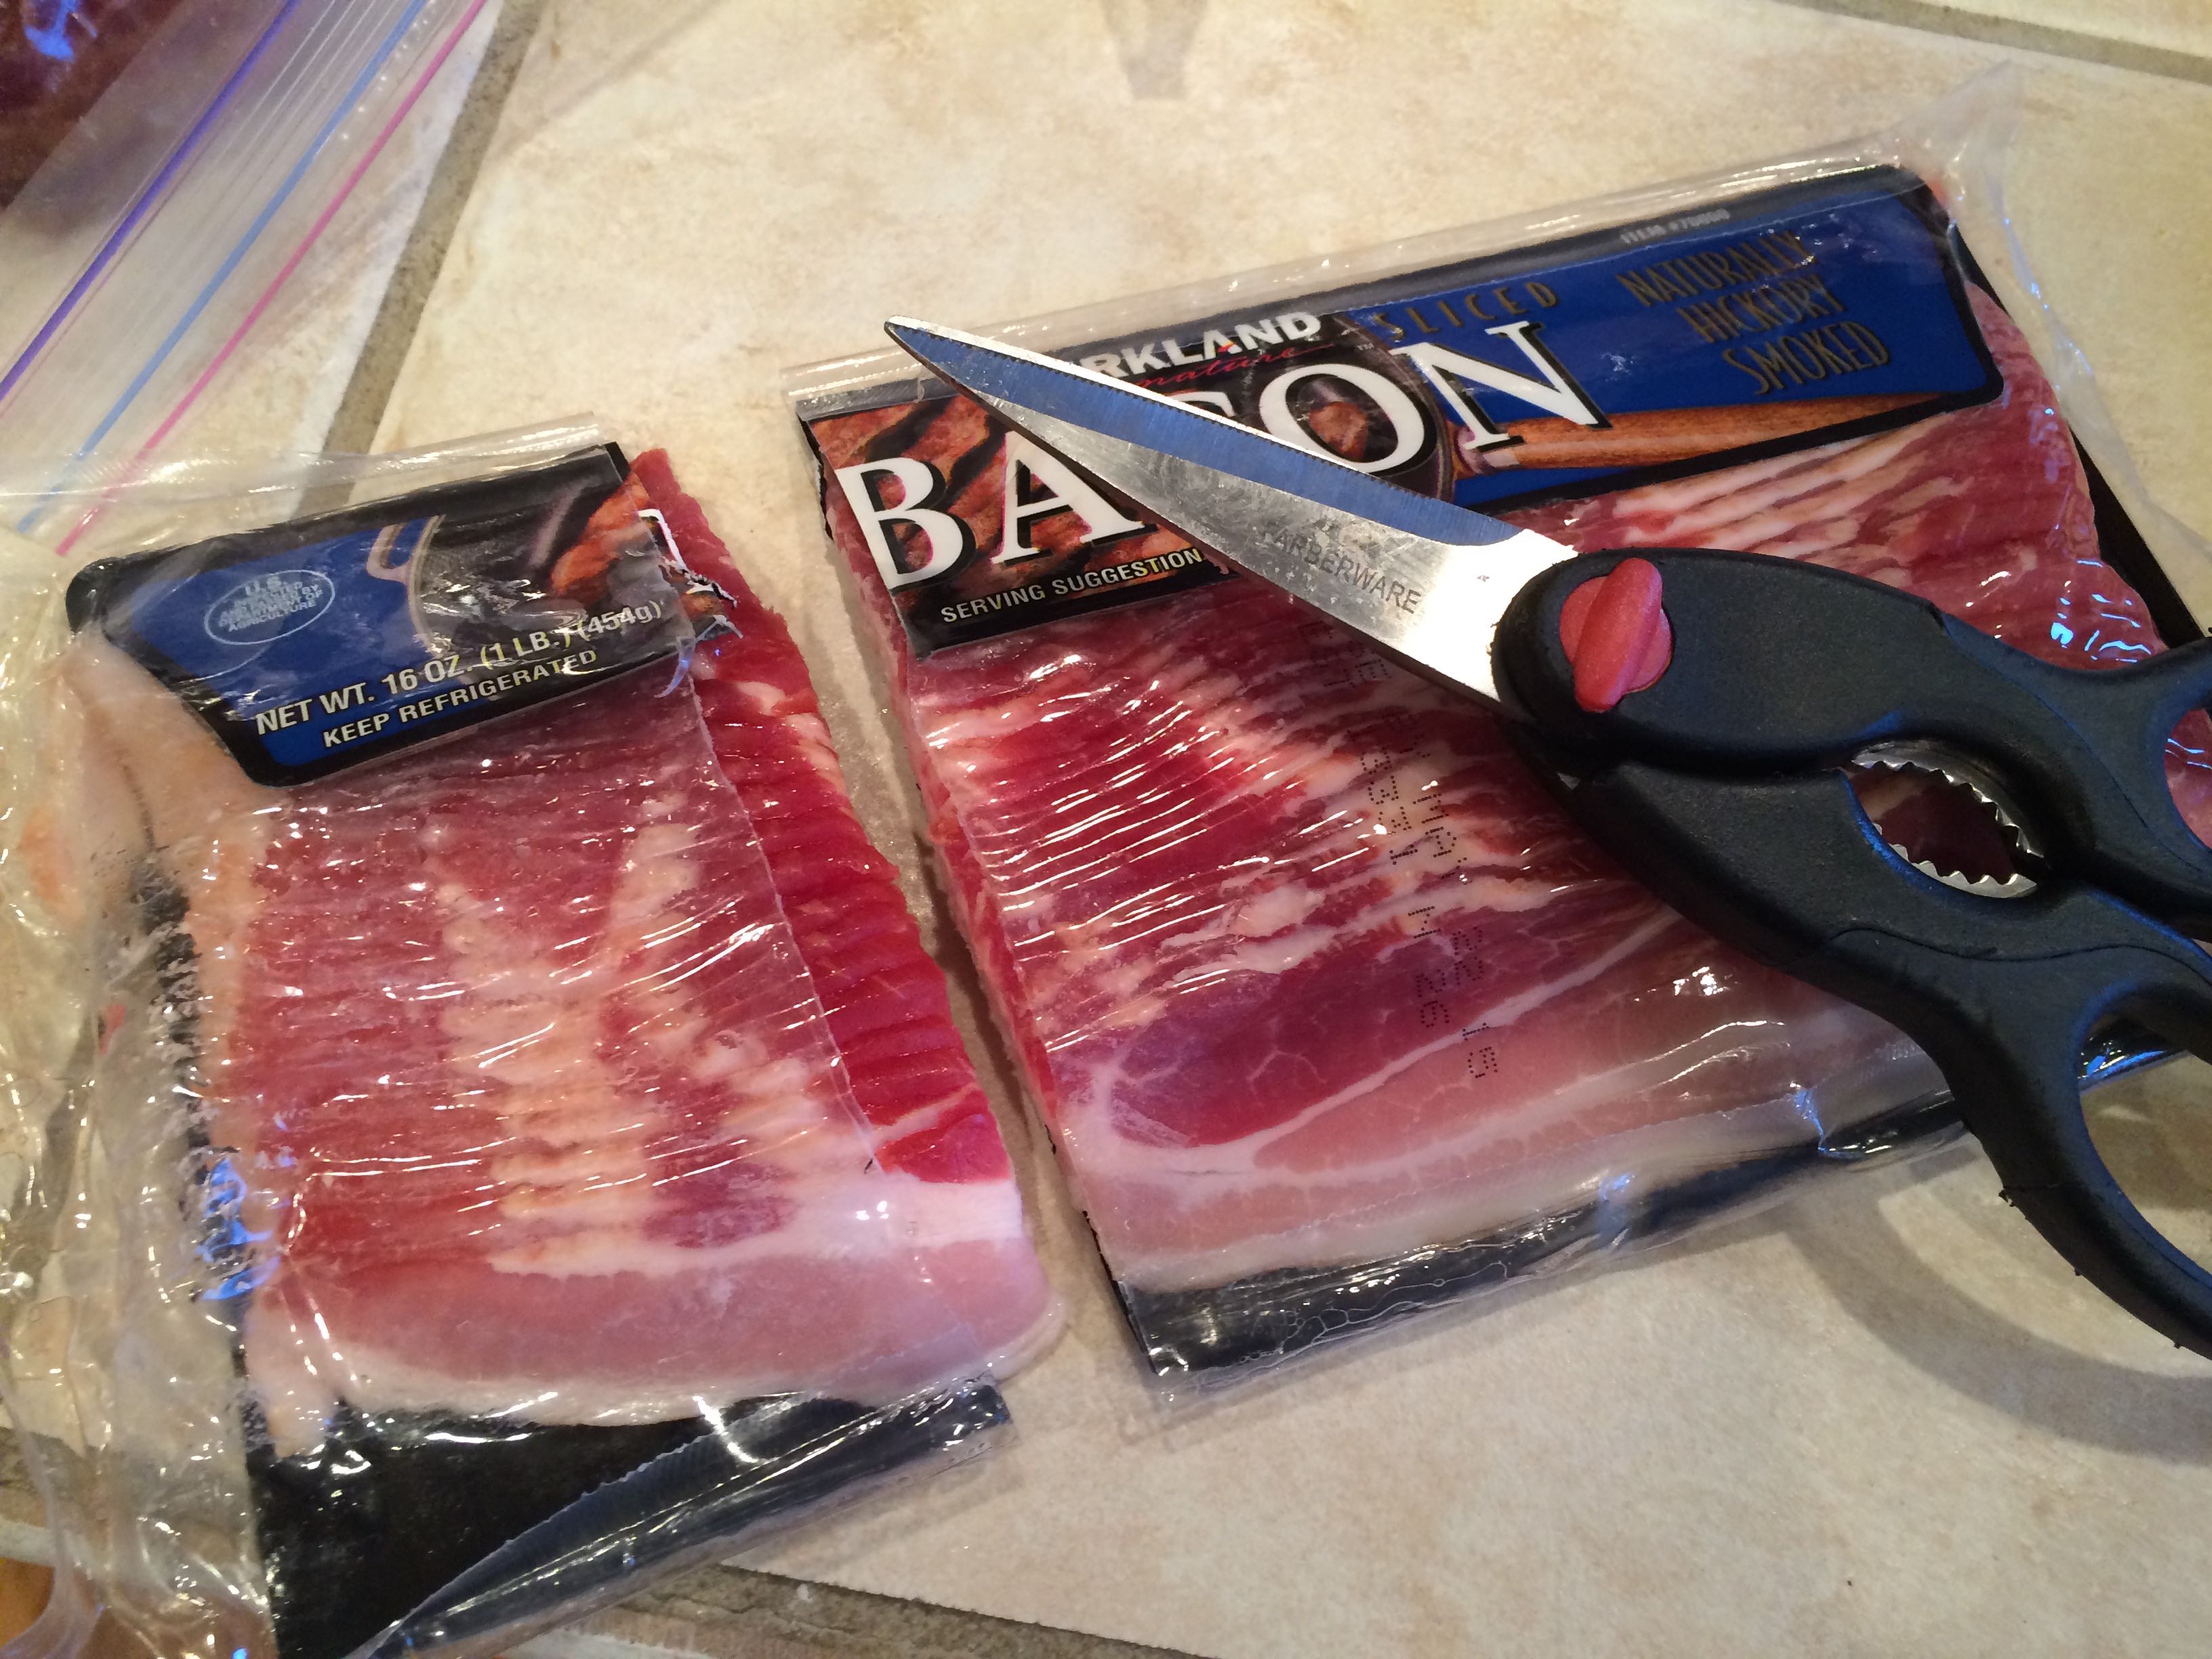
Just take some kitchen shears and lob off some bacon!
I lay that bacon on top of the cabbage wedges.

Bacon-ey…I mean…cabbage-y goodness!
And into the oven it goes! 450F for 30 minutes.
And it comes out looking like this:

Okay, maybe this turned more into a bacon dish?
Nonetheless, when served up with the bangers and mash, it was a big hit! Even with both sons, which is a miracle in our house! I think I could have used a little more salt, believe it or not. The bacon fat apparently wasn’t quite as salty as I had assumed it would be.

It looks like the cabbage dish stole the dinner show! Do you like my Shamrock-colored Fiestaware plate? I have two each of several colors, and this is one of the colors. Perfect for today.
Here’s the recipe for you:
Roasted Cabbage with Bacon (Roasted Bacon with Cabbage?)
– Head of green cabbage
– Bacon grease, preferably at room temperature
– Sea salt & fresh ground pepper to taste
– 4 strips of bacon, cut into 3″ strips
Preheat oven to 450F. Slice cabbage into wedges. For a full head of cabbage, try cutting it into 12 wedges. Lay wedges on a greased baking sheet.
Using a butter knife, spread a generous layer of bacon fat across each wedge. I used about 1 tablespoon of fat per wedge.
Salt and pepper the wedges, then lay 2-3 strips of bacon across each wedge.
Bake at 450F for 30 minutes, or until the edges begin to turn golden brown.
Give it a try and let me know what you think!
Recent Comments