
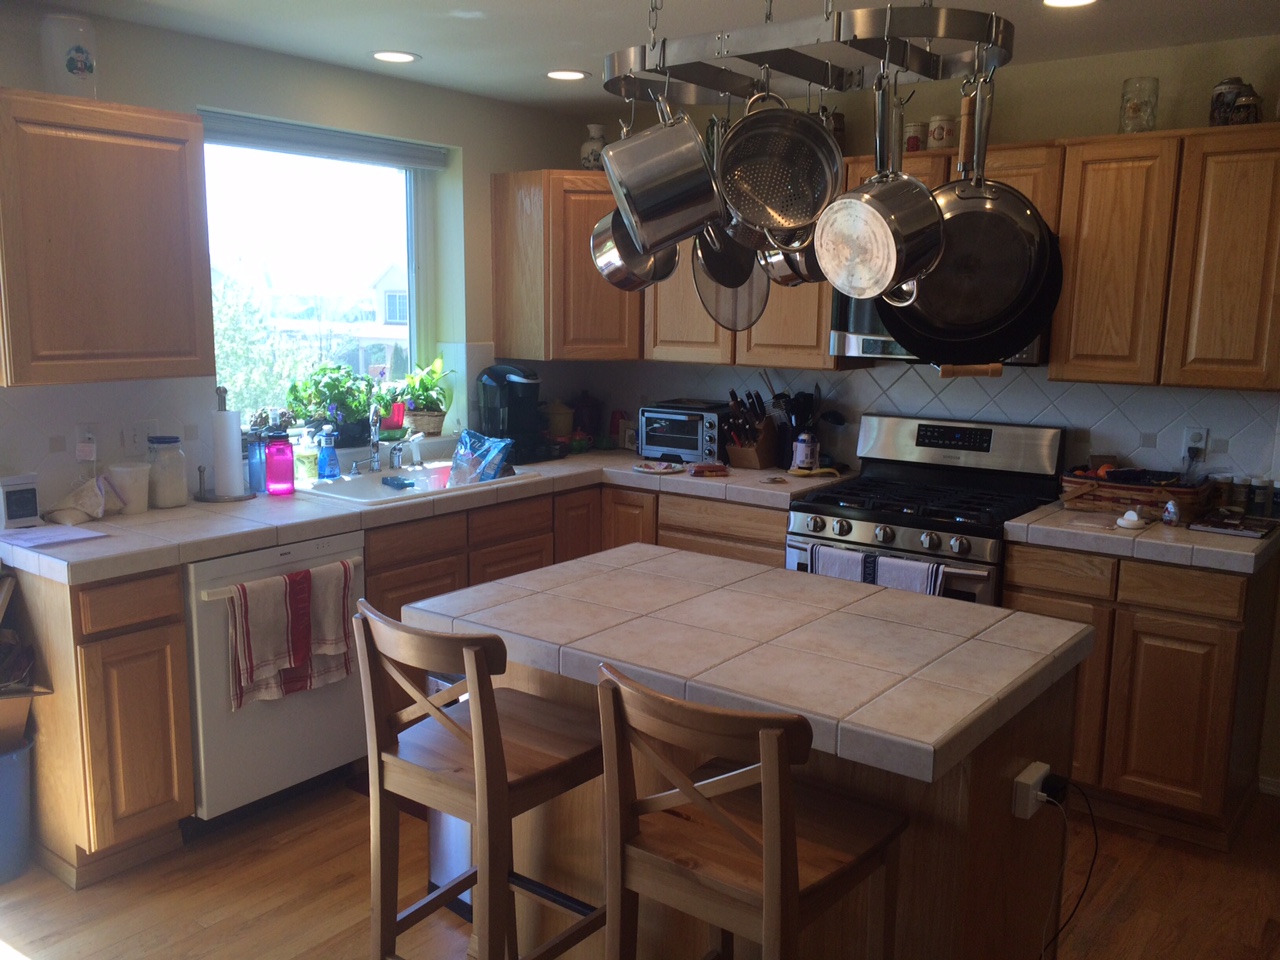
Our kitchen as of April 2015. Ignore the mess, every time we prepare a meal things just seem to explode. Jacob was off to the side waiting to put some balsa glider parts on the clean island.
We are embarking on our next DIY project over the next few months. Our plan is to make phased improvements to our kitchen between now and the end of 2015. We’re taking our time on this, in part so we can save up money and pay cash for each phase, but also because we have to fit the DIY tasks in between our busy work schedules.
The kitchen, with the exception of the dishwasher, is original to the house, which was built in 1998. If you looked closely, you’d see some things that need work. The below photo shows the original look to the kitchen.
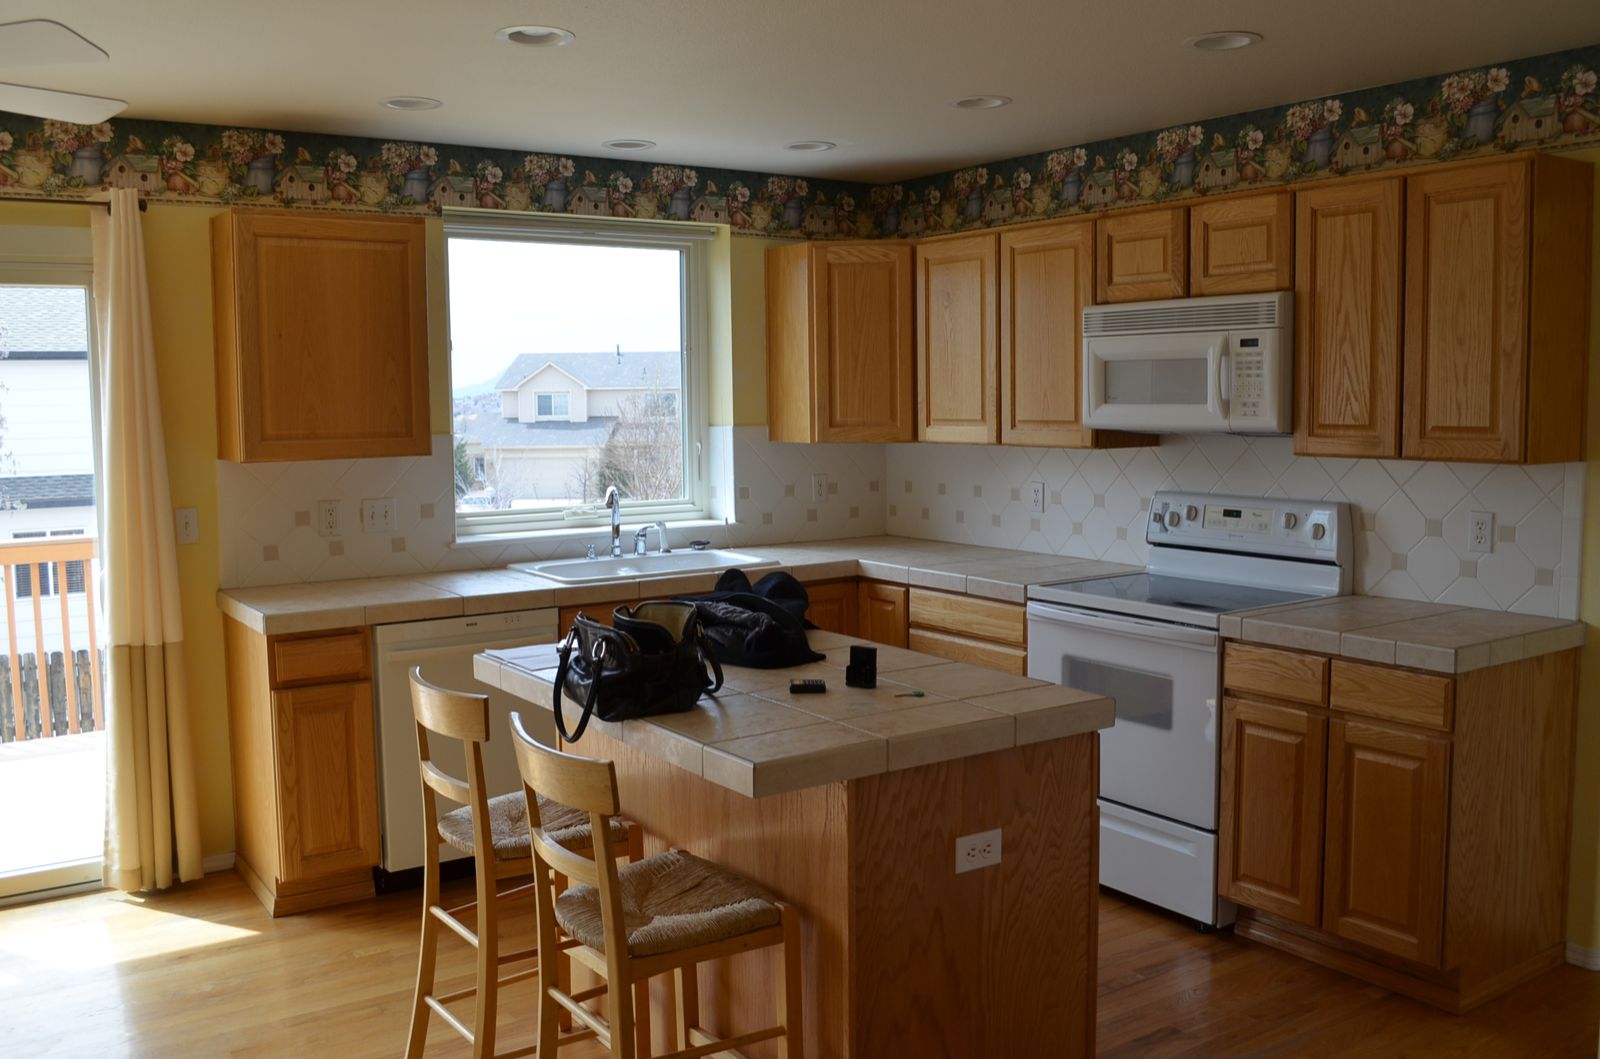
The kitchen the way it was when we bought the house. As of this writing, we took down the border paper, painted the walls a less-bright yellow, and replaced the stove and microwave.
Phase 1 (Completed): We desperately needed to replace some appliances (both the microwave and electric stove — each of which were original to the house — broke within the first 12 months we were living here, and replacing them was most cost-efficient than repairing), so that was done over the holidays, but now it’s time for the next phases of this project.
Phase 2: The cabinets are good-quality, but the honey-oak look is somewhat worn out, so we are next going to strip and paint most of the cabinets white, while the base of the center island will be an espresso color. The island panel against which the chairs are resting is in pretty bad shape, so Dave picked up a bead board panel (on clearance!!!) with which he plans to veneer that bad side before painting. Finally, we will add some drawer and door pulls to match the appliances. That last part will be interesting; there is no hardware now, so we will have to drill the new holes on our own.
This Pinterest pin gives an idea of the colors for the cabinets and center island.
Why white? Well, the motivation is mostly from that white-colored dishwasher on the left. It’s an amazing dishwasher that came with the house, a high-end Bosch-brand. It’s silent as the grave and even with our sons’ not-so-precise loading skills, our dishes end up very clean every time.
In addition to painting the cabinets, we will try to add some crown moulding to the top edges for a more elegant look. This is a very inexpensive project: we needed less-than $20 worth of composite-material moulding at Home Depot, but the new circular saw blade that we needed, since the basement work dulled our original one, cost more than that. I asked for the crown moulding on top because I really liked that look in our North Carolina kitchen. Nothing major, I think it’s very subtle.
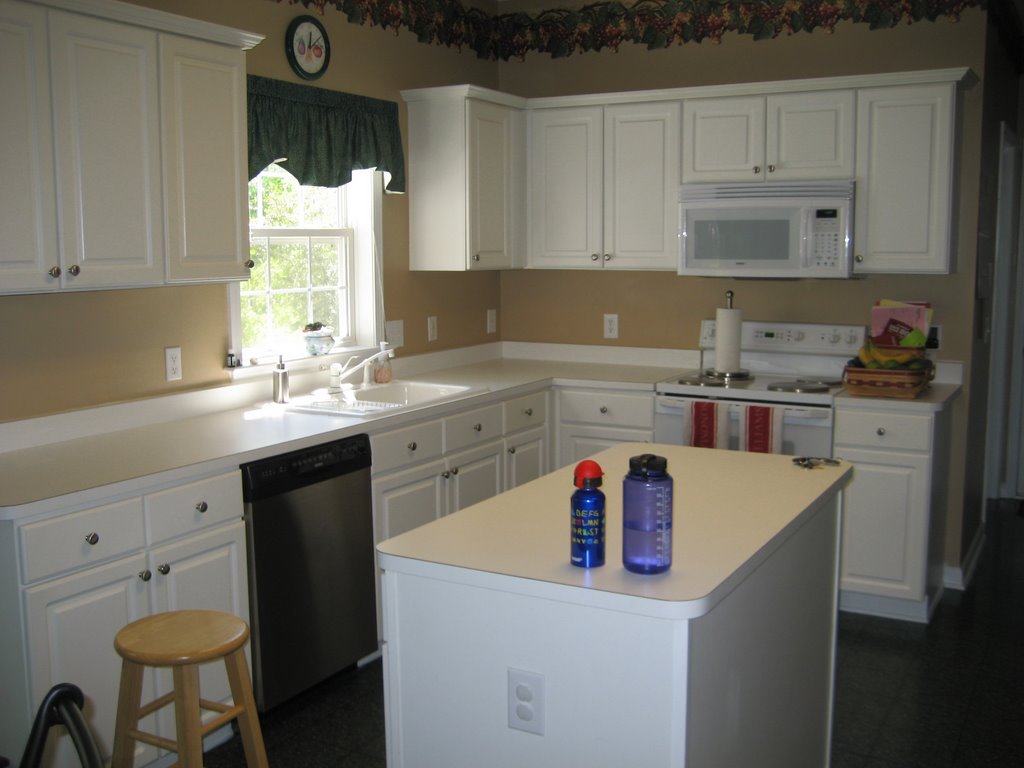
This was our kitchen in North Carolina, just before we put the house up for sale in May 2008. You’ll see that the layout is similar to what we have now. The crown moulding was there all along and I always liked it.
After the paneling, moulding, and painting, the next phases of our kitchen work will have to involve contractor support. We aren’t in a huge hurry, it will get done a little at a time.
Phase 3: Refinish the hardwood floor. It was not treated well when we took the house, and we now have an idea of a new stain color. We will be going a little darker.
Phase 4: New countertops and sink. Look at the counters in photo at the top. That’s the original counter from 1998. Apparently that’s a “thing” in Colorado, inexpensive tile countertops. Let me tell you, while it seem durable and inexpensive, there are so many problems. For starters, there are cracks throughout the tile in my kitchen. Secondly, the grout is hopelessly dirty; it was never sealed, and when we took the house, it included 14 years of dirt in those surfaces. It’s tough to keep clean, but Soft Scrub with bleach seems to work, along with plenty of rinsing. Finally, the surface is uneven. I can’t use these countertops to roll out cookie dough (I have a silicone mat that helps). With my stand mixer and bread maker, the uneven surface causes some instability, so I have to put a towel underneath those appliances if I don’t want it to shake while it’s running.
As for the white enameled porcelain sink, the one I have is okay, although it appears the previous homeowner tried to paint some parts of the sink to hide chips and cracks. Maybe the paint matched the porcelain before, it doesn’t match now. I loved the stainless sink I had in Florida.
Wish us luck!
PS: There’s another part to our kitchen that I didn’t mention, the wall that includes our fridge and pantry:

The side of the kitchen with the original fridge. Those cabinets will also be painted white, and new kitchen countertop will go into that space also.
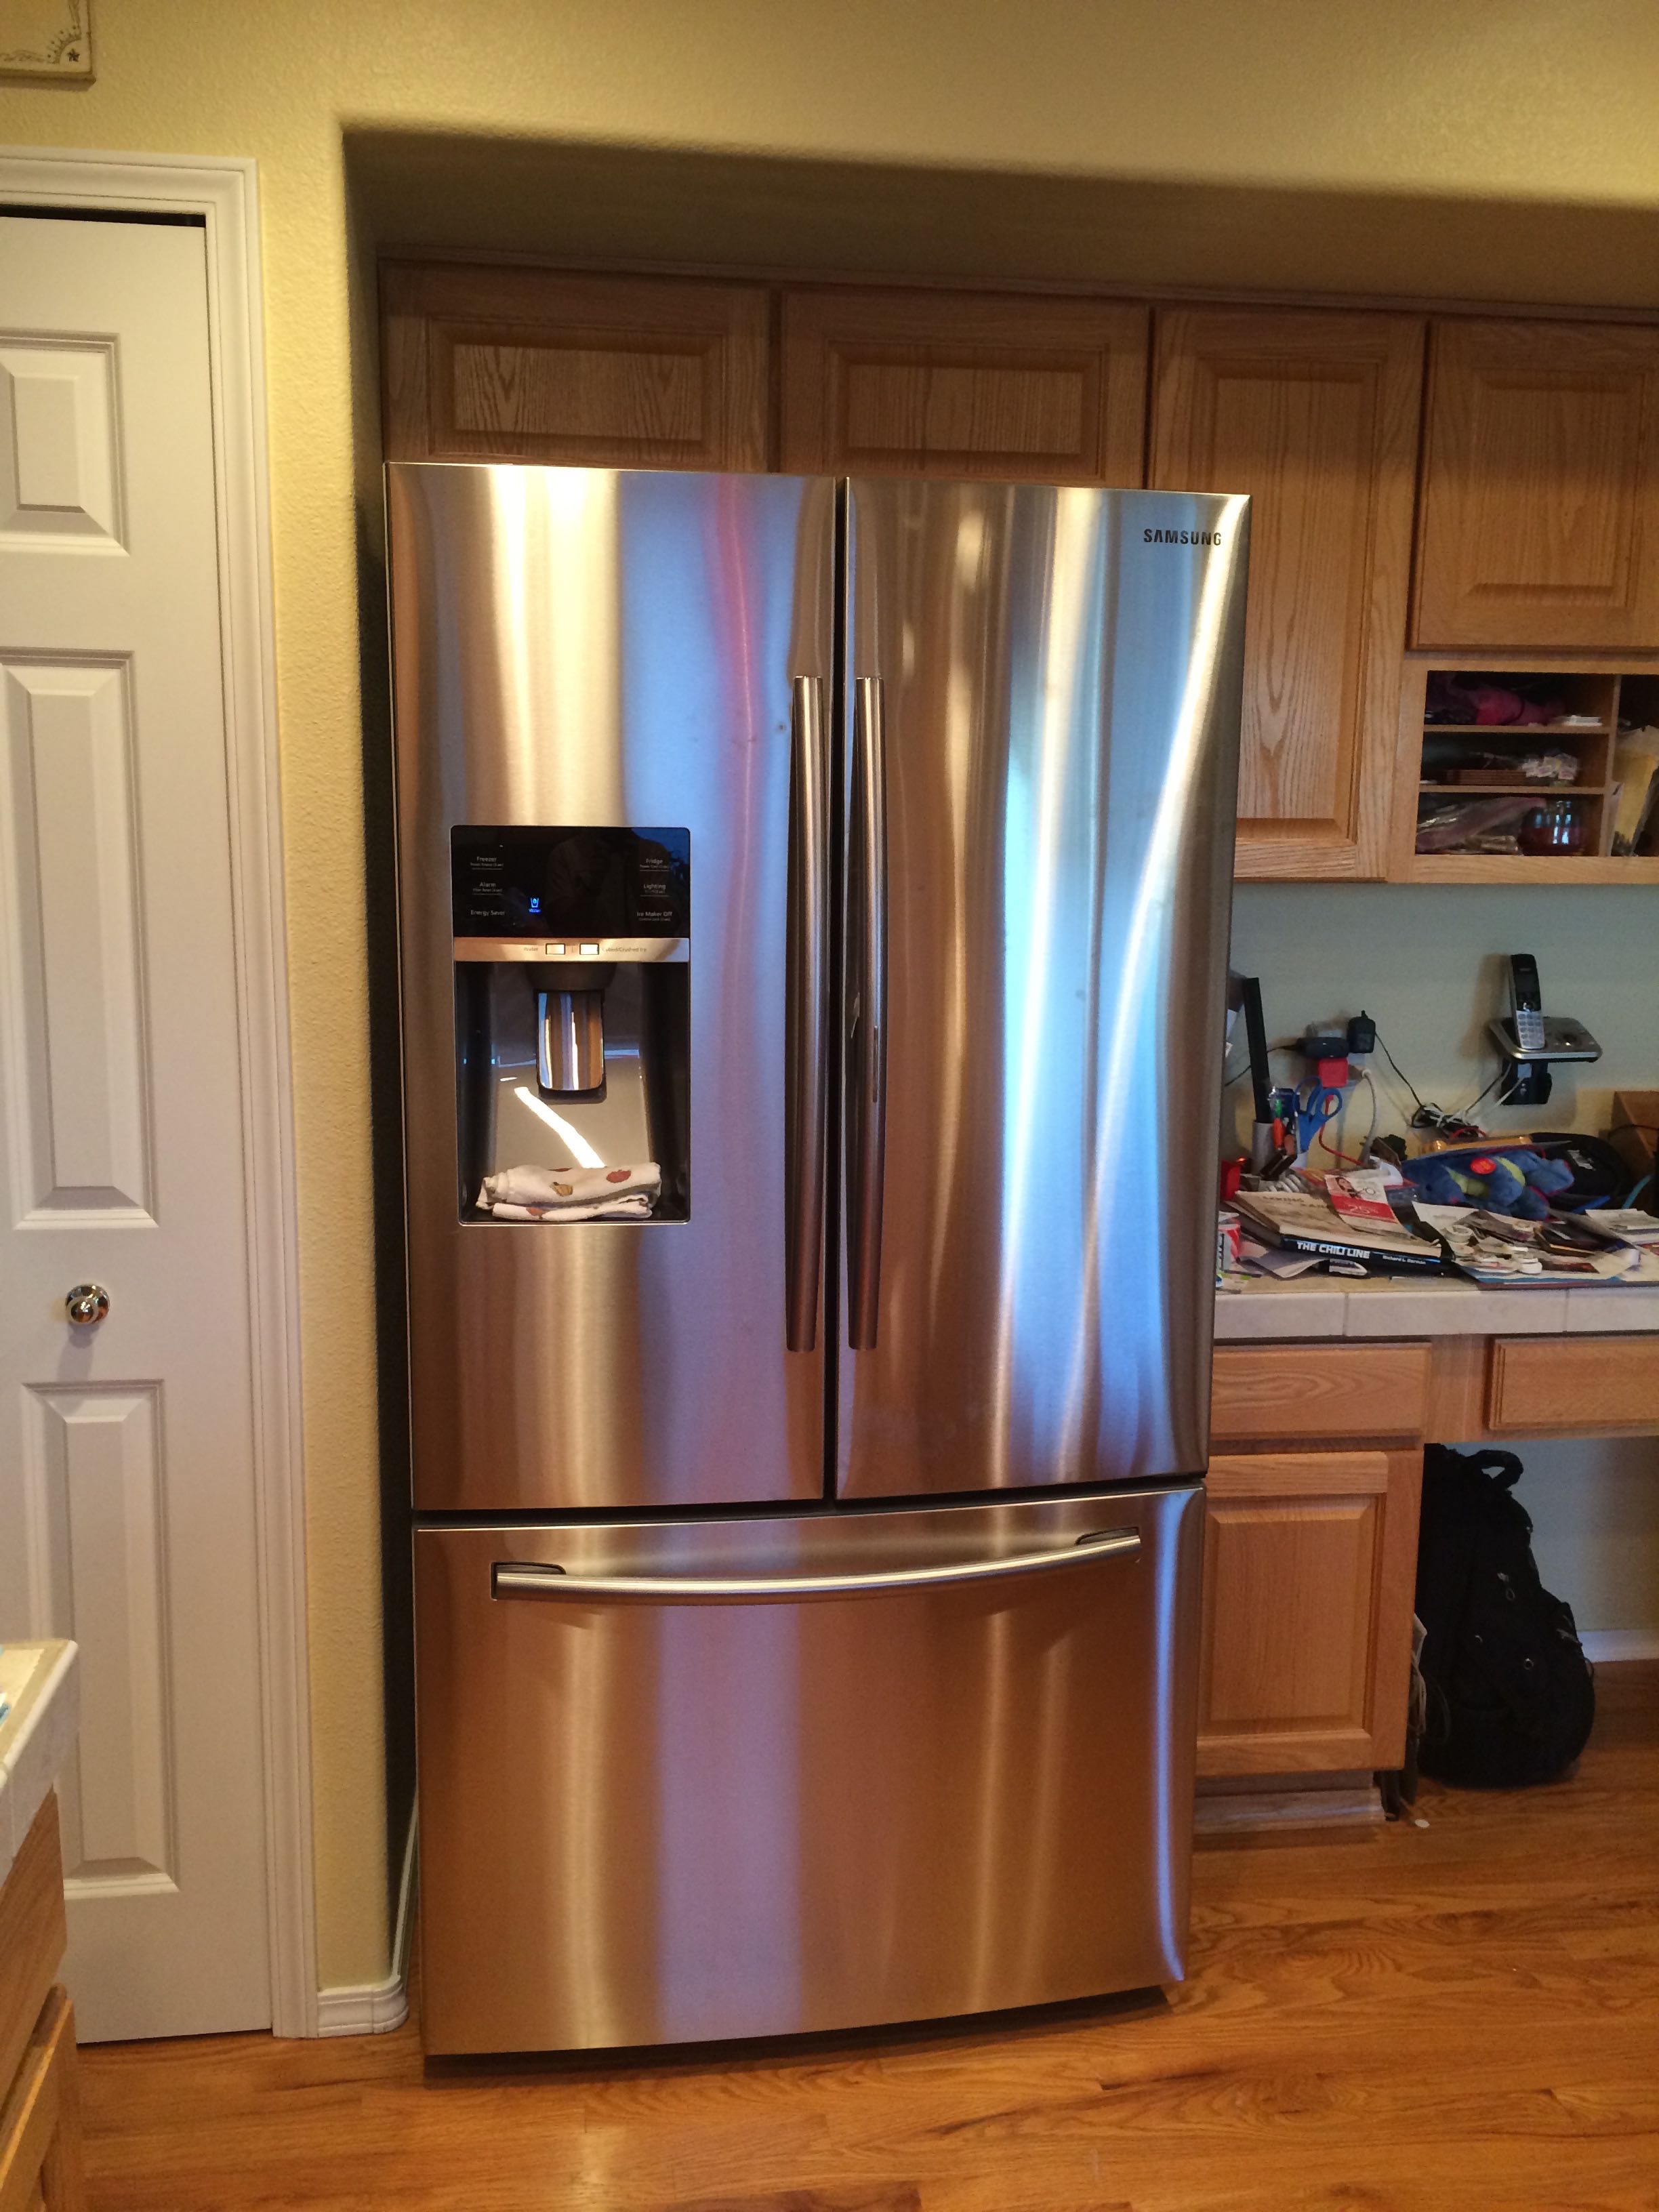
The new fridge. It’s so shiny! Pardon the mess to the right, it’s everything that was magnet-ed to the previous fridge.
Recent Comments