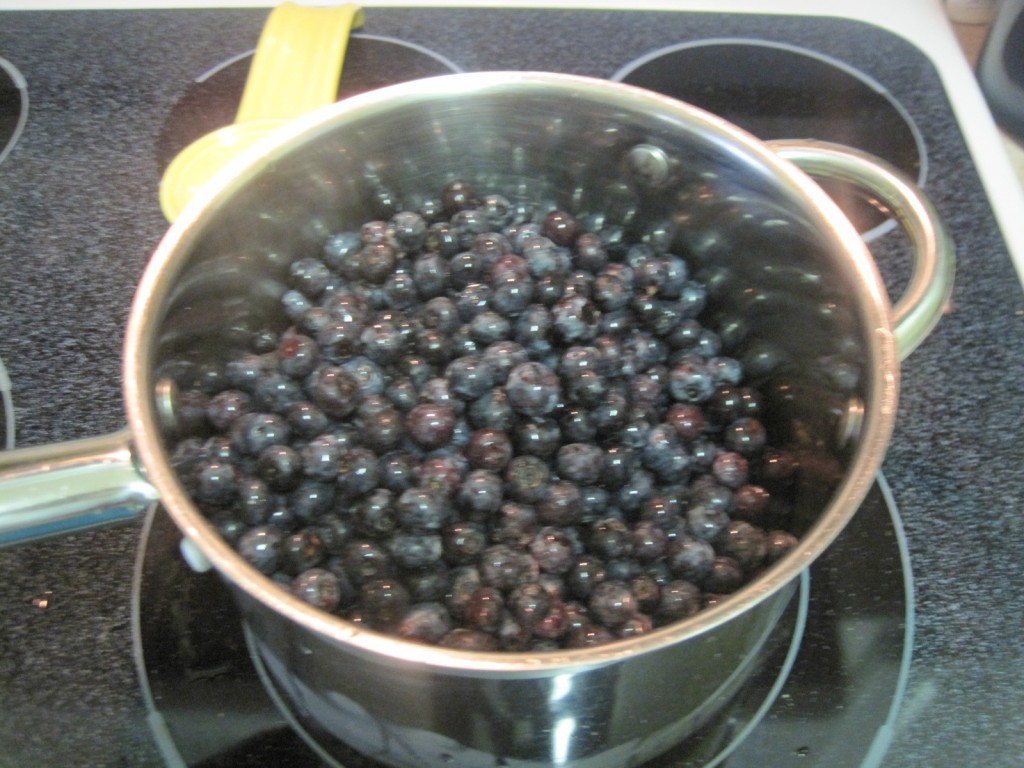
Today I made blueberry syrup. This was a request from Jacob, who loves the taste of blueberries but doesn’t care for the texture of the skins or the seeds.
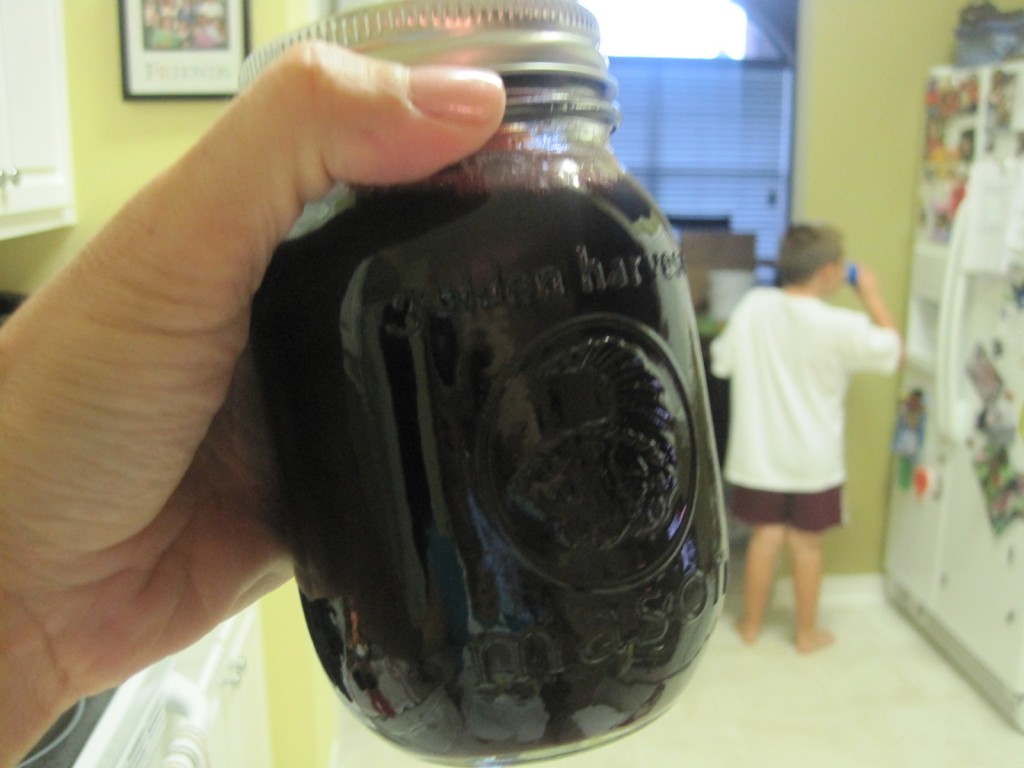
It looks strange in a jar, I know, but I can keep it in the pantry this way. I have a Good Seasons dressing cruet that can hold the current syrup in the fridge for day-to-day use.
The recipe I used was mainly from the Ball Blue Book canning guide and I chose it because it called for two quarts of blueberries, which was exactly how much I had in the freezer. Just ignore the part of boiling the sugar water to 260 degrees, that doesn’t seem right to me…that’s “hard ball” candy stage so I only boiled to 225F, which is syrup stage.
In terms of the technique, this blog post from Simple Bites fits the bill for describing the steps.
While canning foods is old hat for me — I’d been doing it since canning homemade pasta sauce from homegrown Ohio tomatoes in 2001 — boiling sugar and double-straining berry juice, such as what you might do for making jelly, were new techniques for me. I didn’t realize how SLOW straining berry juice would be, nor did I realize how long it would take to boil down the sugar water to syrup stage. Allow 2 hours for straining the berries and about 30 minutes for boiling down the sugar enough to make the syrup.
Now that I know this, I can be sure to multi-task during those stages 🙂
Note: avoid using any plastic or wood cooking utensils for this — the berries will stain!
Read the captions for my step-by-step process.
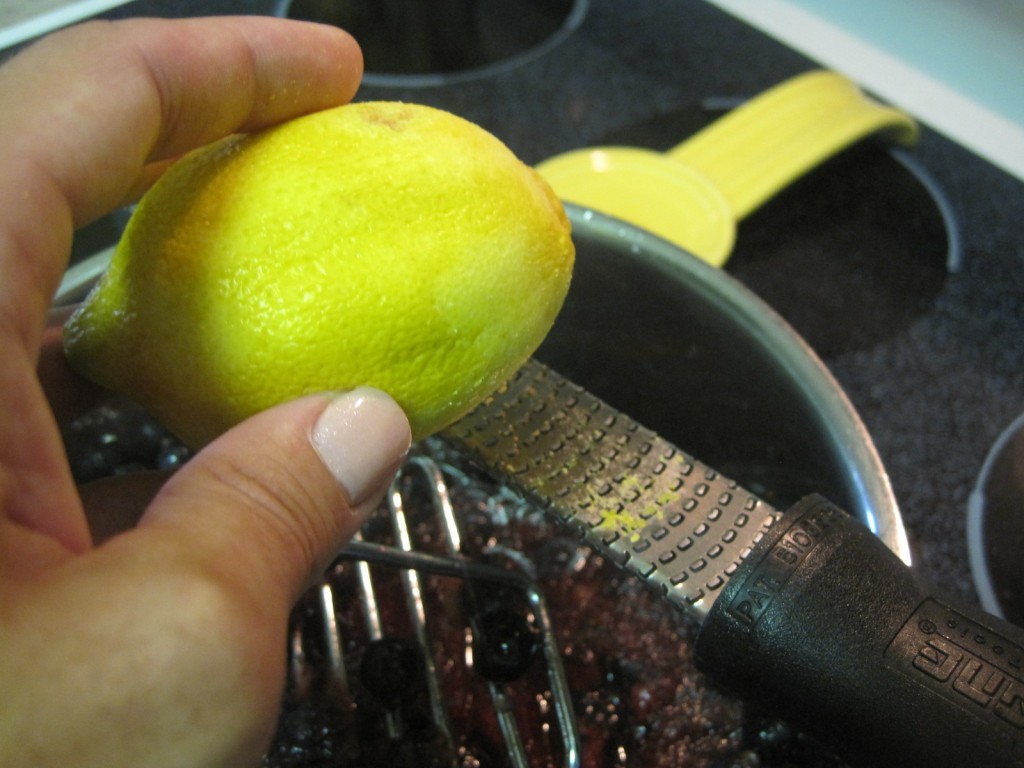
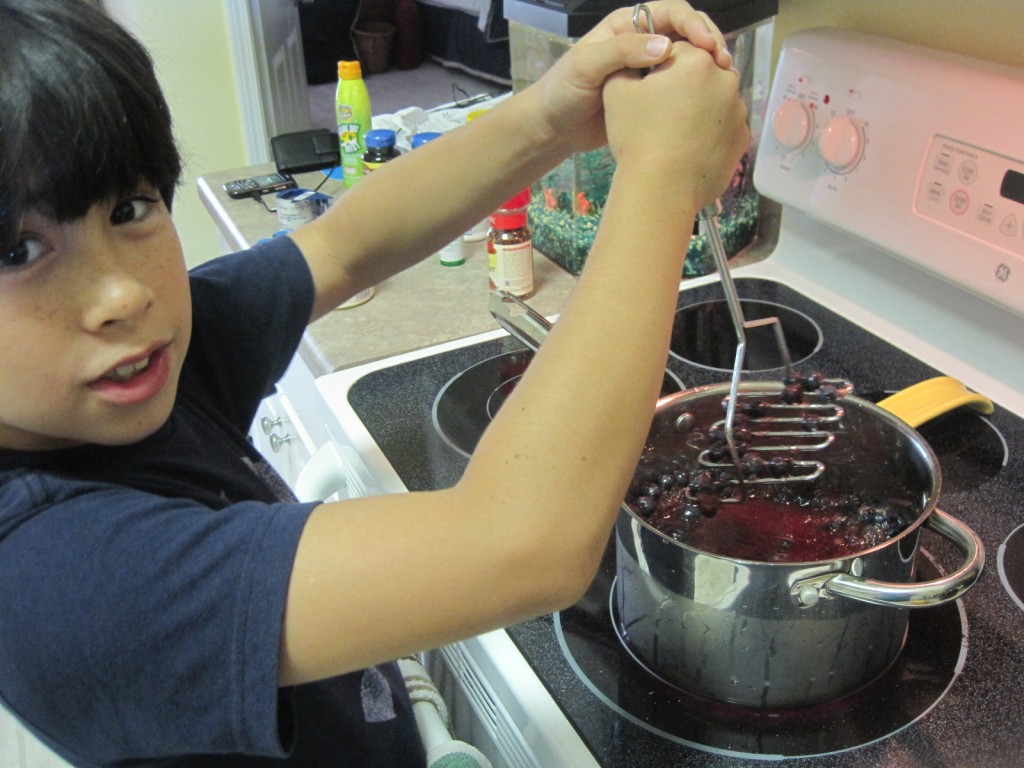
While Jacob crushed berries, I zested one lemon’s worth of peel straight into the mixture. Use the same lemon for lemon juice later in the recipe.
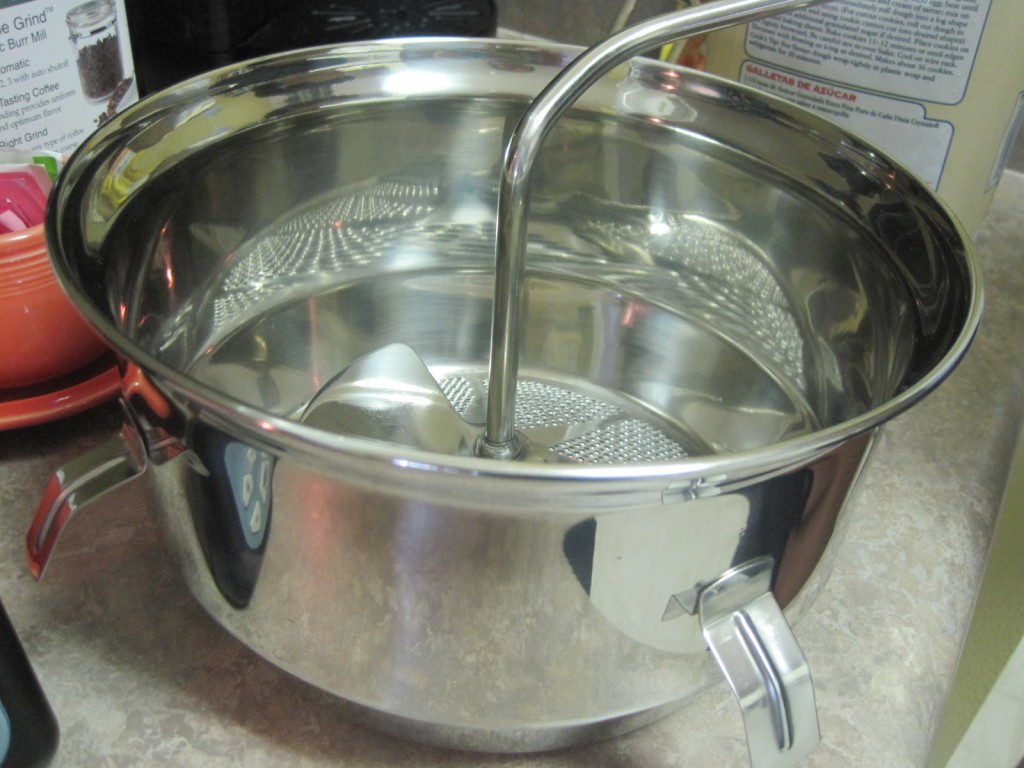
My new Foley food mill! This is a bigger, stainless steel version of the one my grandmother and mother used to have.
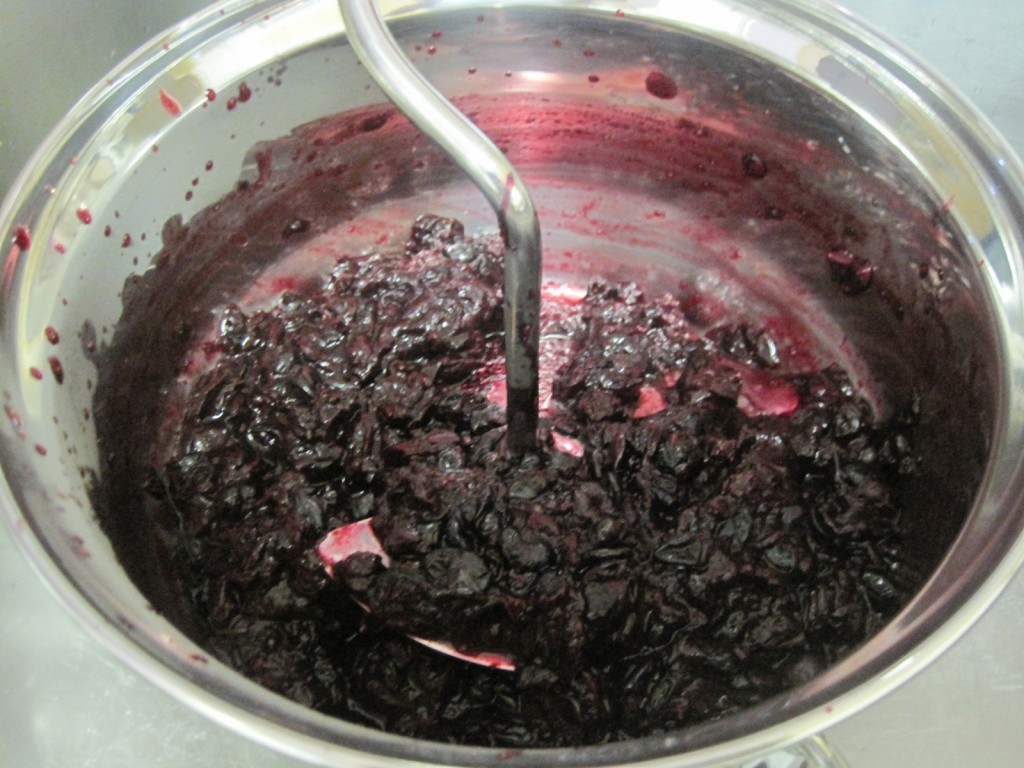
After simmering the berries, zest and 2 c. of water for about 5 minutes, turn the mixture into the food mill over another pot. Process the berry mixture through the mill until the skins are all that’s left. This is stage 1 of the straining…
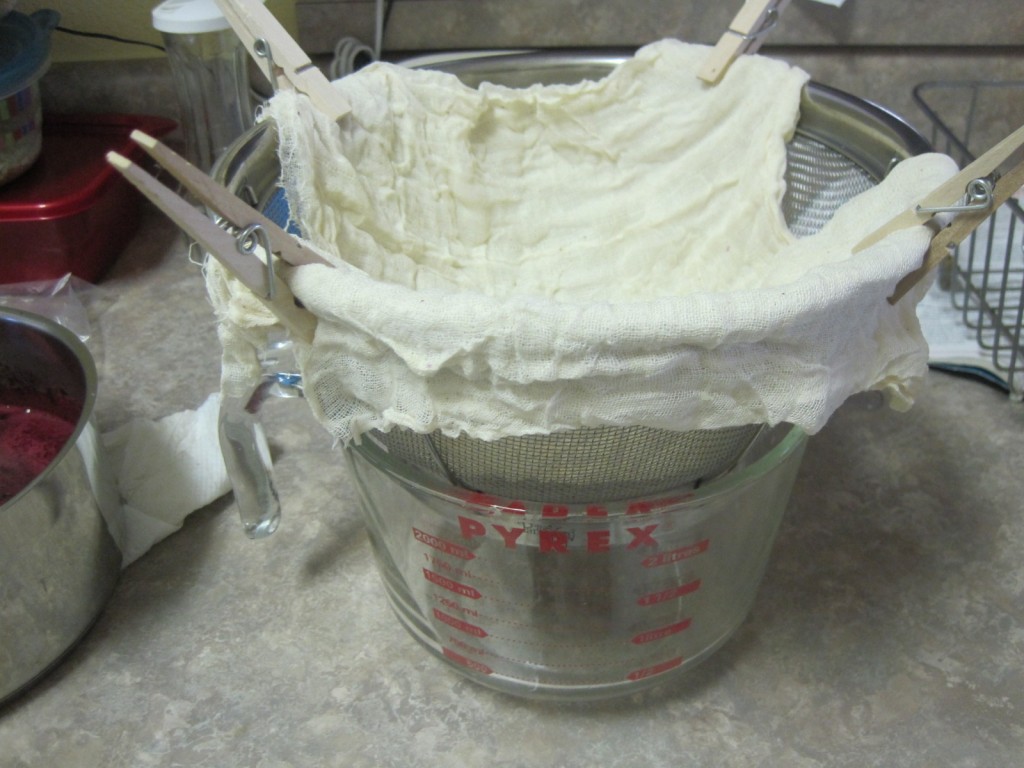
This is my setup for stage 2: a quadruple layer of cheesecloth clothespinned to a colander suspended over a large bowl. If you have a jelly bag, that will work for this also.
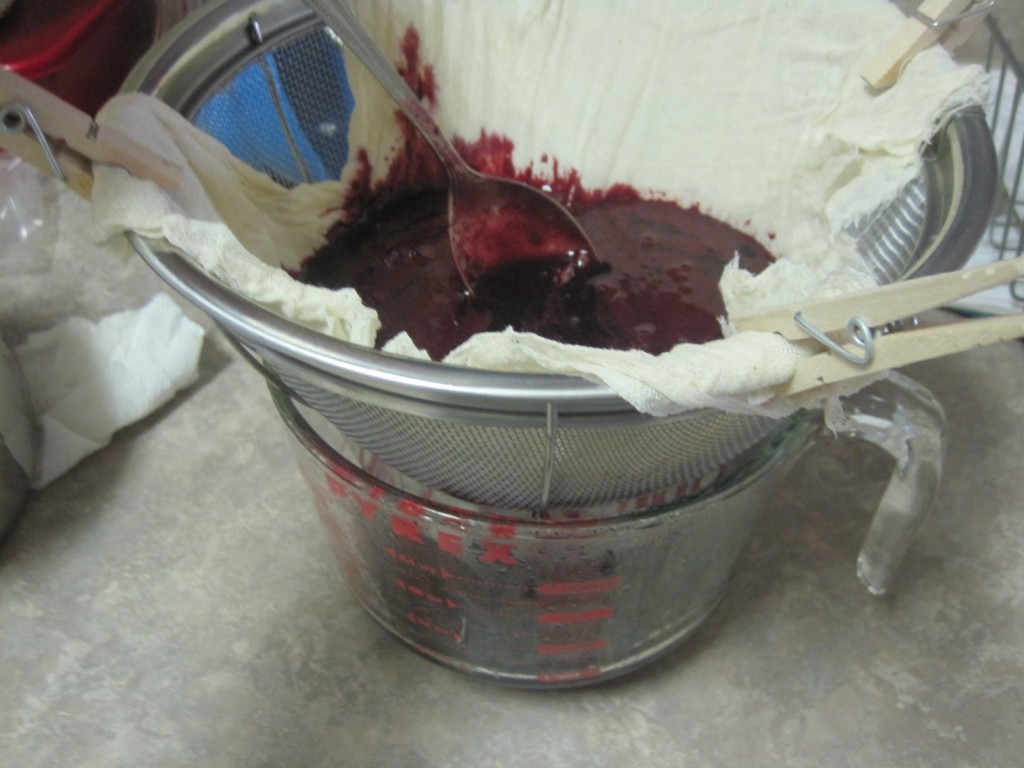
This is where I learned that this is a SLOW process. I didn’t realize that you should allow TWO HOURS for the mixture to drip through the cheesecloth. I tried to hurry things along by pressing through the mixture with a spoon. I got about 3 cups of syrup after all the straining was complete. If I had allowed the full two hours, I might have gotten closer to 4 cups.
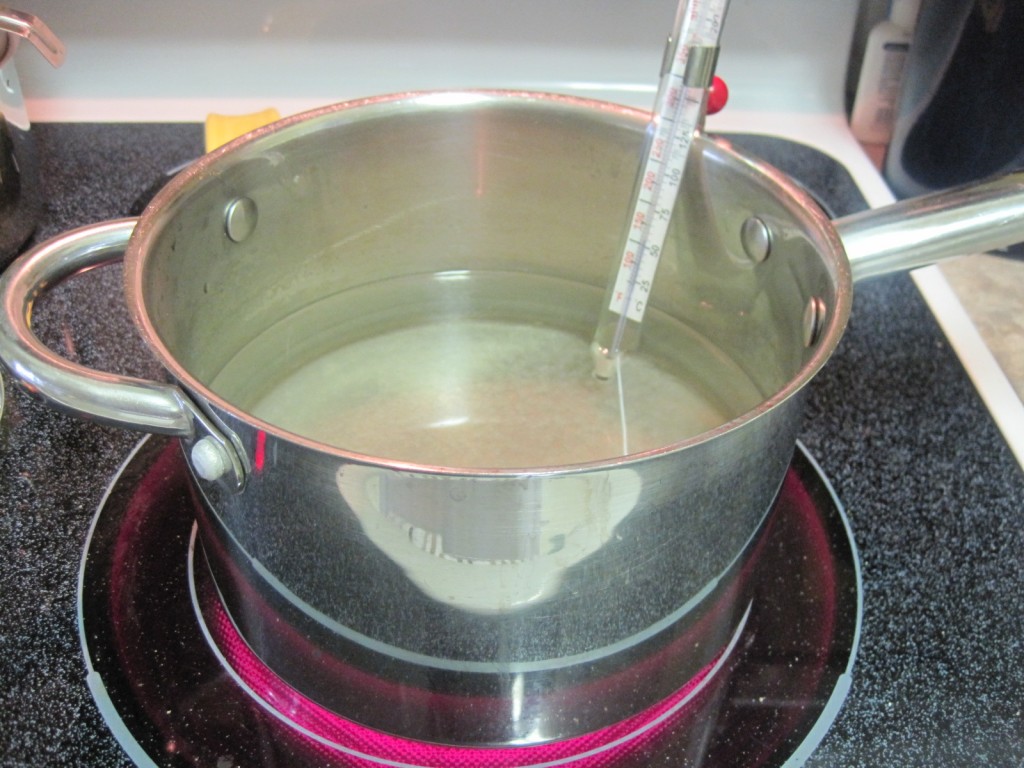
When the berry mixture has about 30 minutes worth of dripping left, get the syrup started: 4 c. water and 3 c. sugar. Bring this to a hard boil and let it boil for about 20 minutes. If you have a candy thermometer, let it get to 225F. If you don’t have one, use the cold water technique to cook the mixture to the “thread stage”: a drop of this mixture will thread when dropped into cold water. This is 220-235F, learn more about boiled sugar science through the Exploratorium’s website.
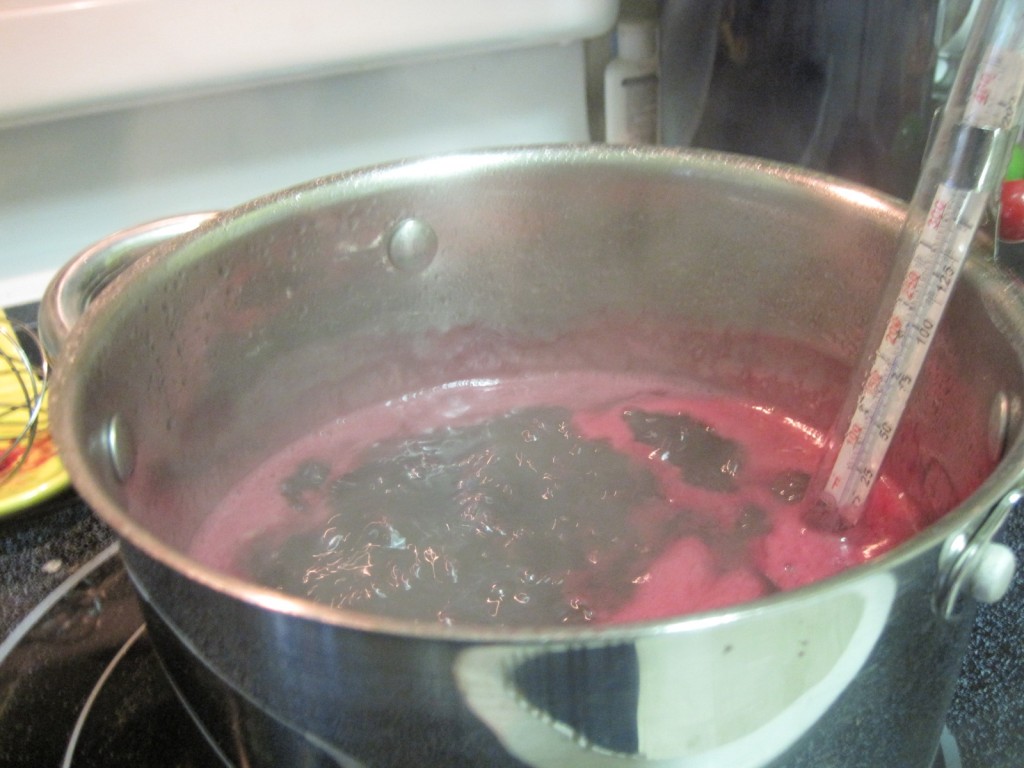
Pour the strained berry mixture into the boiling sugar water. Bring this to a boil for one more minute, then add 2 Tbsp. of fresh lemon juice.
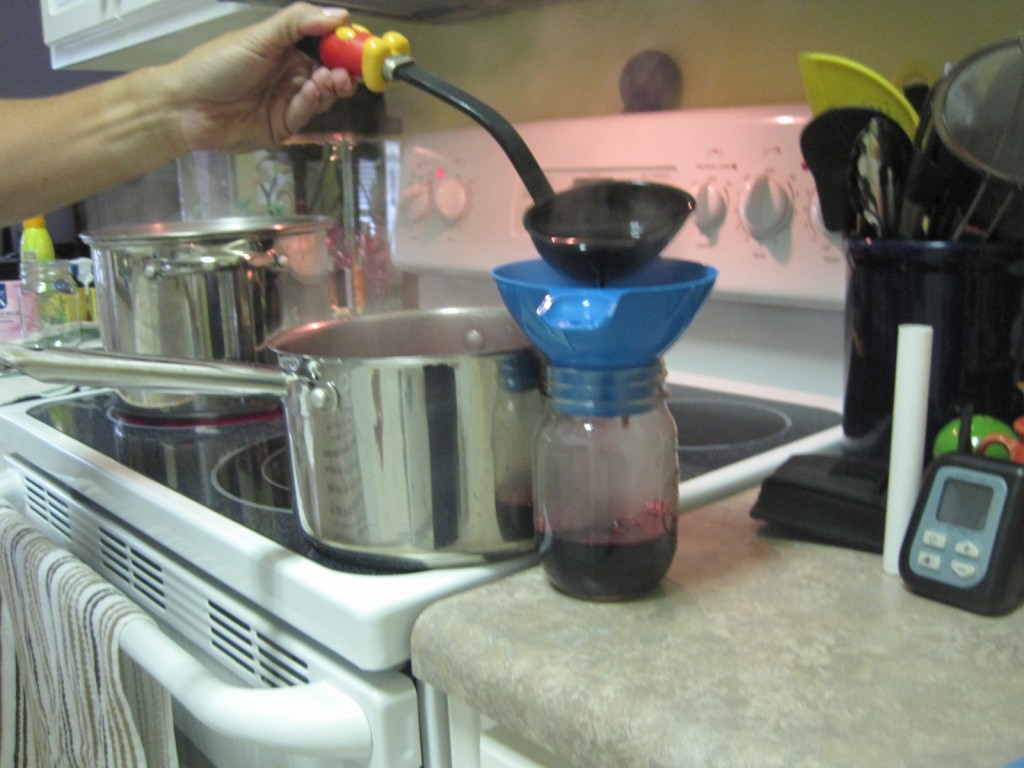
Ladle into prepared canning jars to within 1/2″ of the top. Lid and band the jars. The pot on the far left is what I chose to use for the few jars this would yield. Ordinarily I would use my bigger canning pot.
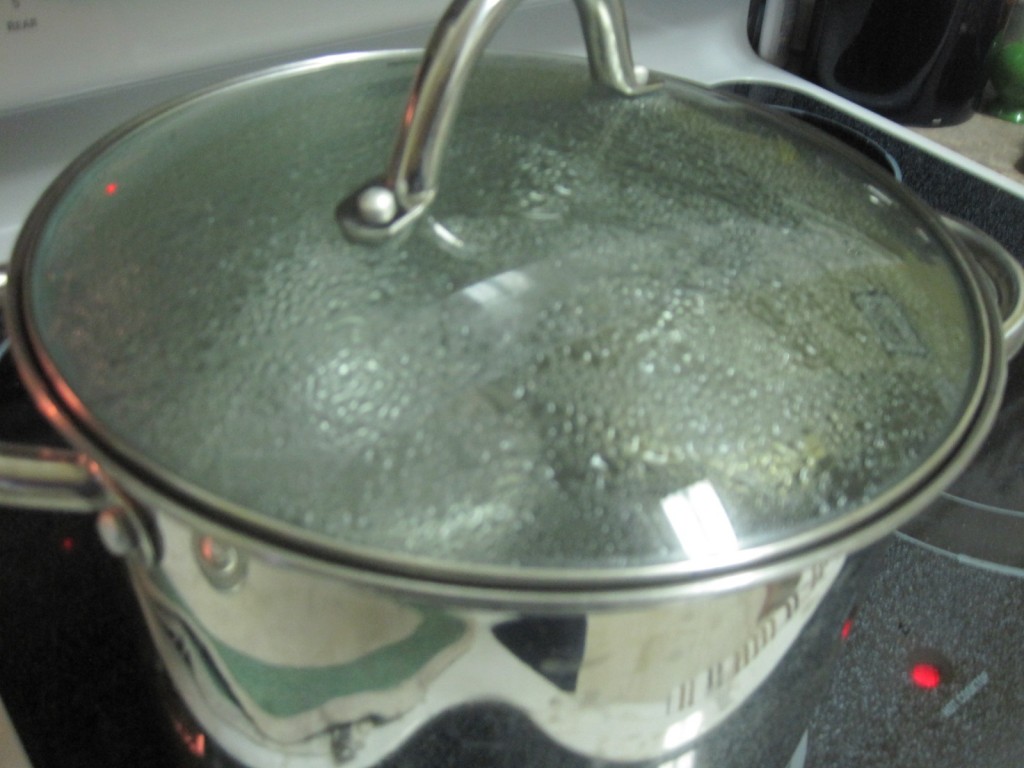
Process jars in a boiling water canner for 10 minutes. Since I only had 3 jars, a large soup pot sufficed.
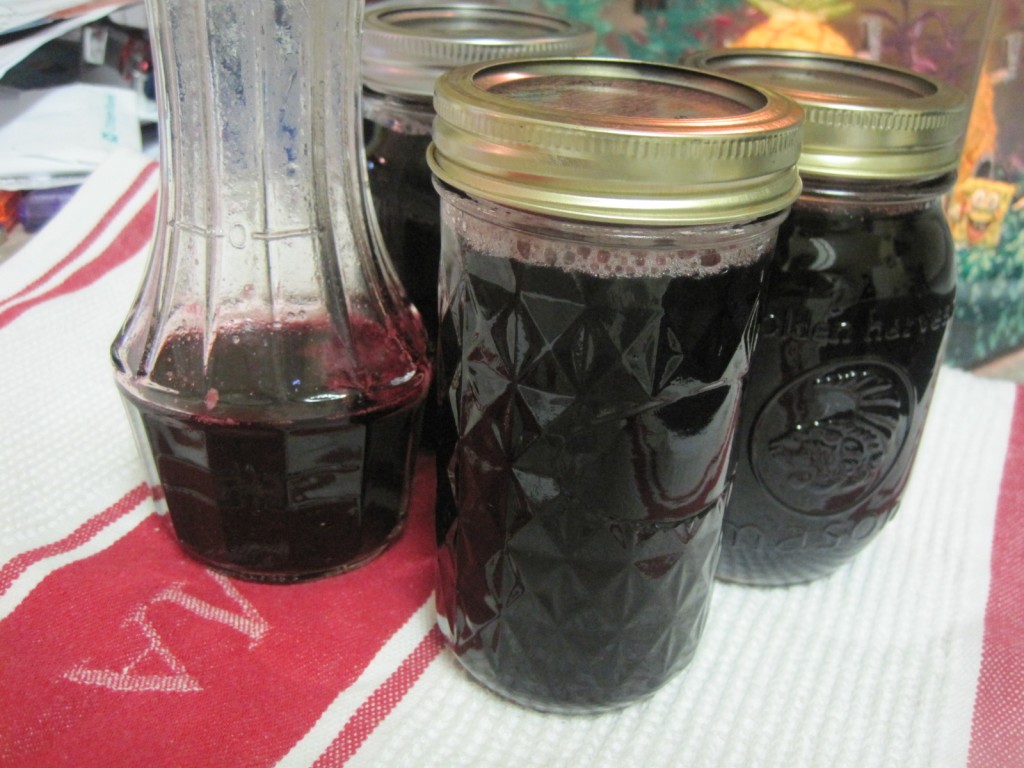
And there you go. I canned three pints and had about 4 oz. left over that went into my salad dressing cruet. It can be kept in the fridge.

Recent Comments