
Just call me Heidi Fleiss.
After all, I was pimping out my pumpkin flowers earlier this summer.
Winter has finally arrived here this week. It’s 26 degrees F outside right now, with a low of 22 expected overnight, and lows in the teens later this weekend. And windy too. So our house is beginning to cool down and my worm bin, which has been in the basement since they first arrived at the end of August, now has to move upstairs as our (unfinished) basement plunges into the 50s.
After some growing pains with how often to feed the worms (tip: always err on the side of underfeeding), and moisture control resulting in white mites, and escapism, I discovered about a pound of food every 10 days does the trick.
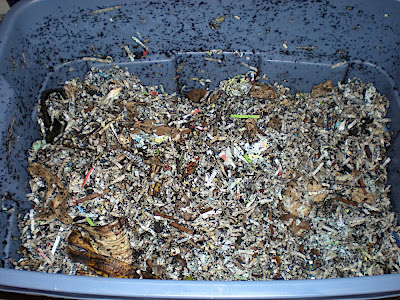
So after 3 months, I now have half of the bin filled with rich, black castings, and I’m starting up the opposite side with new materials.
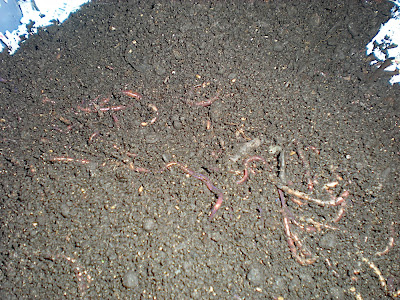
Tonight, when I checked on the worms after moving them upstairs — where the light is much better — I discovered that my worm bin was filled with BABIES! I dug down some and found dozens of worm “cocoons” in the mature half of the bin. Whoo hoo!
So I’m now hosting a vermicomposting RED LIGHT DISTRICT in my kitchen!
According to a Vermicomposting How-To Site, I found this description of red worm reproduction:
“Hermaphroditic:
Redworms have both sexes, but mating is still necessary. If the worm has a swollen band, called the clitellum, at about one third between head and tail, this means that the worm is sexually mature. Redworms mate in their bedding at different levels, sometimes even on the surface. They may mate at any time of the year. They are attracted to each other (maybe for their beautiful body face, or other irresistible qualities.) They find each other and lie with their heads in opposite direction, bodies closely joined. They produce a secretion and secrete this through their clitella, a mucus that forms a band around each of them. Sperm from each worm move down a groove into receiving pouches of the other worm. The sperm enters in a storage sac. Some time after the worms have separated, the clitellum secretes another substance called albumin. This material forms a cocoon in which the eggs are fertilized and baby worms hatch.
Redworm cocoons are round shaped and small. They change color during their development, first white, becoming yellow, later brown. When new worms are ready to emerge, the cocoons are turning red. It takes at least three weeks for the worms to develop in the cocoon. Temperature and other conditions are factors in the development of the hatchlings. Although a cocoon might hold as many as 20 eggs, usually only 3 or 4 worms will emerge. The young hatchlings are whitish with a pink tinge showing their blood vessels.”
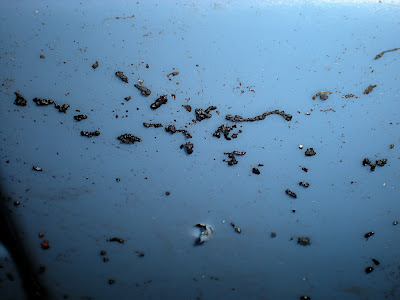
Here’s a closeup (thanks to my new camera, which arrived today) of a worm cocoon.
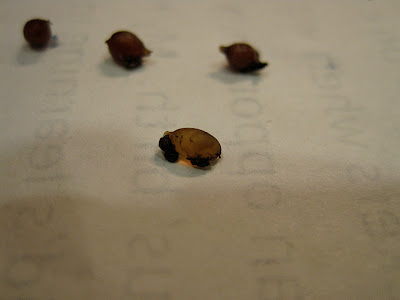 |
| From 2009 12 02 Worm Cocoons |
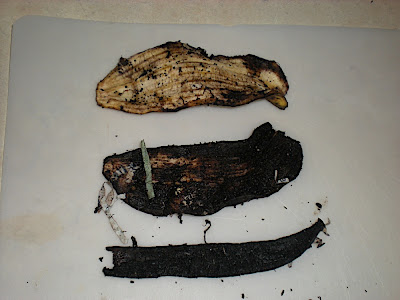
Here’s a closeup of the “swollen band” mentioned above indicating a sexually mature red worm. If you look VERY closely just to the left of the swollen band, you can see a baby worm looping through the castings:
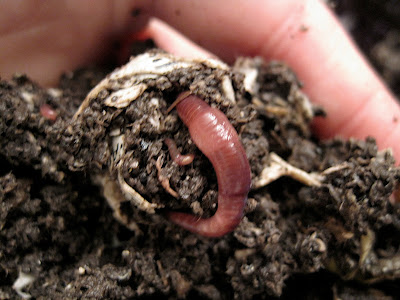 |
| From 2009 12 02 Worm Cocoons |
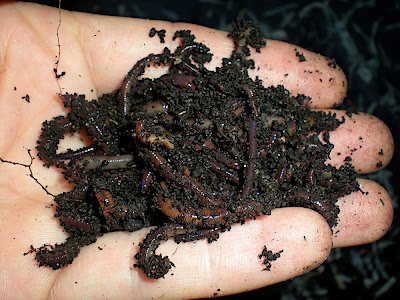
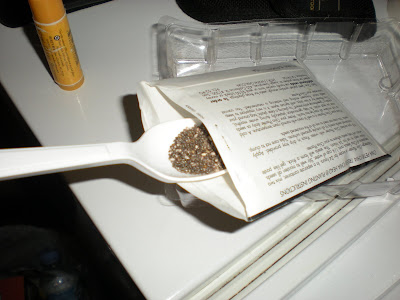
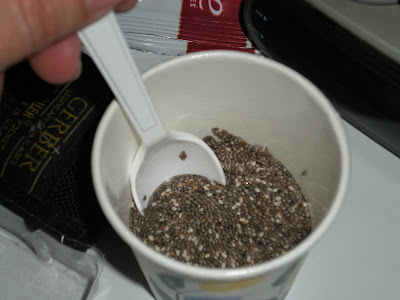
Here’s a handful of worm castings after 3 months in the bin, after they’ve consumed about 10 lbs. of food since late August. You can see a mature red worm on the left, and the yellow pearly spheres are cocoons.
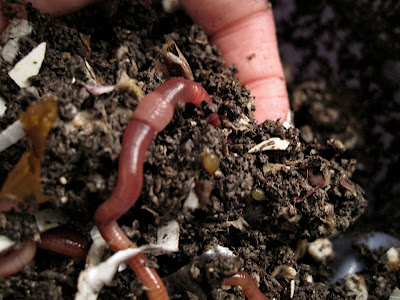 |
| From 2009 12 02 Worm Cocoons |
When the sun is shining into my kitchen tomorrow or Friday, I’ll attempt to get pictures of some of the tiny baby worms, they look like little 1/4″ threads.
I’m so excited — I may actually make the investment for a REAL worm bin. We’ll see….


Recent Comments