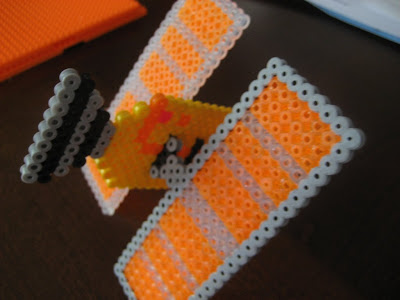
The boys received PixOs starter kits from Grammy Vollmer for Christmas. It was something they wanted, they asked her for it and she delivered! Thanks Grammy! The boys love it!
For those who might not remember, Pixos are a “new formula” of craft bead developed in response to the massive Aqua Dots Recall that took place in fall 2007, thus nixing one of the things Jacob was asking Santa Claus for last year!
I honestly don’t know what the difference is, but whatever. The boys were very excited to open up their sets and get to work!
As you’ve heard me describe with both Moon Sand and Perler Beads, I get a bit particular about the mess-factor when it comes to these crafts. Pixo beads are in the same category — the beads are VERY small (the size of plastic BBs) and you need some incredible dexterity to manage them. They do get everywhere — but unlike Moon Sand, they vacuum up quite easily. I have to suck up my neat-freakiness for the good of happy, creatively engaged kids.
Pixos comes with an applicator pen. You fill the pen with the beads, and then apply the beads to the plastic template board with the gentle touch of your forefinger. So simple!
Not so simple.
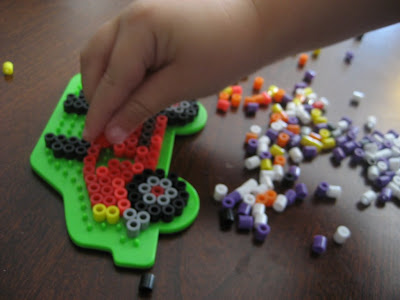
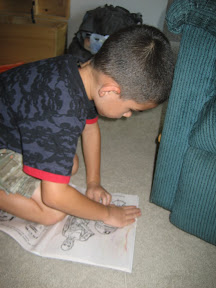
So here’s Timmy with his applicator pen working on a kitten pattern.
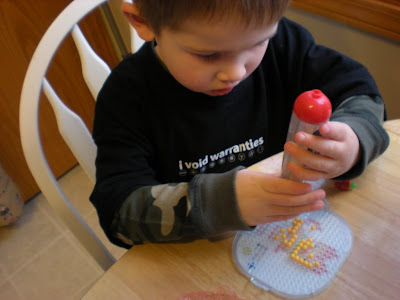 |
| From 2008 12 27 TimmyPixos |
See that fat pen? One has to FILL the pen. You have to unscrew the red top to the pen, and then get the Pixo beads into one of the 4 chambers. Unlike the one shown on the website, this pen has 4 chambers, which you can use to have 4 colors going at once. This took some serious precision, even with the funnel attachment you can use, to get the beads into the pen.
Timmy’s pen seemed to work fine. You line up the tip of the pen, depress a button, and it deposits a bead in the location of your choosing. There’s a certain finesse to putting the pen up against the template just right, otherwise the bead misses the correct location on the template and bounces elsewhere: into another location on the template, on the floor, into the heater vent, etc.
Unfortunately, Jacob’s pen seems much pickier. The pen has to be oriented with one of the 4 chambers perfectly for the beads to come out when you press the button. It was frustrating for me, so for those who know how, um, particular Jacob is, just imagine his reaction! But we got it working and he was able to do some simple patterns.
I’d estimate that for each of the patterns we have, you need to fill the pen at least twice, and it depends on which colors you choose to fill the chambers with.
So — now that we’ve filled the template with the beads in the pattern we want, it’s time to “fix” the pattern in place with water.
This is pretty straightforward: the starter kit includes cute little spray bottles, which the boys wasted no time filling with water from the dog bowl and then using on each other.
Once we made the appropriate corrections and the boys served out their time outs, we followed the directions: “Evenly spray your complete design”.
How much spray? Not enough spray, the beads don’t all seal together. Too much spray, and it takes forever to dry. So I don’t know the answer to this, except that an adult should oversee the spraying.
Here’s Timmy’s completed kitten.
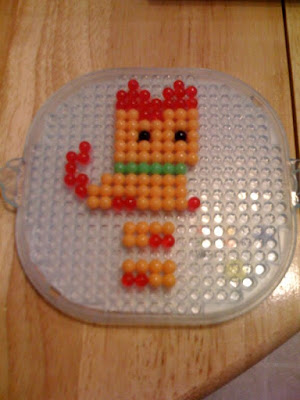 |
| From 2008 12 27 TimmyPixos |
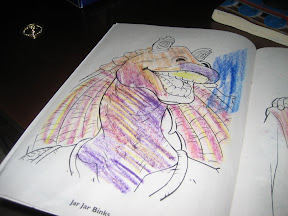
I was very impressed (again) at how well he did with this project. And once again, Jacob was less patient with this project, but he did a small set of patterns that are on the pink-colored template on the picture below.
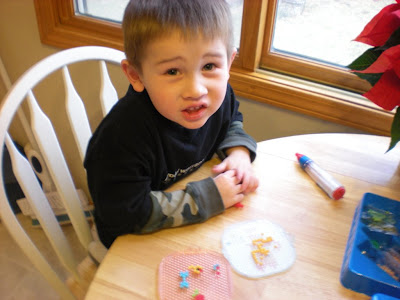 |
| From 2008 12 27 TimmyPixos |
Straight out of the instructions: “NOTE: Store unused PixOs(TM) in a cool dry environment”.
Heed this warning! When you’re spraying your pattern, you need to keep the water away from any loose beads, or the applicator pen. Needless to say that the water makes the beads sticky, and the loose beads will congeal together if left out in moisture. That also means if you’re in a humid environment, they might not cooperate so well. Thankfully, it’s bone dry here right now so that’s not an issue.
The instructions claim that the PixOs design will be ready in about 10 minutes, but I don’t believe that. Of course the drying time depends on how much you “evenly” sprayed your design, and the ambient humidity. It’s taking about 1/2 hour here. That seems a long time for a 3 year old to wait for the fruits of his labors. At least with Perler beads Timmy only has to wait for me to iron his design together and then wait for it to cool, less than 5 minutes!
When all’s said and done, you have this cute little kitten. Like the Perler beads, you have this plastic toy that you can do with as you please. Unfortunately, Timmy’s kitten fell apart pretty quickly. Just trying to hold it upright, gravity kicked it and the kitten slumped over and the beads started separating.
But simply put the parts back on the template and hit with another shot of water and it fuses back together in about 1/2 hour.
I’ve come across some other reviews from folks whose kids also received these sets for Christmas, and I have to admit, mine is among the most polite of those I’ve read so far. Timmy and Jacob seem to enjoy this kit pretty well, so as long as you are flexible with the mess the beads can make, and make sure to avoid getting the beads wet until you’re absolutely ready.
One of the reviews even says “stick with Perler beads”. After Jacob spilling a tray of about 3000 Perler beads this afternoon, I’m even getting frustrated with the Perler beads!


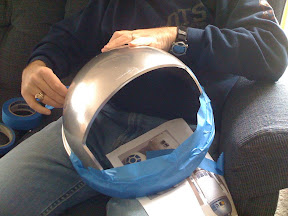


 So first I used a drill to put holes along the sides of the bottom edge.
 A close up of the holes.
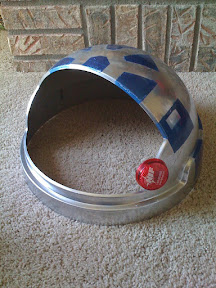
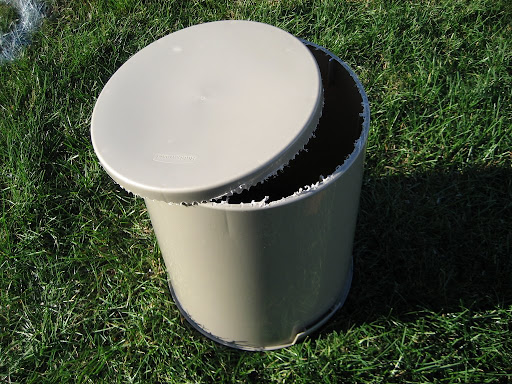 So with a couple slices with a keyhole saw, the bottom popped right off. But we were left with all this debris. I started with some 100 grit sandpaper, but that was futile…
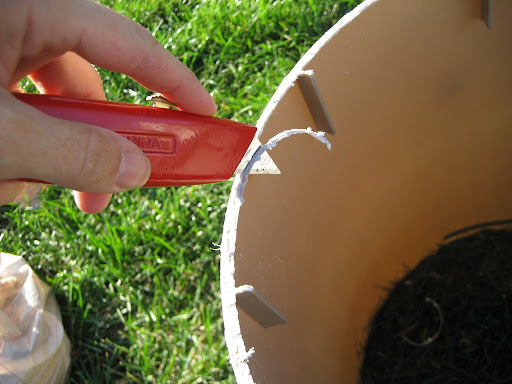 But a box-cutter was perfect! I was able to shave off the excess plastic, then used the 100 grit sandpaper to fine-tune the edge.
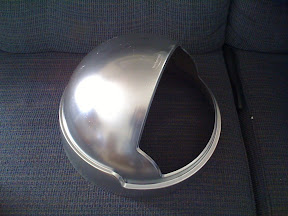
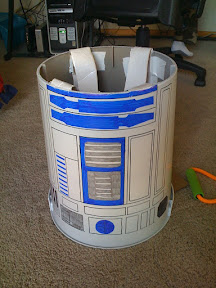
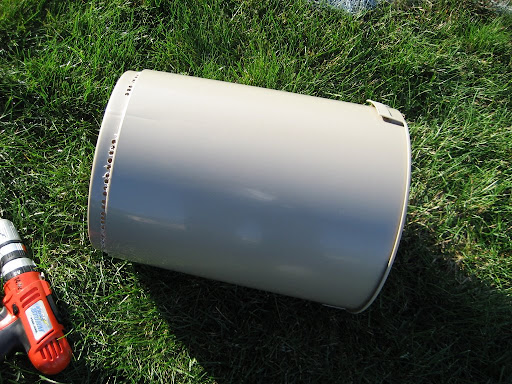
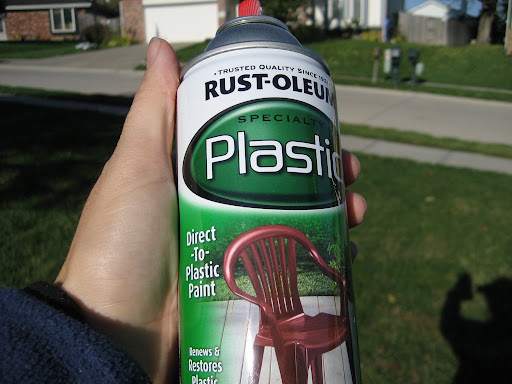 Next task, painting the wastebaskets. We could only find that silver/coppery colored can, so it had to be painted white…
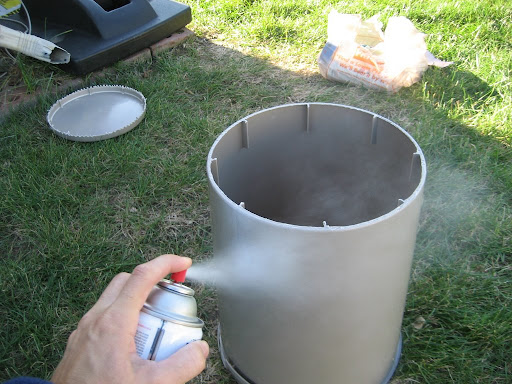 I wanted low humidity and not much wind, but in Nebraska in the fall, forget it! Today is the last dry day for a while, but it was quite breezy so I just made sure to remain upwind of the spray and we did okay.
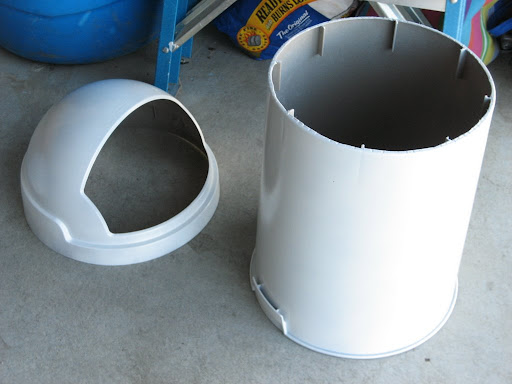


Recent Comments