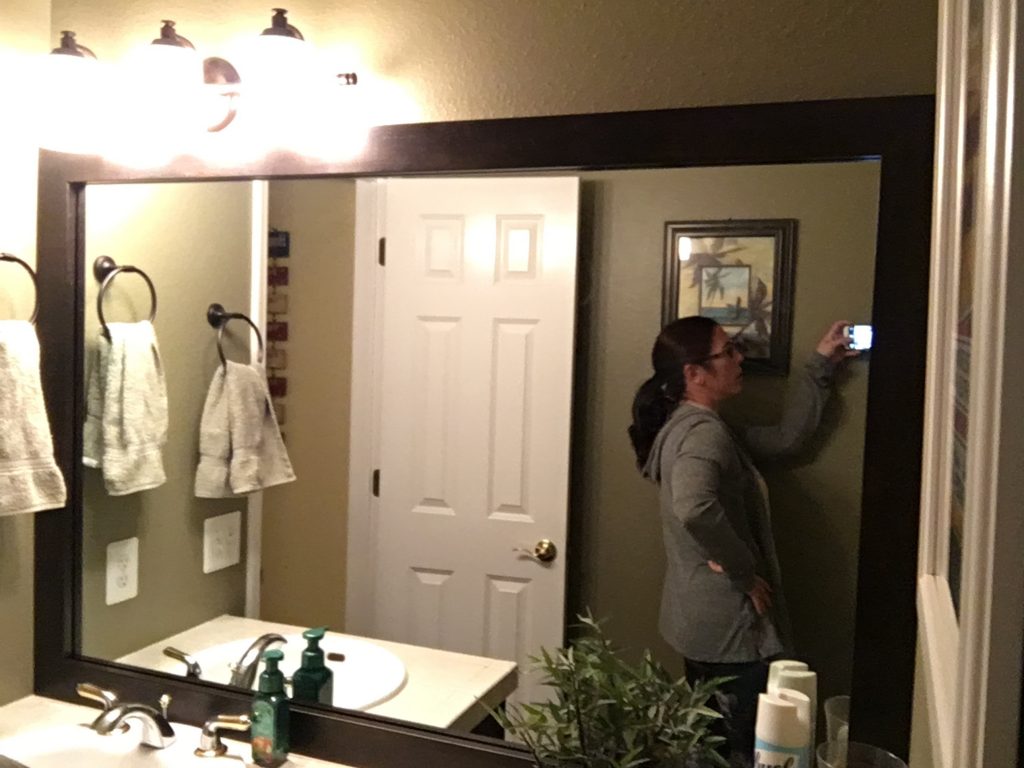
We are finished with our half-bath upgrades (and hopefully home improvements in general for a while)! Over the 3-and-some-change years we’ve lived here, we’ve done an assortment of little things to make our main floor half-bath look a little nicer.
More »
We’ve been doing a lot of little updates around the house lately. The most recent one I shared was with the fireplace last spring. I’ve been working full time off and on since July, but now I have a break for a couple months and I can return to our “honey-do” list.
There are some items that I usually do around the house in the fall: waxing the vehicles, cleaning out closets and the garage, and getting folks in to do preventive maintenance for our HVAC system. But this fall we are adding a couple of other things. More »
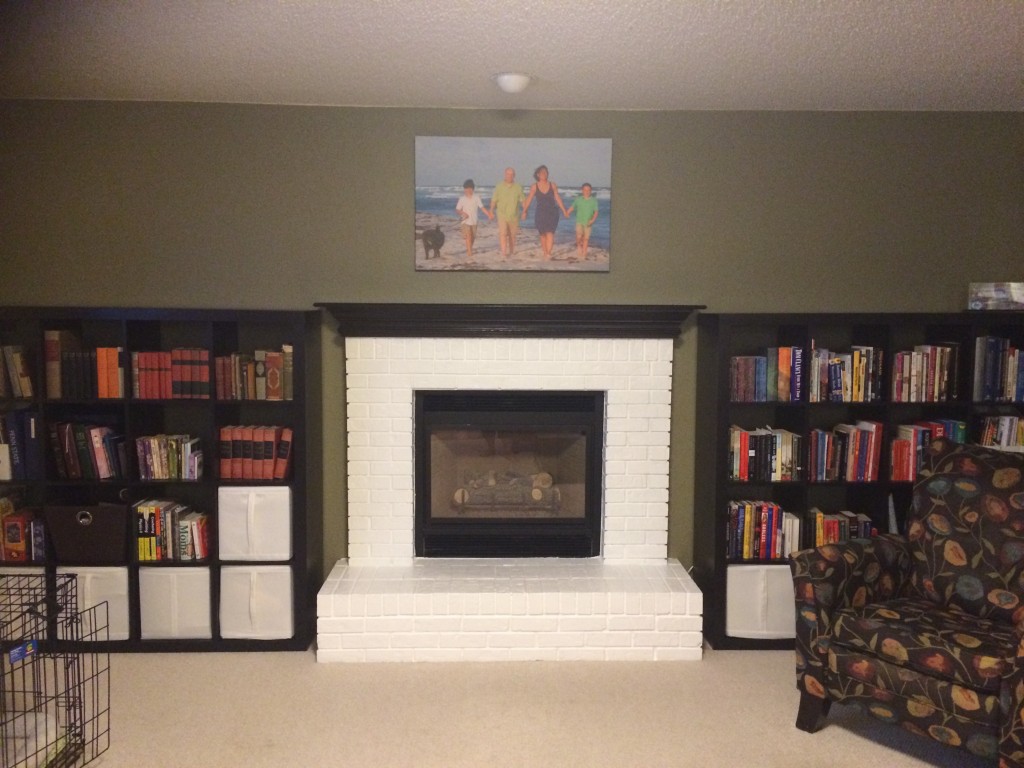
The final result. I LOVE it! We have a few things to still put back but we are waiting for the mantel to completely dry.
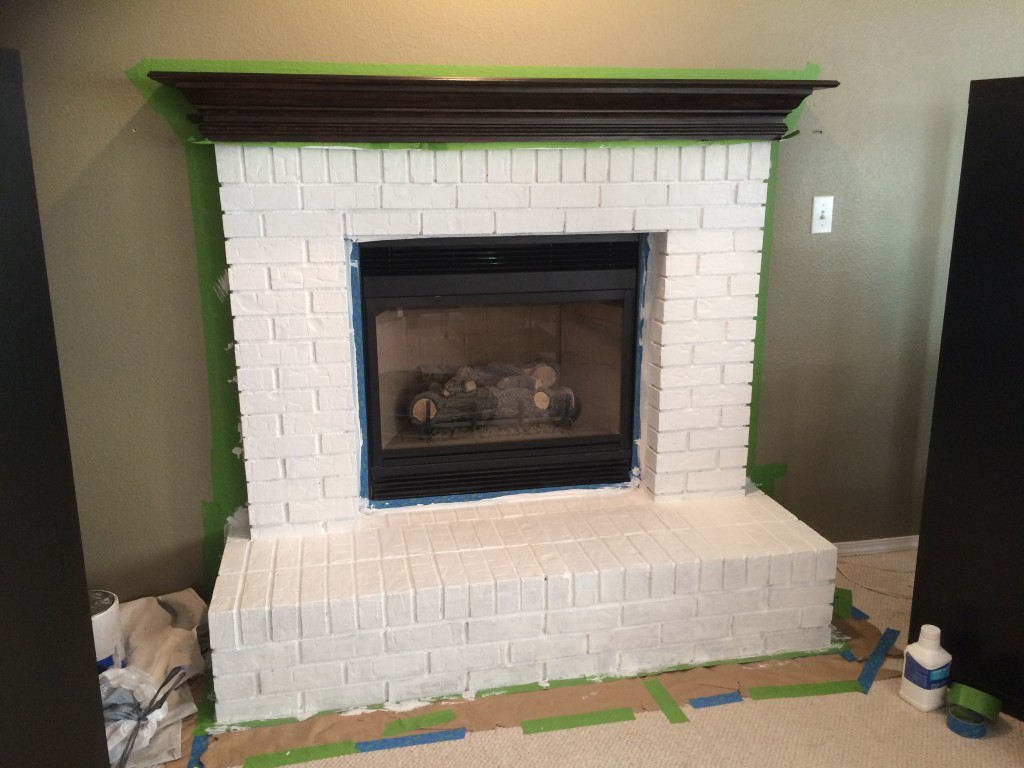
Tonight Dave finished up the fireplace paint job. Today’s work was mostly just correcting the bleed-under at the tape lines.
(That’s a whole other rant: we have tried EVERYTHING and can’t seem to find a masking tape that can completely avoid bleed-under. We invested in the good “Frog Tape” and we’ve tried the 3M “Blue” tape. Those run $6-8 per roll but I think we do a better job just not taping at all and being VERY careful. /rant).
Jacob thought the fireplace was looking very bright as Dave was working on it, but once we put the bookcases and white baskets back in place, he seemed to warm to the color.
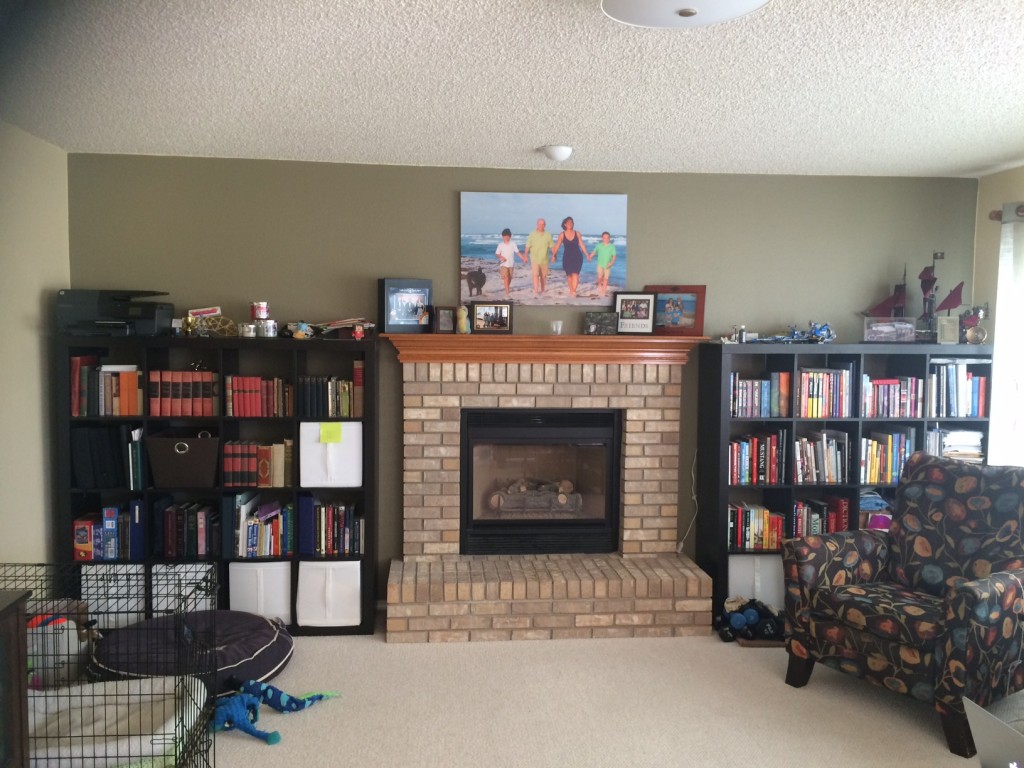
For reference, here is a “before” picture:
And for fun, here’s a “really” before picture, from when we walked through the house right after going into contract in May 2013:
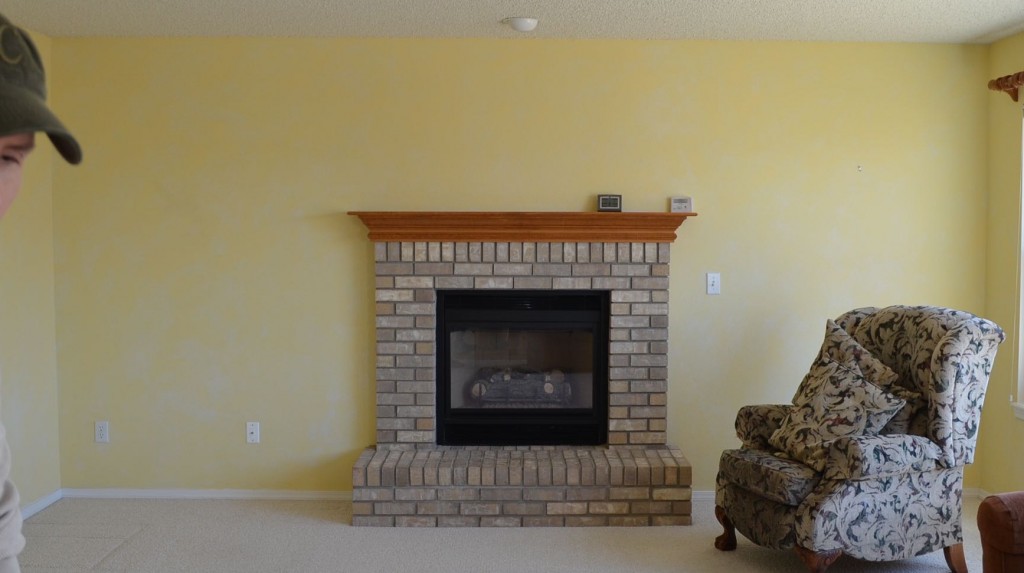
From May 2013. No, your eyes aren’t playing tricks on you. The walls were “blotchy yellow” on purpose. Some sort of feather painting thing, I guess.
Many thanks to my dear husband for making this happen.
I thought you might like to see our progress. Frankly, I haven’t done much personally with this project. Jacob unloaded the bookcases for us, and Dave is doing everything else. More »
We’re at it again. Dave and I had been contemplating our fireplace for quite some time…with some of other changes happening on the main floor of our house, we wondered what we could do to make our mundane, builder-grade fireplace more modern-looking. More »
I know, I know, I know…I showed all these in-progress pictures but then disappeared off the face of the earth before I showed the final result. More »
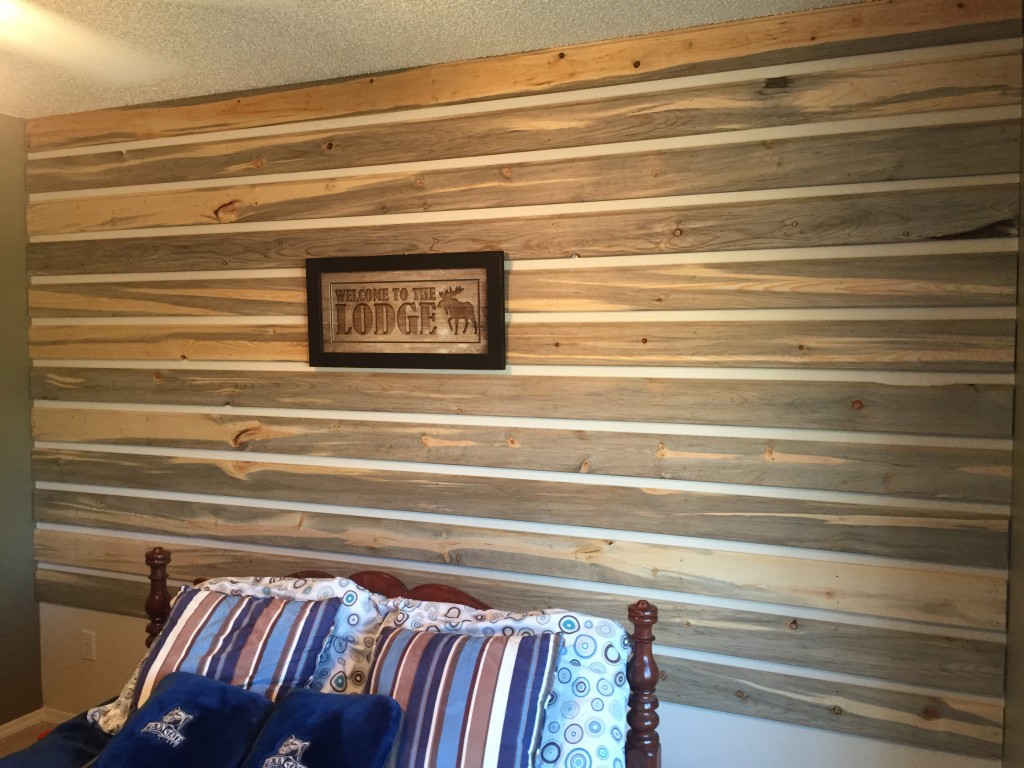
I’m not sure it’s actually called “planking”, since my first thought would have gravitated towards this kind of planking. But it’s what I’m calling the process Dave and I went through today, putting the planks up on the wall in our guest room.
We picked up the wood, called blue stain “beetle kill” ponderosa pine, at our local Home Depot. The planks are actually cut for paneling on the opposite side, and there are tongue-and-groove cuts on the long edges…for vertical paneling. I’m sure Home Depot was happy that we were picking the most beat-up planks for our project. We purposefully took the pieces with holes and gashes. More »
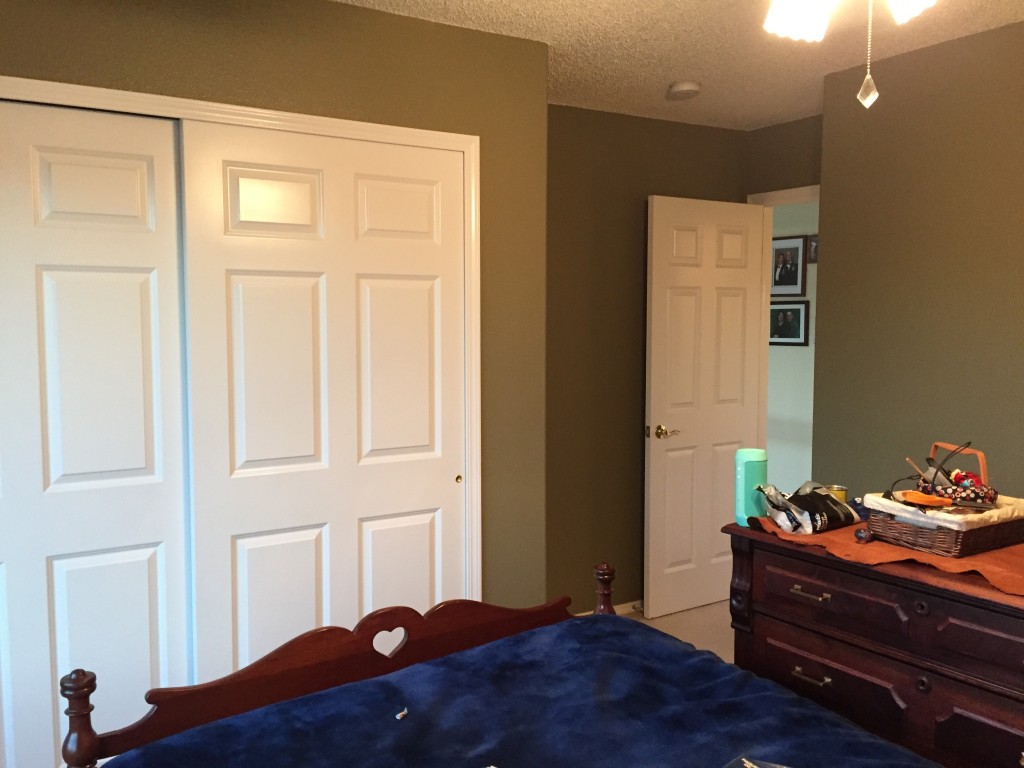
We couldn’t have asked for a more perfect day to paint a bedroom. Even though it’s mid-October, today Colorado Springs hit a high temperature of 87F, shattering the record for this date by FIVE DEGREES! We were able to open the windows and let the warm air quickly dry the walls and we were able to put both coats of color on the walls in about 4 hours.
The colors we chose were ones that we already had from previous painting work. The greenish color is Behr’s Ultra Premium Plus “Dry Pasture“, which we already have on our dining room and basement bathroom walls. We had a full can of Dry Pasture in the basement storage area, which ended up taking care of about 85% of what we needed. Isn’t it always like that? Dave ran to our local Home Depot and picked up another can while I worked on the corners and top edges. More »
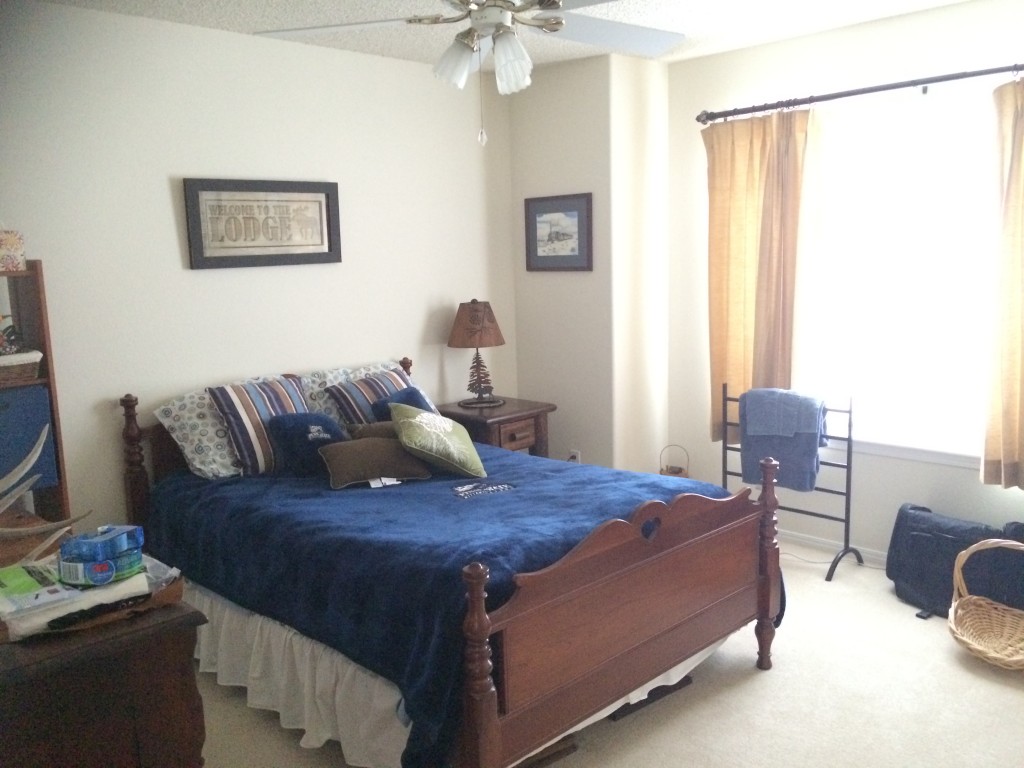
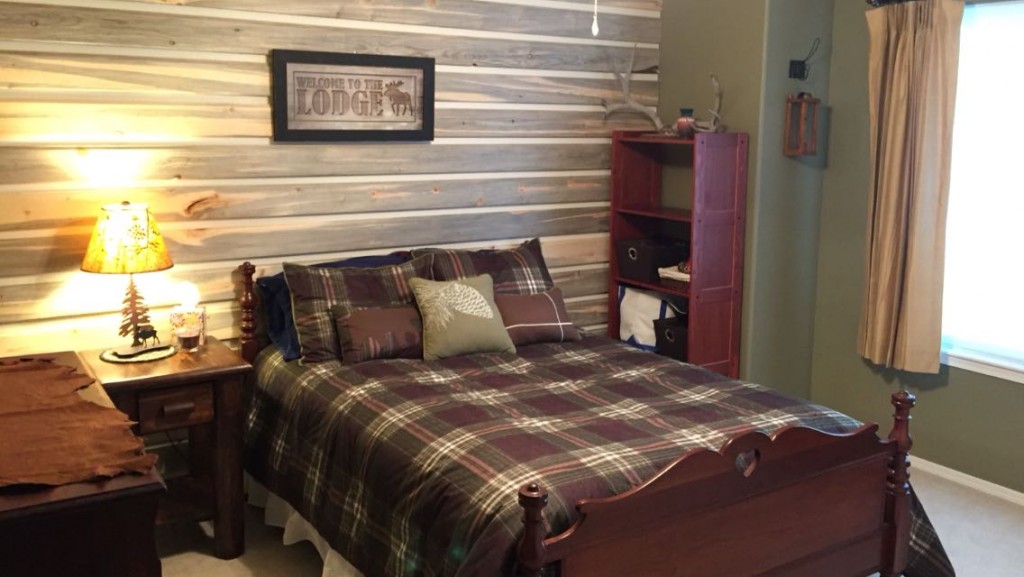
The guest bedroom is the last liveable part of the house that has not been painted since we moved here. It’s still the original builder-grade paint, in fact. Some of the accessories have already been placed in the spare bedroom (lamp on the nightstand, some antlers on the far left edge) but when it’s fully complete it will be transformed into something pretty cool! We can’t wait!
Hello there! I’ve been a bit scarce lately, mostly because my MacBook’s keyboard died. I turned it in this weekend for repairs at my local Apple Store, which was a monumental task in and of itself. The Apple Store here is so swamped, you have to make an appointment to turn in the computer for repairs, and they were booking a week out.
In the meantime, I’m using a Acer touchscreen laptop we had bought a few years ago, but had given us so much trouble with Windows 8.1 not being compatible with the built-in WiFi adapter. Last spring I blew away the Windows operating system and completely replaced it with the Ubuntu system (Linux). I found the proper drivers to re-activate the touchscreen with Ubuntu, and things are going decently. I still miss my MacBook, though…I’ll have it back by next weekend.
So on to our next project: changing the guest room from a plain junk-storage space that occasionally hosts guests to a no-kidding guest bedroom. This past summer when Dave and I visited the local Parade of Homes we saw a DIY idea that we both agreed was worth trying to do: planking a wall to look like a log-cabin. More »
We are done!
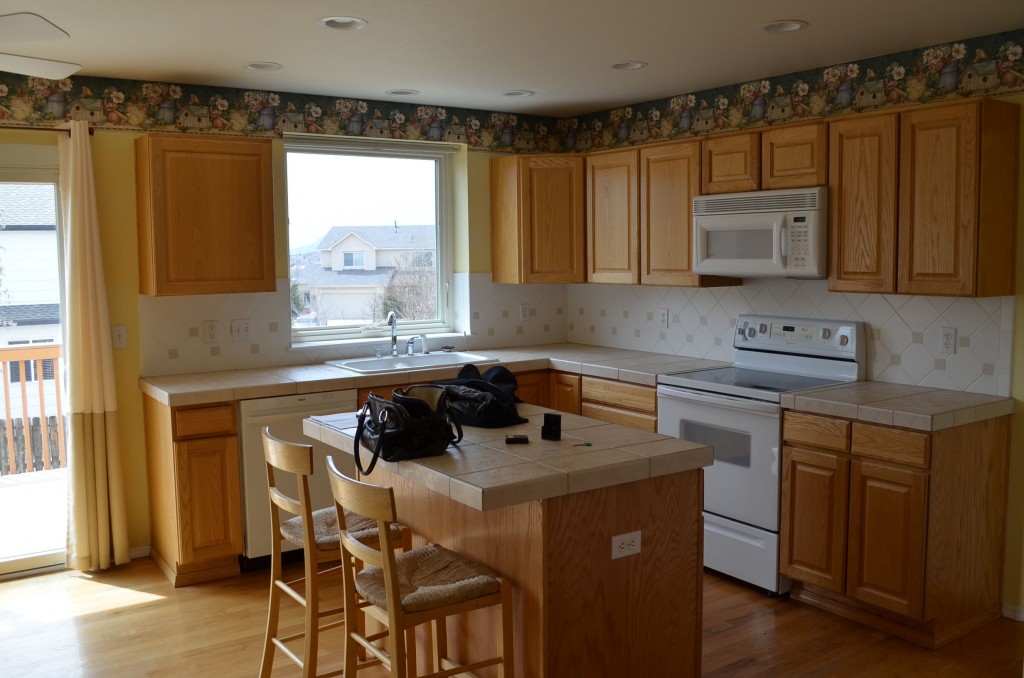
Today the contractor finished grouting the backsplash tile, and with the exception of some very tiny touch ups and sealing the grout, our kitchen is officially REMODELED!
Before:

Recent Comments