My husband and I made a radical change to our diets this new year. We are attempting a Gluten-Free lifestyle. We aren’t allergic to gluten, but we are trying to see if some lingering ailments subside: joint discomfort, congestion, and (for Dave) IT band problems. I’ve not had arthritis in my hands or knees for the past week (a problem I’ve had in cold climates for many years) so I think we might be on to something.
This isn’t as hard as one might think. There are two ways to go about a GF-lifestyle.
- Simply cut those foods that ordinarily have gluten out of your diet. By this I mean, no more wheat bread, rolls, cakes, doughnuts, flour tortillas, or other wheat-containing products (such as soy sauce). But also cut the idea of those kinds of foods out of your life as well. There are other ways to receive complex carbohydrates (if you want them), such as potatoes, corn, and oats.
- Attempt to make or buy substitutes for those products. This means looking for gluten free cake mixes, breads, brownies, and the like. Using Udi’s bread for sandwiches.
These days, option #1 is tricky because you have to keep an eye out for additives in things as innocuous as Quaker oatmeal (NOT gluten-free, by the way!). If you have a legitimate gluten allergy, this is a concern. If you’re trying to significantly reduce gluten, you can get away with the small amounts in the foods without danger. But in principle, I don’t want it there.
Option #2 is a problem because many of the easy-to-buy GF cakes and breads are filled with additives and chemicals that simply aren’t natural. With some research and investment in the proper ingredients, it’s possible to do homemade versions of these items, the same way you might want to make wheat bread to keep things real. However, with some research, you can find something like Glutino non-GMO double chocolate brownie mix. They’re delicious, and I recognized every ingredient printed on the box. I plan to try Pamela’s next.
Today I’m going to discuss tortillas. In our family, homemade tacos is a very popular dinner option. It’s super quick, the kids can help me make it, and everyone in the family eats it enthusiastically. In the past, I’d use flour tortillas. I recently became fond of La Favorita-brand tortillas because they’re local.
Dave and I felt it was easy to make the switch to corn tortillas. The flavor’s different, sure, but we aren’t into tacos for the taste of the tortillas. Because Mission-brand corn tortillas are labeled as “Gluten Free”, I picked up a package for enchiladas. Along with a couple cans of Hatch-brand GF enchilada sauce.
Corn tortillas dry out in the hurry. They always have for me. Coming to Colorado made things even worse, where a slice of plain bread here becomes toast in an hour. It was a nightmare making the enchiladas last weekend…I was better off not trying to roll them up and simply going for an enchilada pie. But I tried traditional enchiladas, and I failed.
I decided to look into making my own corn tortillas in an attempt to have non-dry corn tortillas. It seemed simple enough.
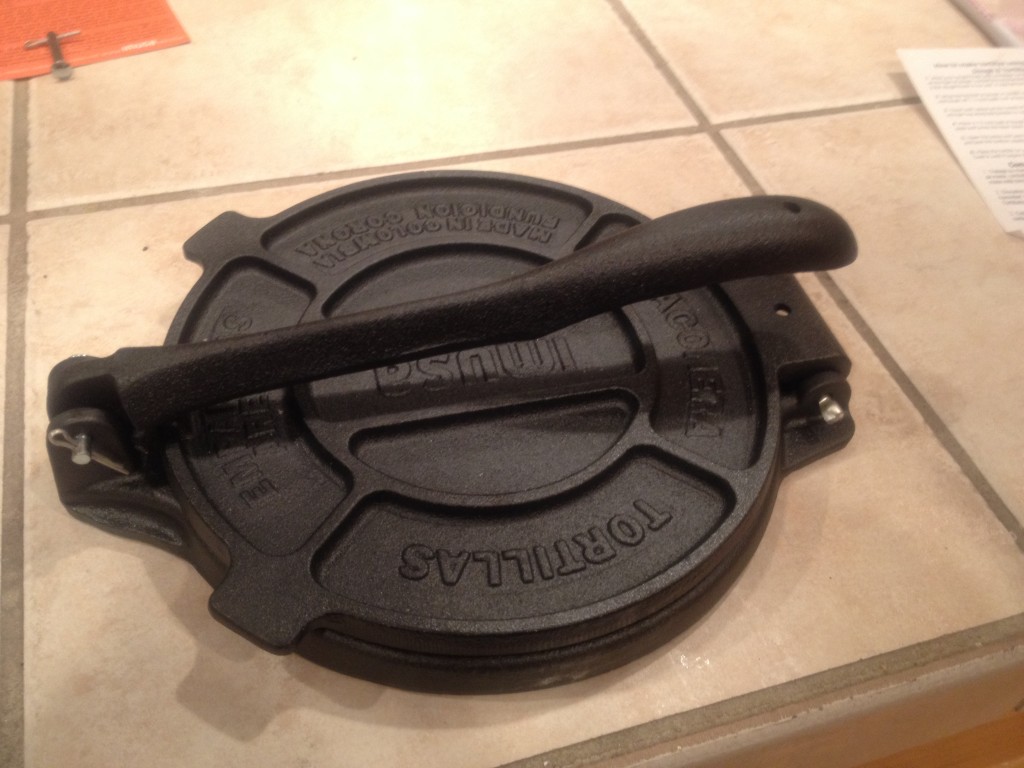
First, I invested in a basic tortilla press. Some will use a glass pie pan, others will use a rolling pin. I picked up a basic cast iron tortilla press through Amazon.
This one pictured is the #1 best seller for tortilla presses on Amazon.

Here it is — if you’re right handed it’s fun to read the text all over it. But I’m not right-handed, so I get to enjoy it upside-down.
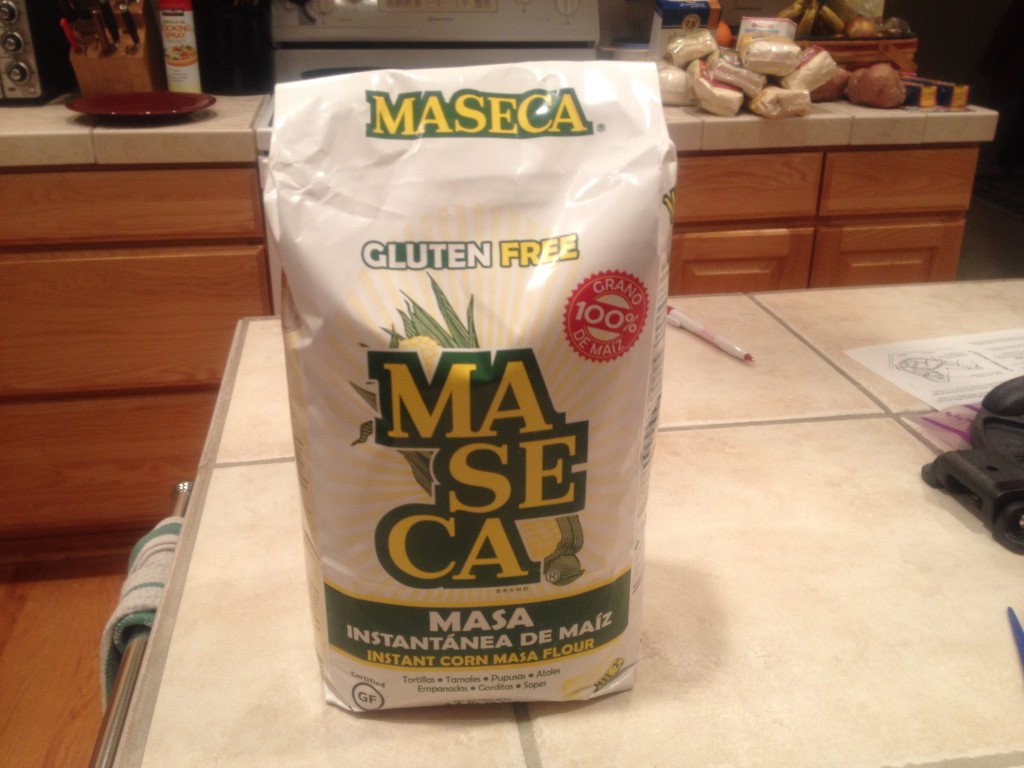
Making the dough is very easy. Visit the Hispanic food section of your local grocery store and look for “masa harina“. It’s the corn flour mix that’s used to make tortillas, tamales, and not much else. It’s not recommended for baking. The bags look like flour bags. If you can find Maseca brand, it’s gluten-free. If you can find Bob’s Red Mill brand, it’s gluten-free and non-GMO. I’m using Maseca-brand, I found it at my local Walmart for about $3.

See those large words at the top? Pay no attention to the giant pile of other GF flours (quinoa, corn, brown rice) in the back on the right.
Follow the instructions on the package of masa to mix the dough and form little egg-sized balls of dough.
Next, prepare the press. You need a gallon-sized zip-top bag with the sides cut down to place in the tortilla press. This helps keep the press clean, and it makes things easy to peel the pressed dough. Place a ball of dough on the press (on top of the plastic), press down, and BOOM! you have a tortilla ready to heat. Sadly, I didn’t take a picture of my tortilla press with the plastic bag set up. Here’s a picture of the ball of dough on the prepared press, and here’s a picture of someone easily peeling the dough from the zip top bag plastic.
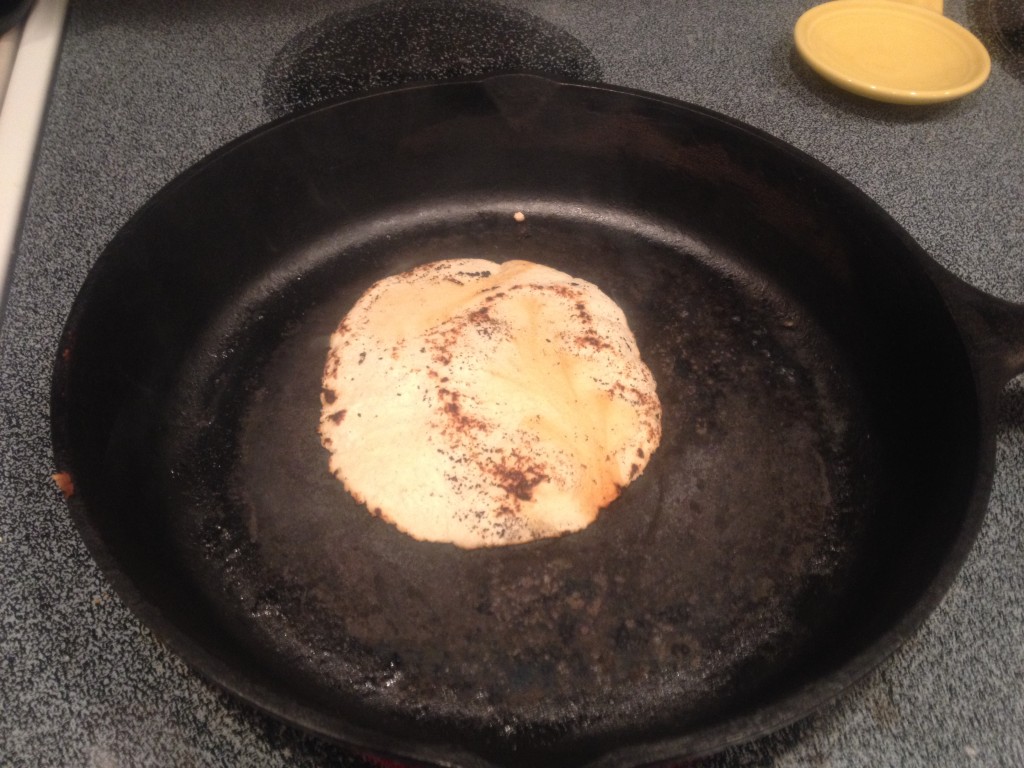
There are different schools of thought on cooking a tortilla. You can sorta “fry” them with a thin layer of oil on the pan, but I chose to cook them dry, with just a shot of olive oil spray to help not dry out the skillet. To cook my tortilla, I used a large cast iron skillet heated to medium-high. Tortilla pans are out there, but I don’t see the need for one. I love my Lodge pan!
Place the flattened tortilla dough on the skillet, let heat for about 30-45 seconds, then flip and allow to heat for another 30 seconds. Immediately move the tortilla to a towel — covered with another towel — to cool. This will help keep the tortilla soft.
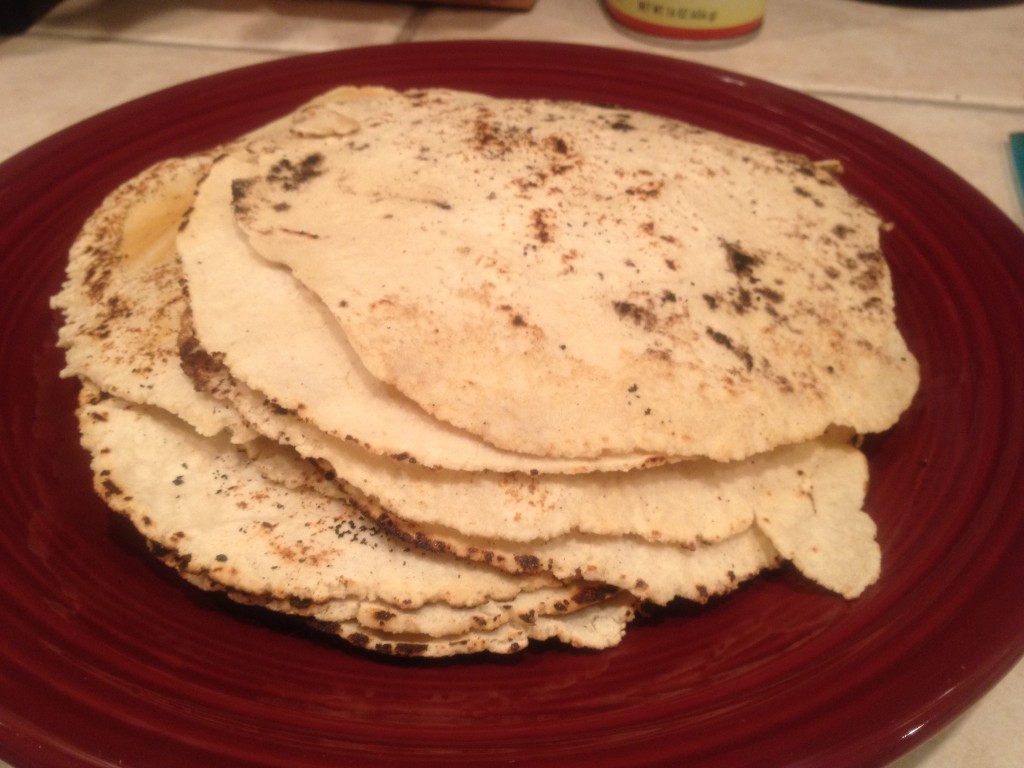
*Yes* I have to cook these individually. And *yes* for the 16 tortillas I made I was standing in front of my stove for nearly 30 minutes. You can’t really do much else, either, because you are placing, flipping, or removing 1-2x per minute.
These tasted great, had the perfect consistency for our tacos, and were a great GF-alternative to the La Favorita flour tortillas.
They’re cheap, too! My stack of 16 tortillas didn’t cost more than 50 cents. Compare that to the $2-4 for a package of them at the store.
Keep in mind that corn tortillas like this won’t last nearly as long as the ones commercially available. I’d suggest consuming them within 3 days.
I have yet to try frying these tortillas into chips…or forming them into hard shells. I’ll have to try that another time.


Recent Comments