17. May 2015 · Comments Off on DIY Kitchen Transformation: Painting the Rest of the Cabinets · Categories: Uncategorized · Tags: , ,
No turning back now! This is after the primer only. The real paint goes on tomorrow.

No turning back now! This is after the primer only. The real paint goes on tomorrow.

This weekend we are painting the cabinets. This is a much larger undertaking than the island we did last month. Instead of just the four doors we had to disassemble for the island, today we took down 28 doors!

Taking down and preparing the doors took a couple hours alone because we had to be sure to catalog them properly. Let’s talk about how it was done. More »

11. May 2015 · Comments Off on DIY Kitchen Transformation: Crown Moulding Installation · Categories: Uncategorized · Tags: , , , , ,

This past weekend Dave installed the crown moulding around the tops of our cabinets. This isn’t a super-tall design, we wanted something subtle, yet elegant.

Later this week and this weekend we will start the priming and painting of the rest of the cabinets. We have a paint sprayer to use for the doors, but will hand-paint the cabinet bases.

We also picked up our hardware for the cabinet doors and drawers. I can’t wait to see how awesome they look when installed.

IMG_1511

The moulding is white because we chose a PVC composite.

More »

26. April 2015 · Comments Off on DIY Kitchen Transformation: Painted Kitchen Island · Categories: Uncategorized · Tags: , , , ,
Every step we take towards the improved kitchen is making me hate the countertops more and more....

Every step we take towards the improved kitchen is making me hate the countertops more and more….

Tonight we were able to put the kitchen back together, at least for now.

What do you think? More »

25. April 2015 · Comments Off on DIY Kitchen Transformation: Second Time’s a Charm! · Categories: Uncategorized · Tags: , ,
This is after the first coat...I think it's going to be brilliant with the second coat!

This is after the first coat…I think it’s going to be brilliant with the second coat! Compare to the “before” picture.

So…um…yeah…we had the wrong kind of primer the first go-round.

This morning I picked up a can of Zinnser Bullseye 1-2-3 primer and it made a HUGE difference! I was able to sand down the blemishes in the primer job before applying the first coat of paint and it didn’t peel off in two seconds. More »

25. April 2015 · Comments Off on DIY Kitchen Transformation: The Importance of Thorough Prep Work · Categories: Uncategorized · Tags: , , ,
The prep work we did wasn't good enough...

The prep work we did last night wasn’t good enough…

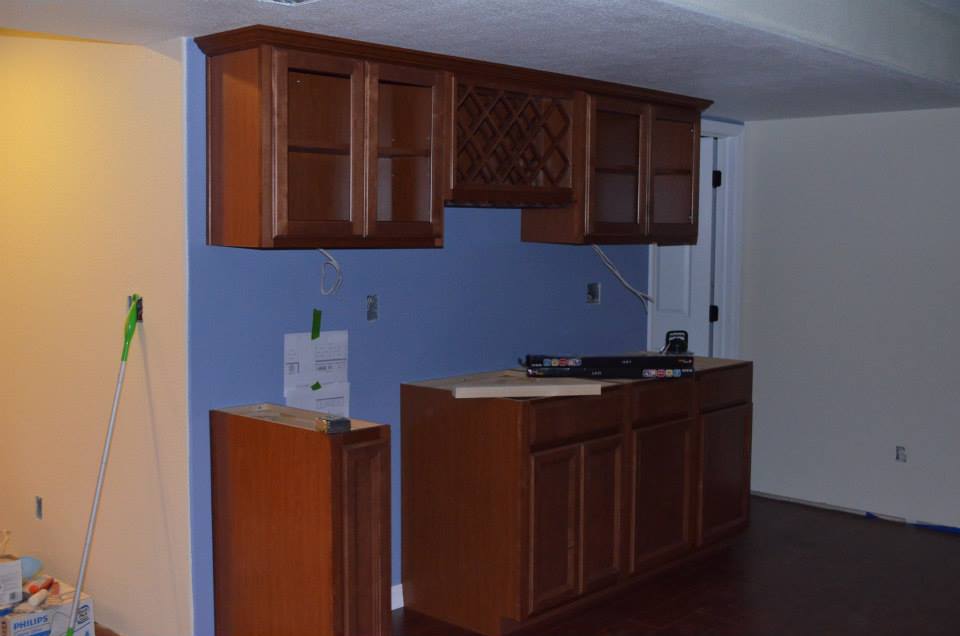
We had a pretty substantial setback today on our journey to (like) new cabinets.

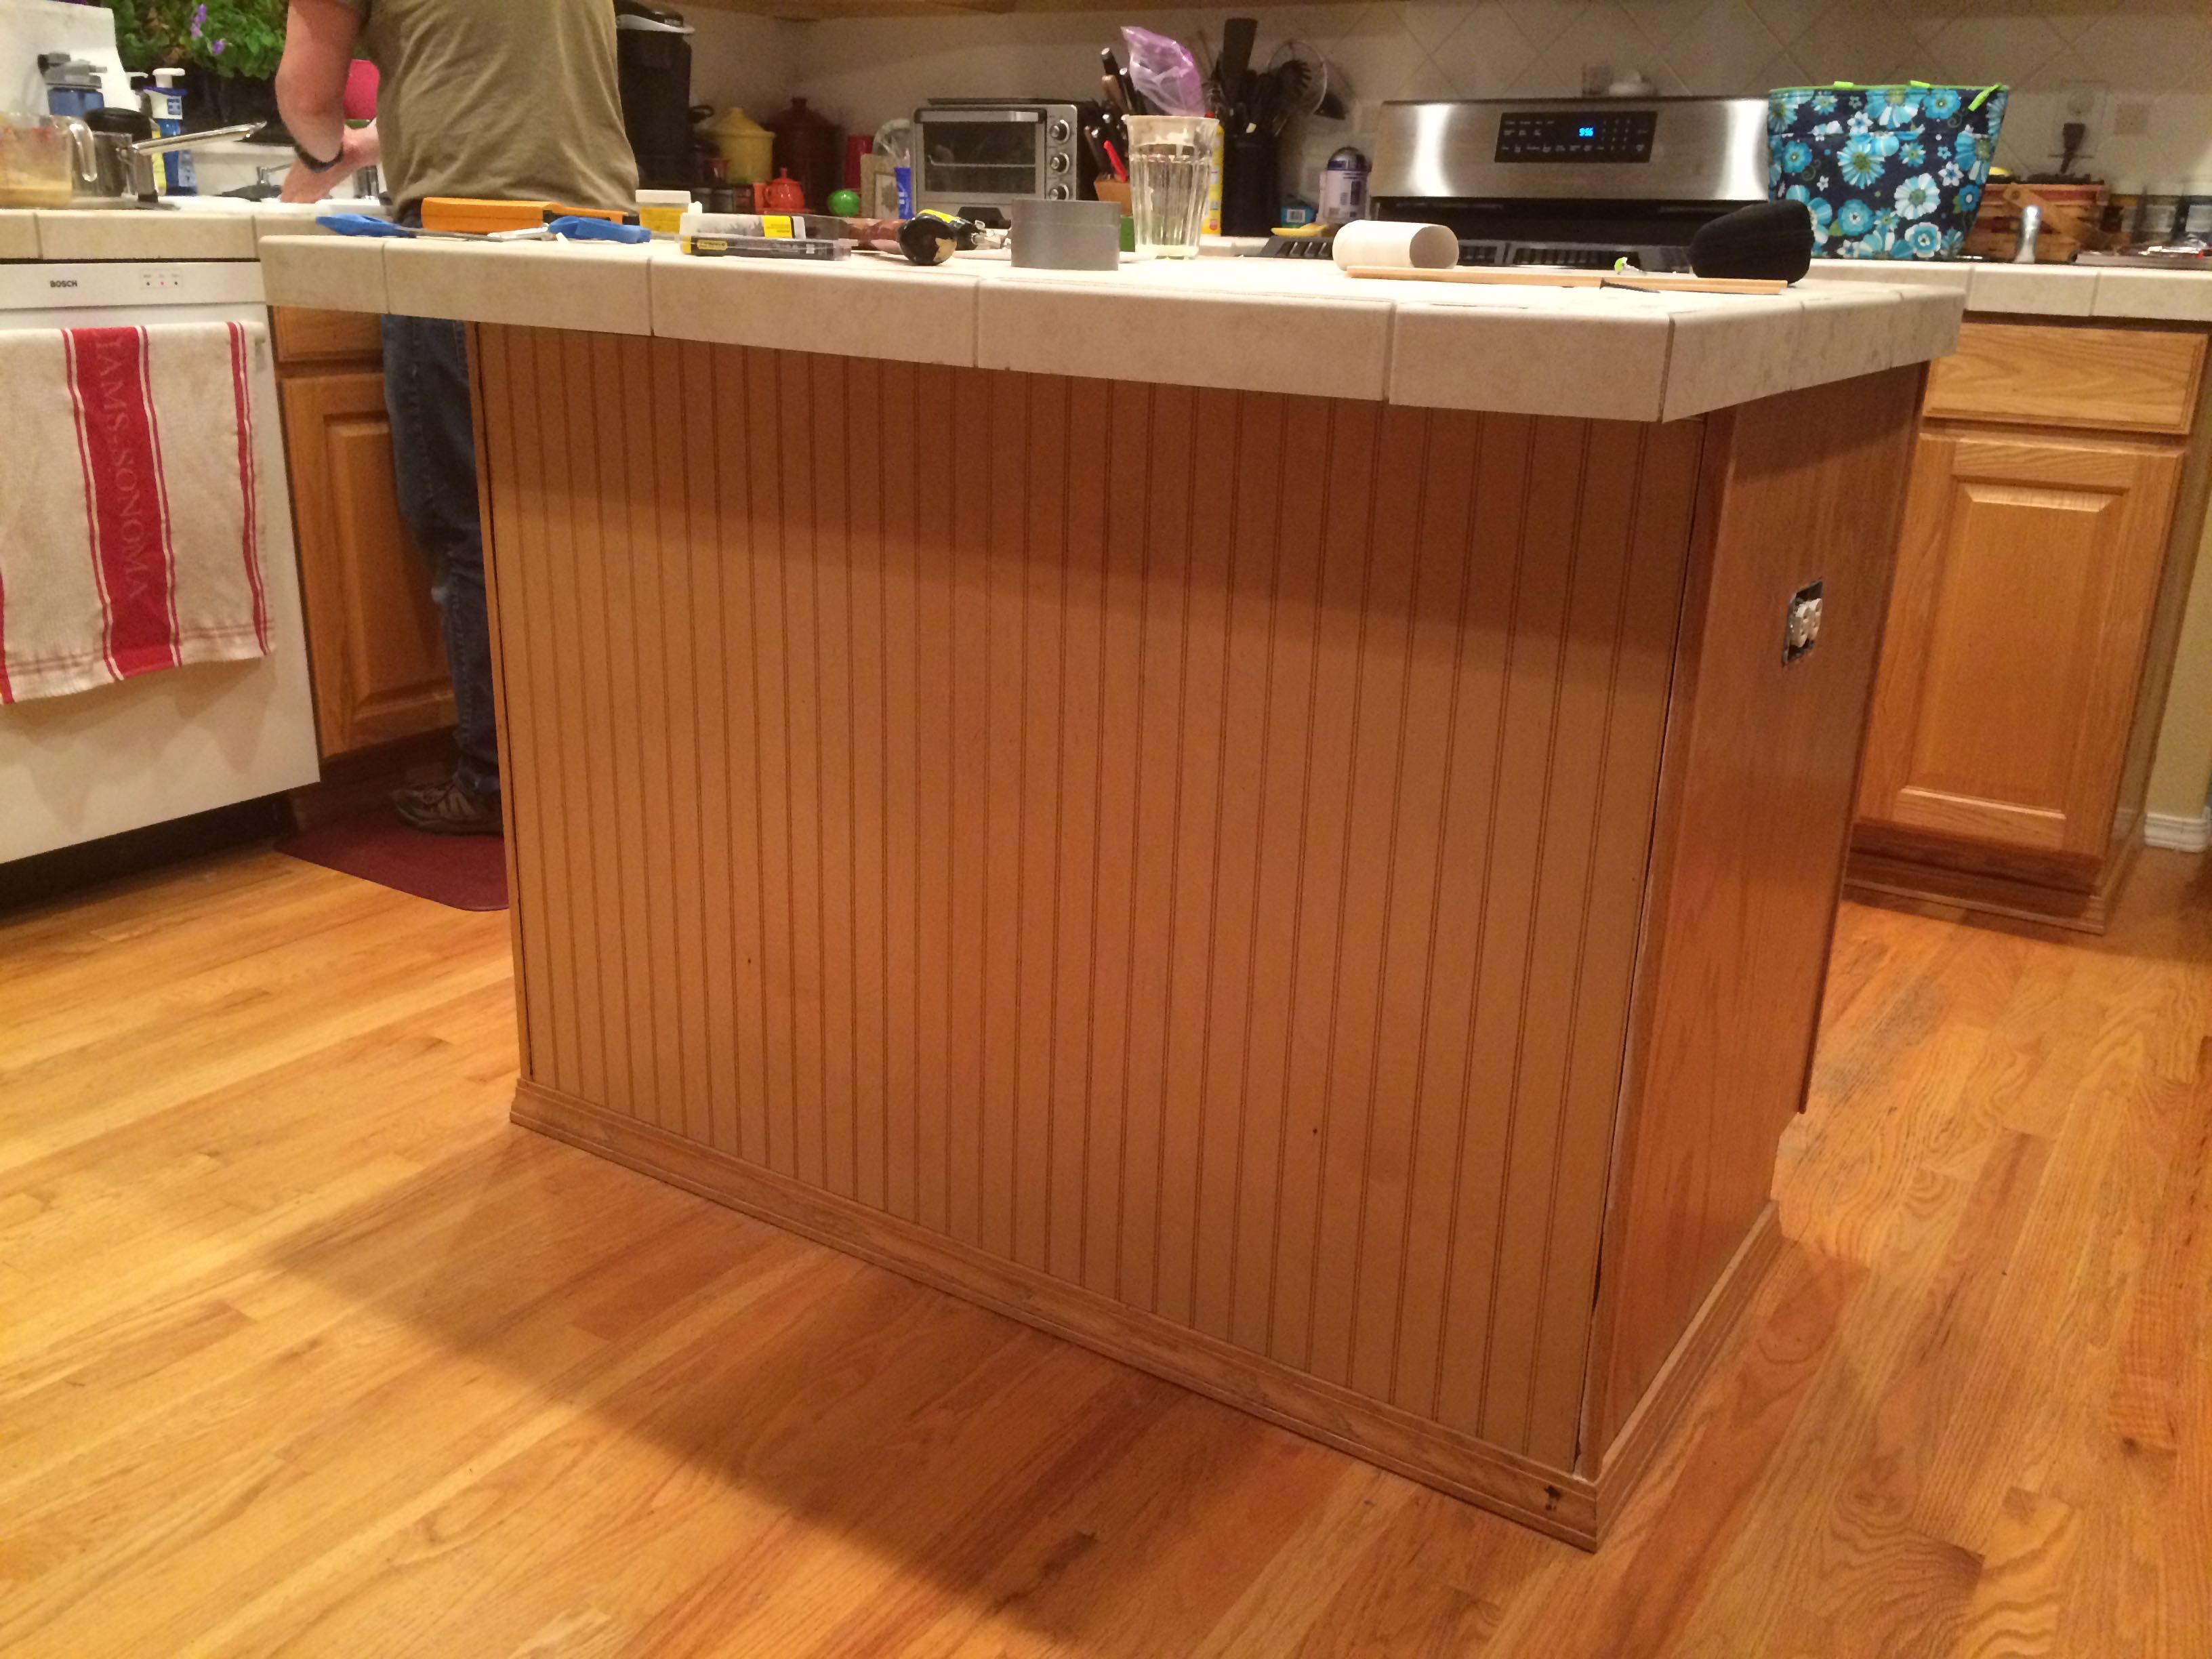
Dave and I had read plenty of DIY tips suggesting that if one’s stained and sealed cabinets are old enough, a simple chemical treatment with a “sander deglosser” is all we would need before applying the primer, then paint.

Boy were we wrong!

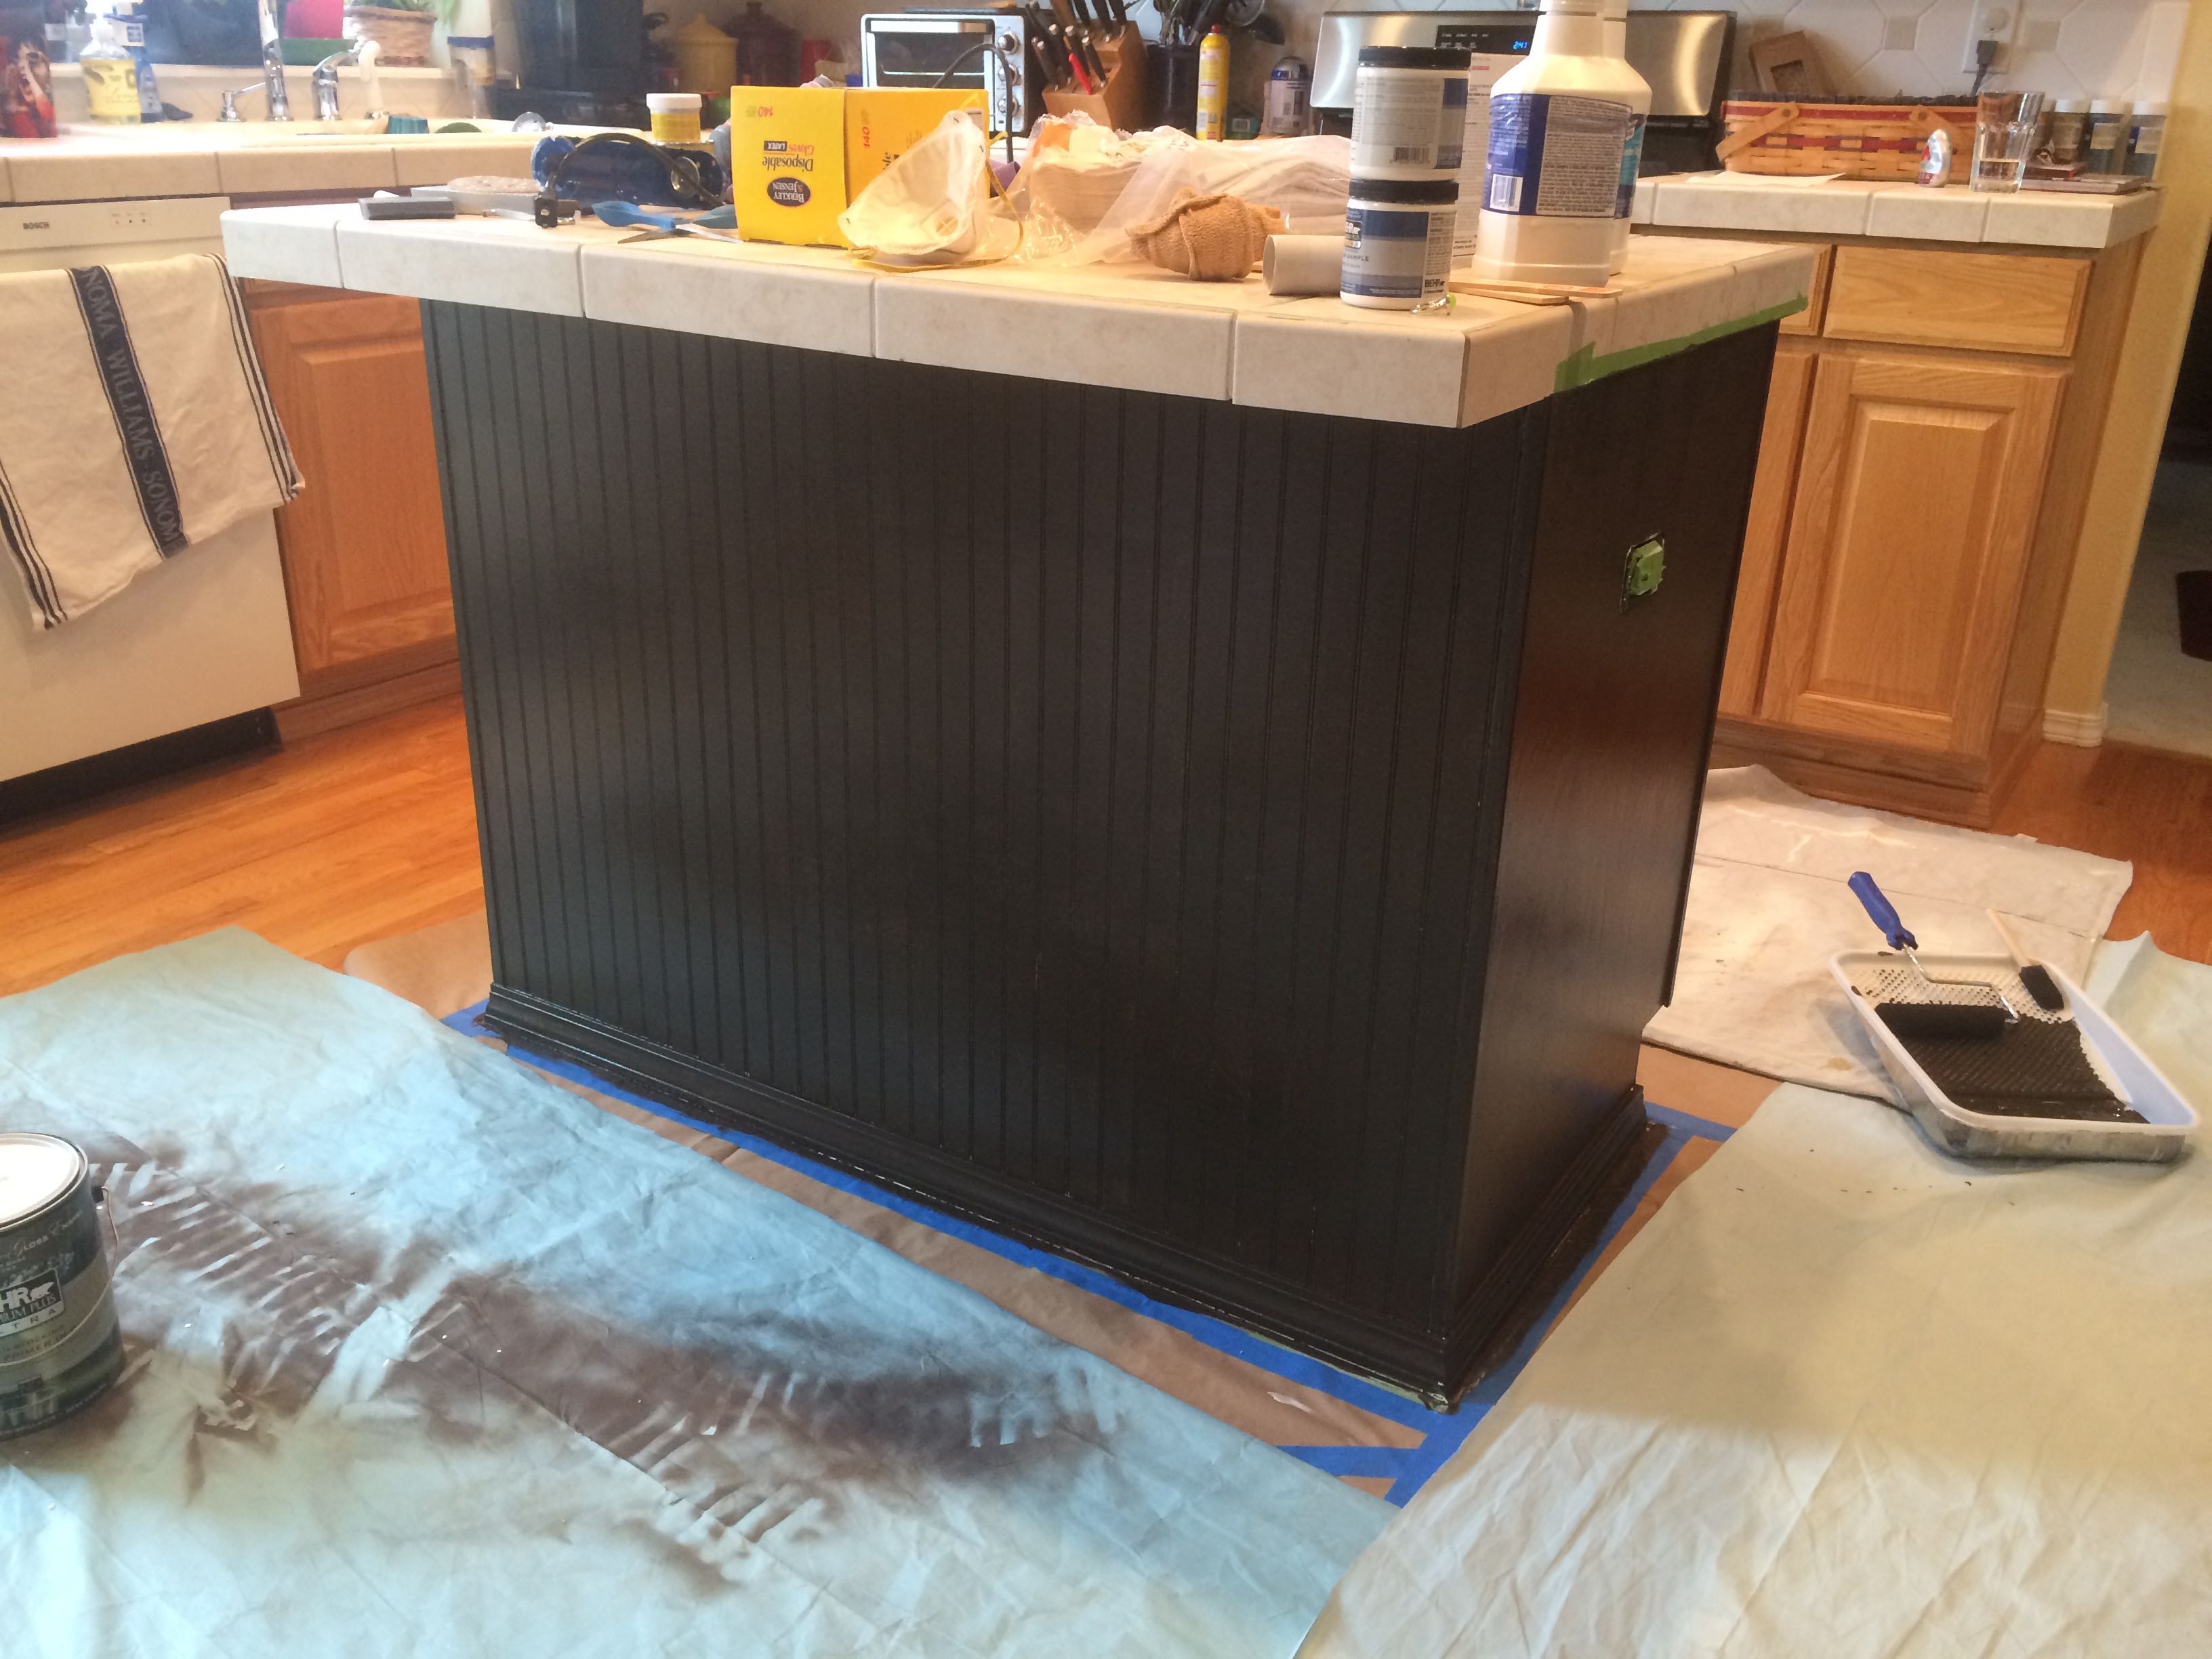
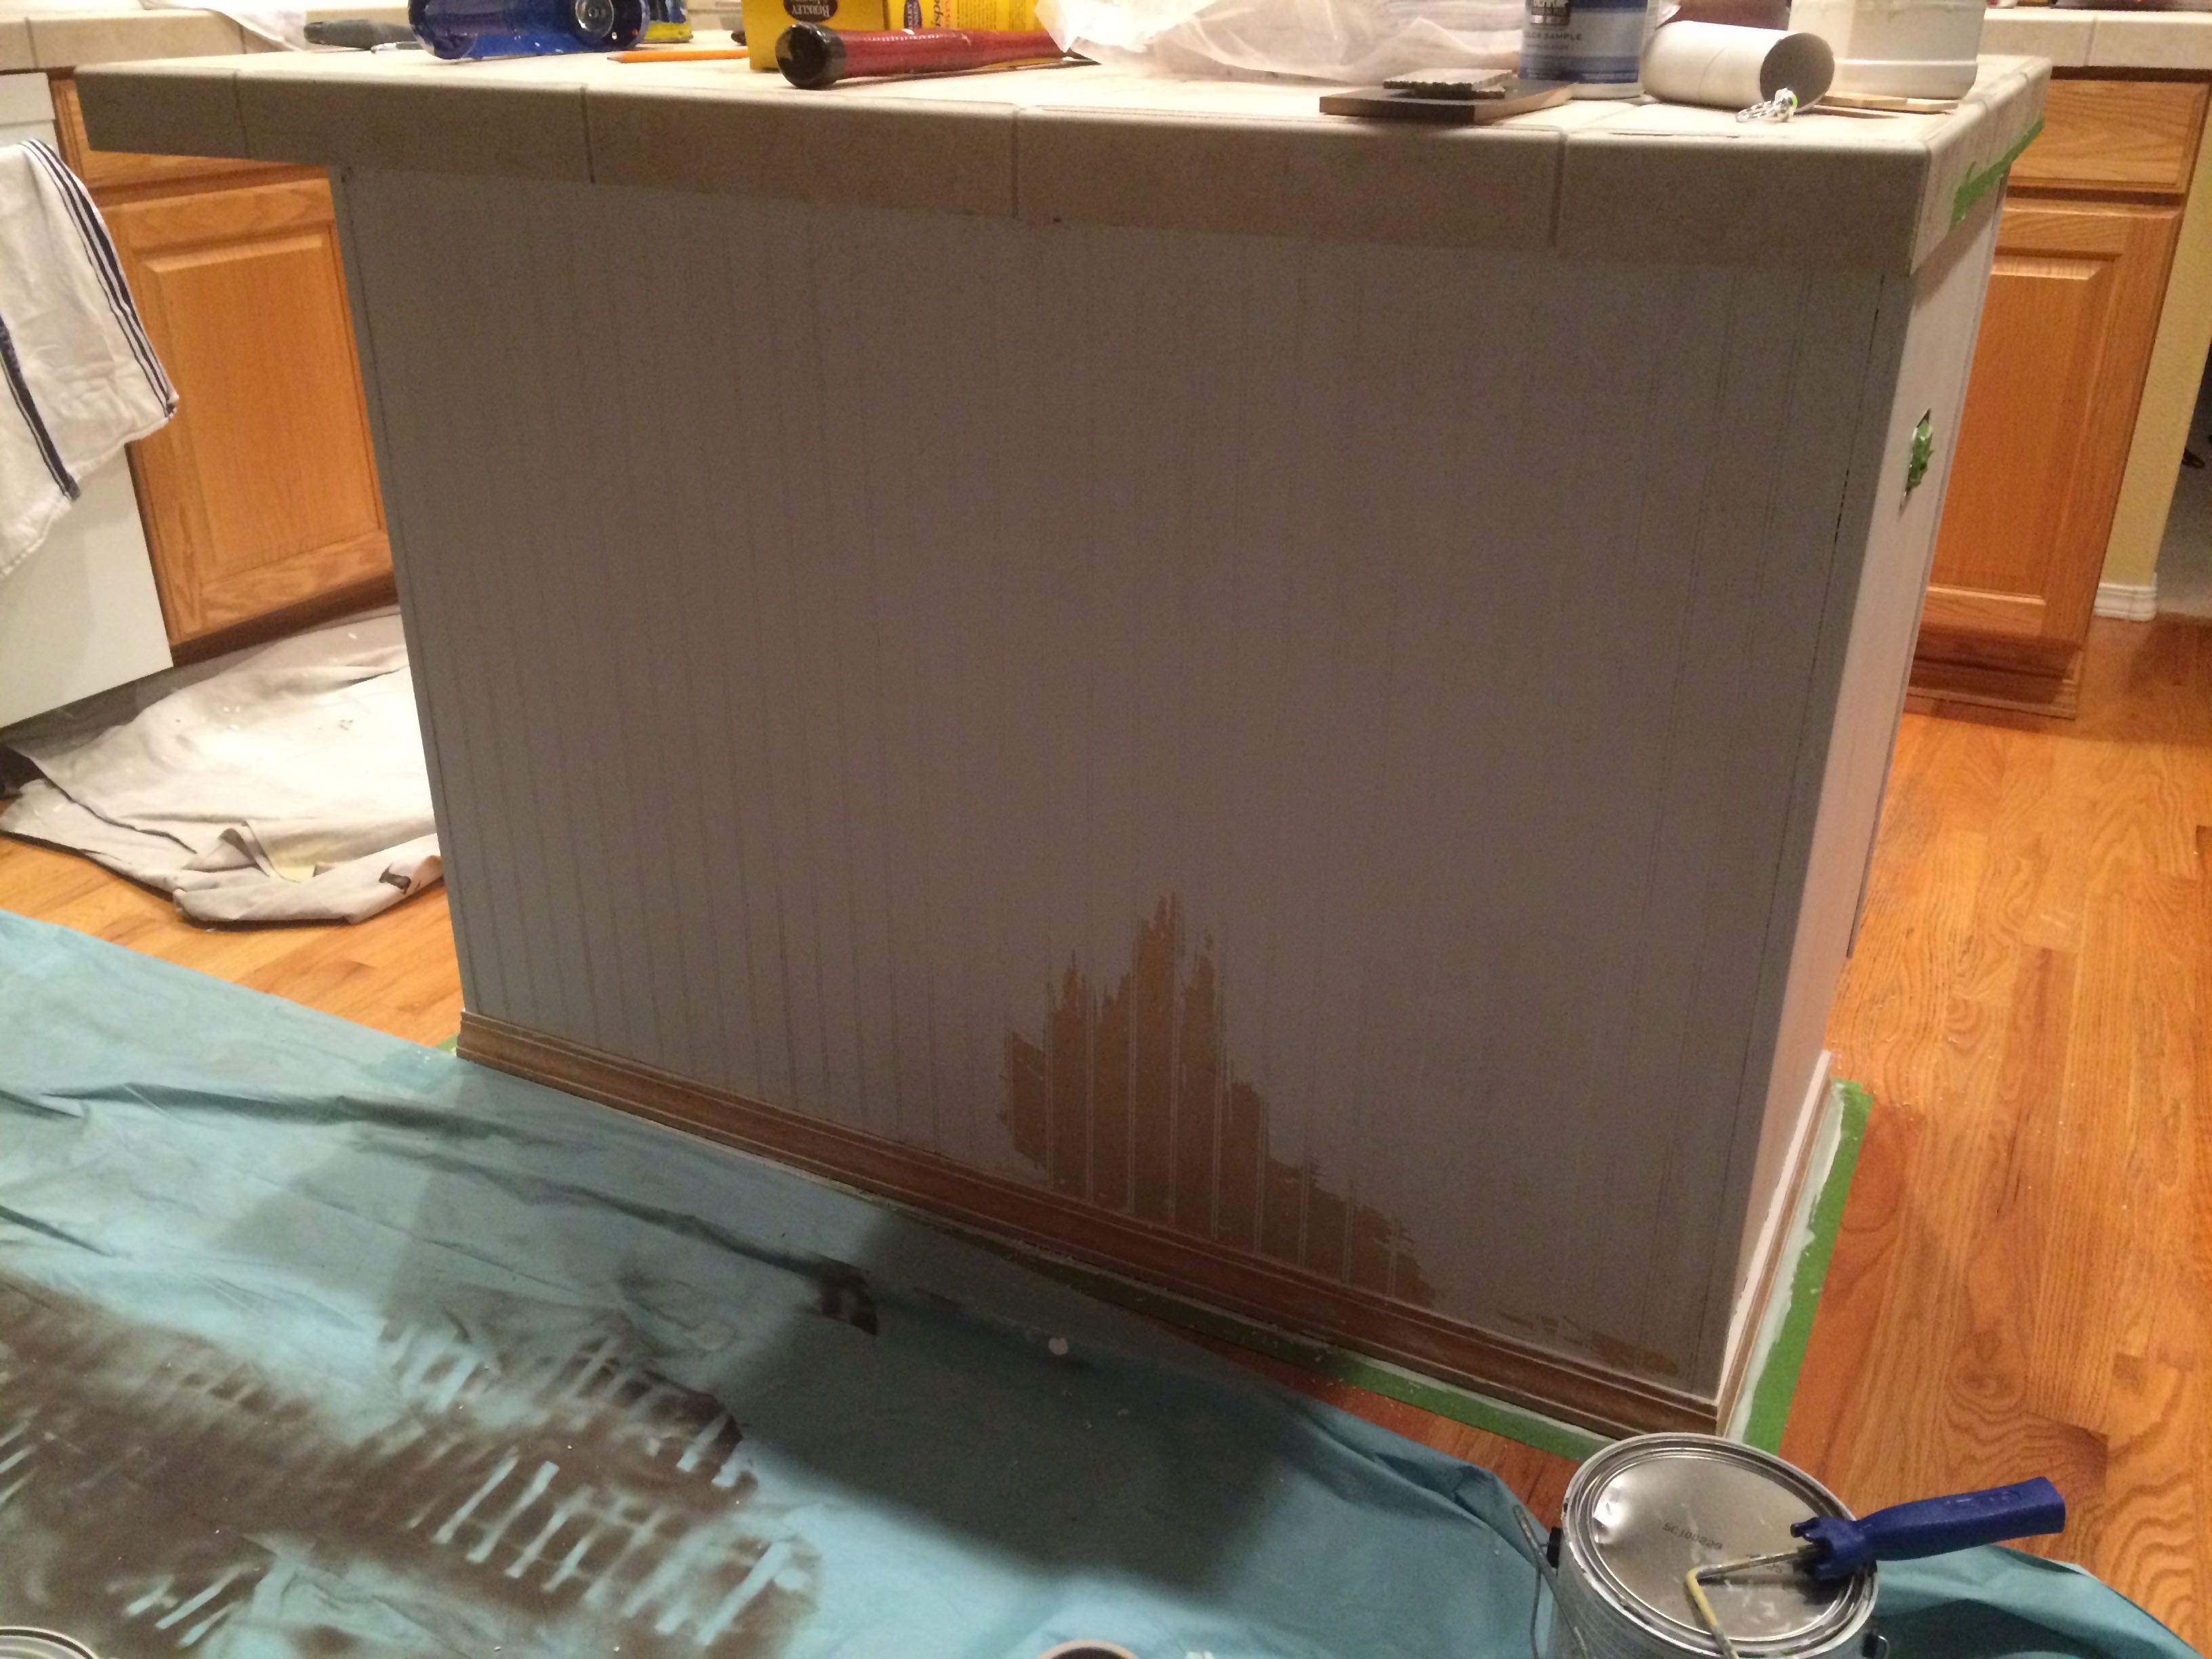
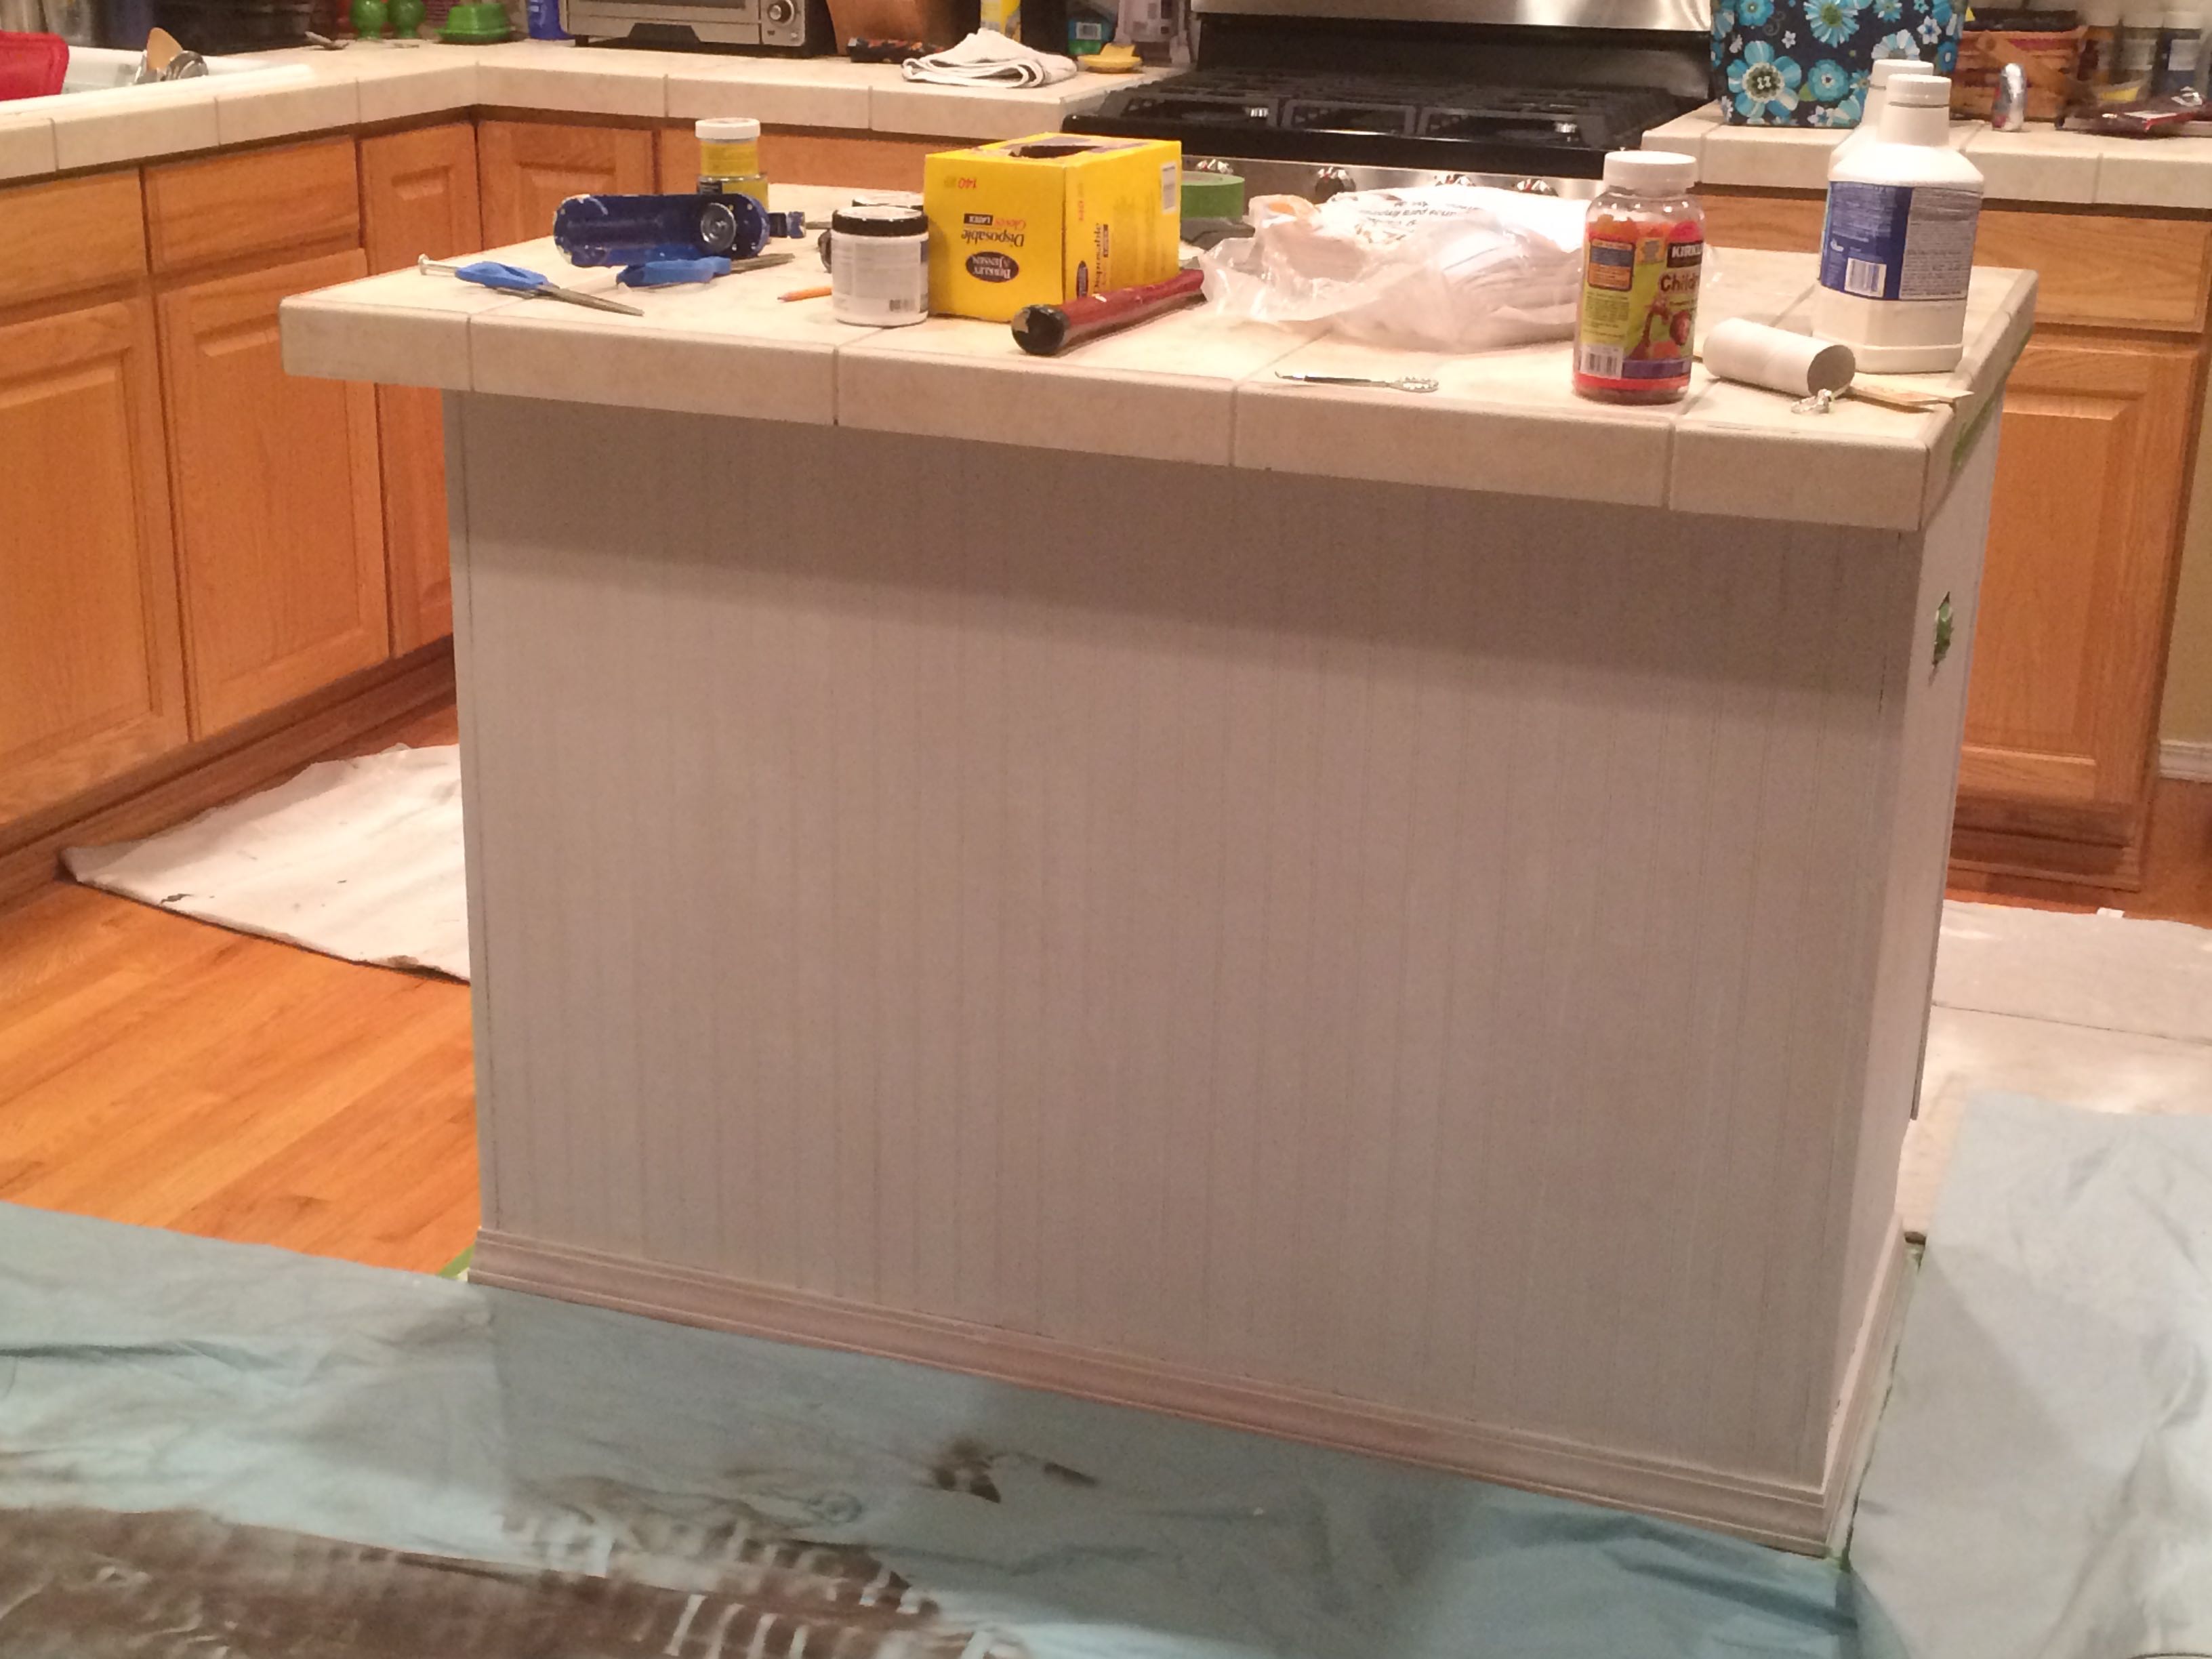
Last night we had applied two coats of Kilz primer to the island and cabinet doors, and this evening, as Dave took a sanding block to some of the drips from last night’s work, large pieces of the primer came right off!

It turned out the deglosser didn’t do jack.

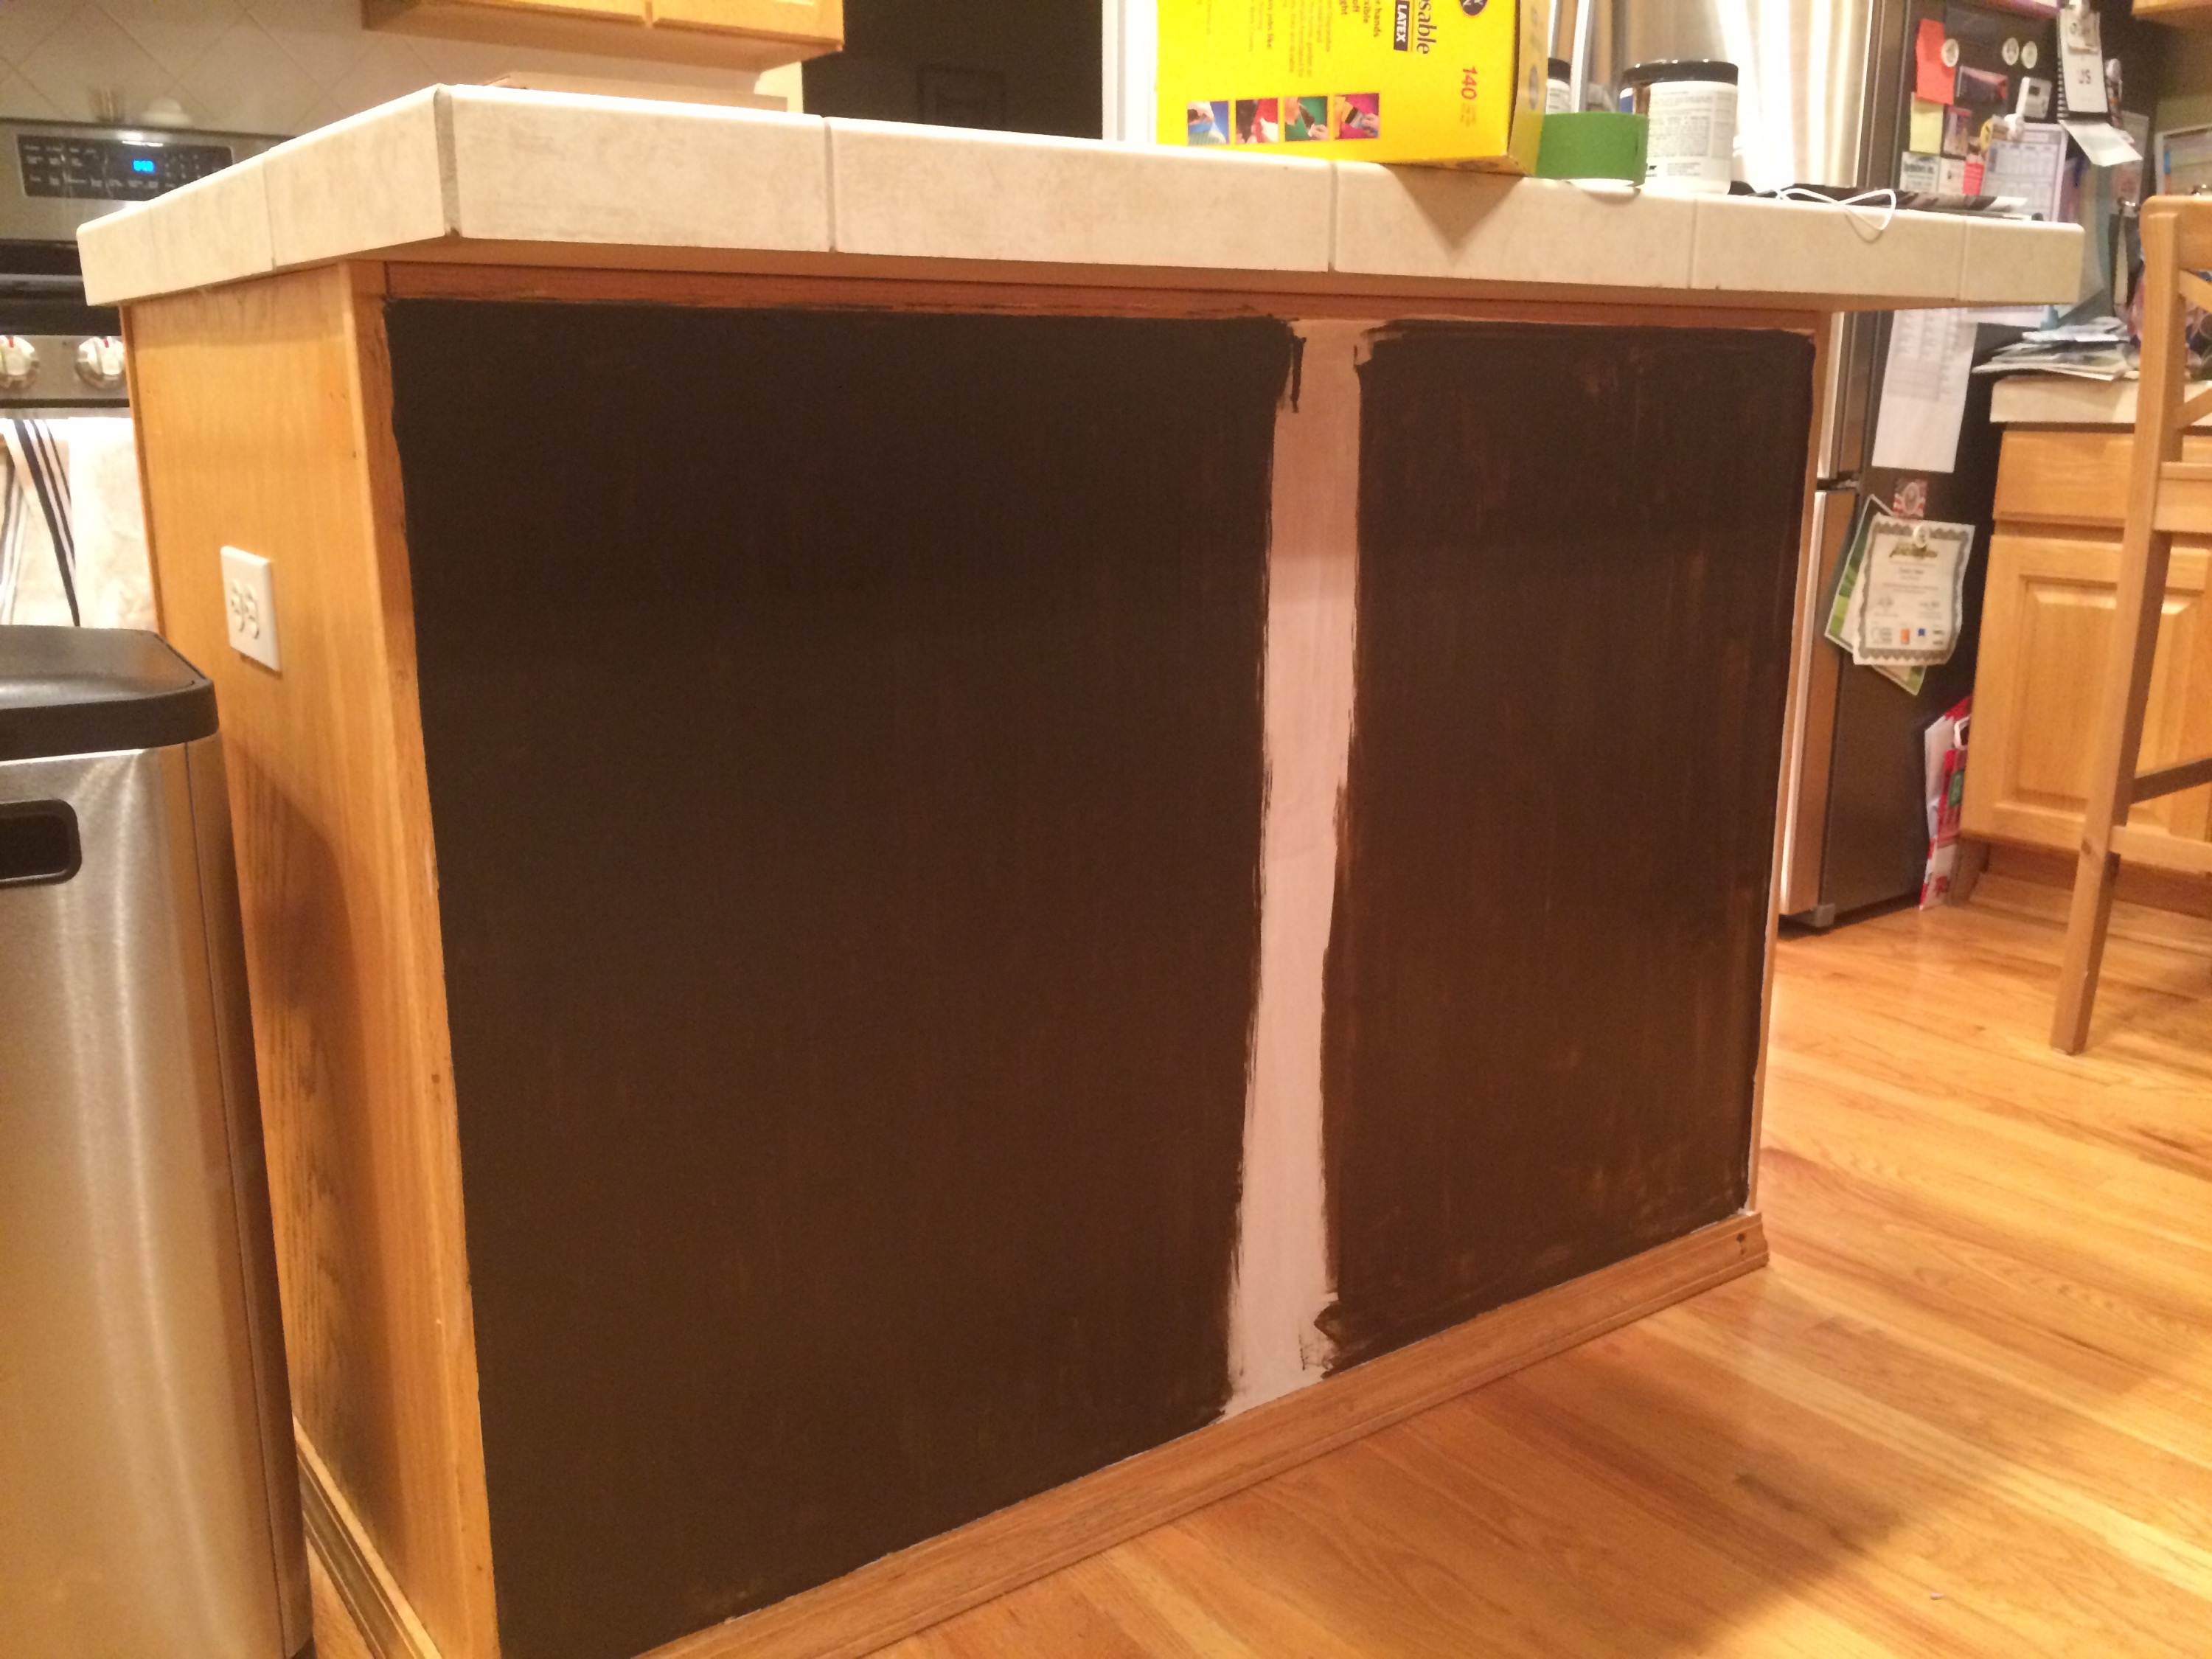
So tonight we had to break out the big guns: trisodium phosphate (TSP) and an orbiter sander to get all of the original primer off. It isn’t pretty. We will also be switching the primer to a “bonding primer“. We probably should have chosen the bonding primer all along…

So tomorrow we try all this again…we need to get the prep work right the first time, so this paint doesn’t chip and peel on us in a matter of months!

23. April 2015 · Comments Off on DIY Kitchen Transformation: No Turning Back Now · Categories: Uncategorized · Tags: , , ,
Primed and ready for the dark paint!

Primed and ready for the dark paint!

Today was the primer for the island. Once we started down this road, we told ourselves “There’s no turning back now”.

The island itself will be ready for the real paint color tomorrow, but we will need to degrease and sand down the cabinet doors more than the rest of the surfaces. The doors need a LOT of prep work, since they bear the brunt of the 16-years worth of grease and grime.

Our plan is to have the kitchen island painted by the end of this weekend. I’m not completely sure when we’ll get to the rest of the cabinets, which we’re painting white. But we plan to space things out some. As of now, I can still use most of my kitchen, which is nice.

22. April 2015 · Comments Off on DIY Kitchen Transformation: Bead Board · Categories: Uncategorized · Tags: , , ,
Tonight we added some beadboard to the kitchen island.

Tonight we added some beadboard to the kitchen island. This will all be painted by this weekend.

Tonight we continued our kitchen work by installing a panel of bead board to one side of the kitchen island. This was not only a cosmetic modification, but also somewhat structural: the original plain paneling was dried out and cracking. We simply glued the panel on with Liquid Nails and then nailed it into place.

We were challenged with cutting the board perfectly. While our table saw took care of the major cuts, we purposefully erred on not cutting it down enough. Dave chose to sand down any longer edges rather than risk splitting the wood with running it through our table saw for little slivers. More »

19. April 2015 · Comments Off on DIY Kitchen Transformation: Testing Island Colors · Categories: Uncategorized · Tags: , , , ,

What do you think? Left color or right?

Bear with me while I try to figure out the iPhone version of my blog editor.

Tonight we tried out a couple “browns” for the kitchen island. This is a primer-less paint, and we are just covering this panel with beadboard so you aren’t seeing our “A game” in terms of paint prowess.

We overwhelmingly agreed on the left-hand color.

What do you think?

19. April 2015 · Comments Off on (Mostly) DIY Kitchen Transformation · Categories: Uncategorized · Tags: , , , , ,
Ignore the mess, it's a big-enough task to keep that center island clean. Jacob was off to the side waiting to put some balsa glider parts on it.

Our kitchen as of April 2015. Ignore the mess, every time we prepare a meal things just seem to explode. Jacob was off to the side waiting to put some balsa glider parts on the clean island.

We are embarking on our next DIY project over the next few months. Our plan is to make phased improvements to our kitchen between now and the end of 2015. We’re taking our time on this, in part so we can save up money and pay cash for each phase, but also because we have to fit the DIY tasks in between our busy work schedules. More »

The laminate-floored stairs.

The laminate-floored stairs.

We’re in the final stages of our basement remodel!

Over the past couple weeks we finished out the trim work (baseboards, doors), installed the bar and bath cabinets, and finished up the electrical and HVAC work.

We are currently waiting for the cabinet countertops to be installed, and it won’t happen till the 18th. So we have some waiting waiting waiting going on.

I think we’ll be ready to move in by Thanksgiving week.

The bar cabinetry.

The bar cabinetry.

The stairs. I love it!

The stairs. I love it!

Some of the finished doors.

Some of the finished doors.

A minor setback. The drywall guy had covered up two of the HVAC vents. The HVAC guy had to poke holes in the ceiling to look for the vent. The drywall guy was very apologetic and came the very next day to patch up the holes. You'd never know they were there.

A minor setback. The drywall guy had covered up two of the HVAC vents. The HVAC guy had to poke holes in the ceiling to look for the vent. The drywall guy was very apologetic and came the very next day to patch up the holes. You’d never know they were there.