DIY Kitchen Transformation: The New Floor Revealed

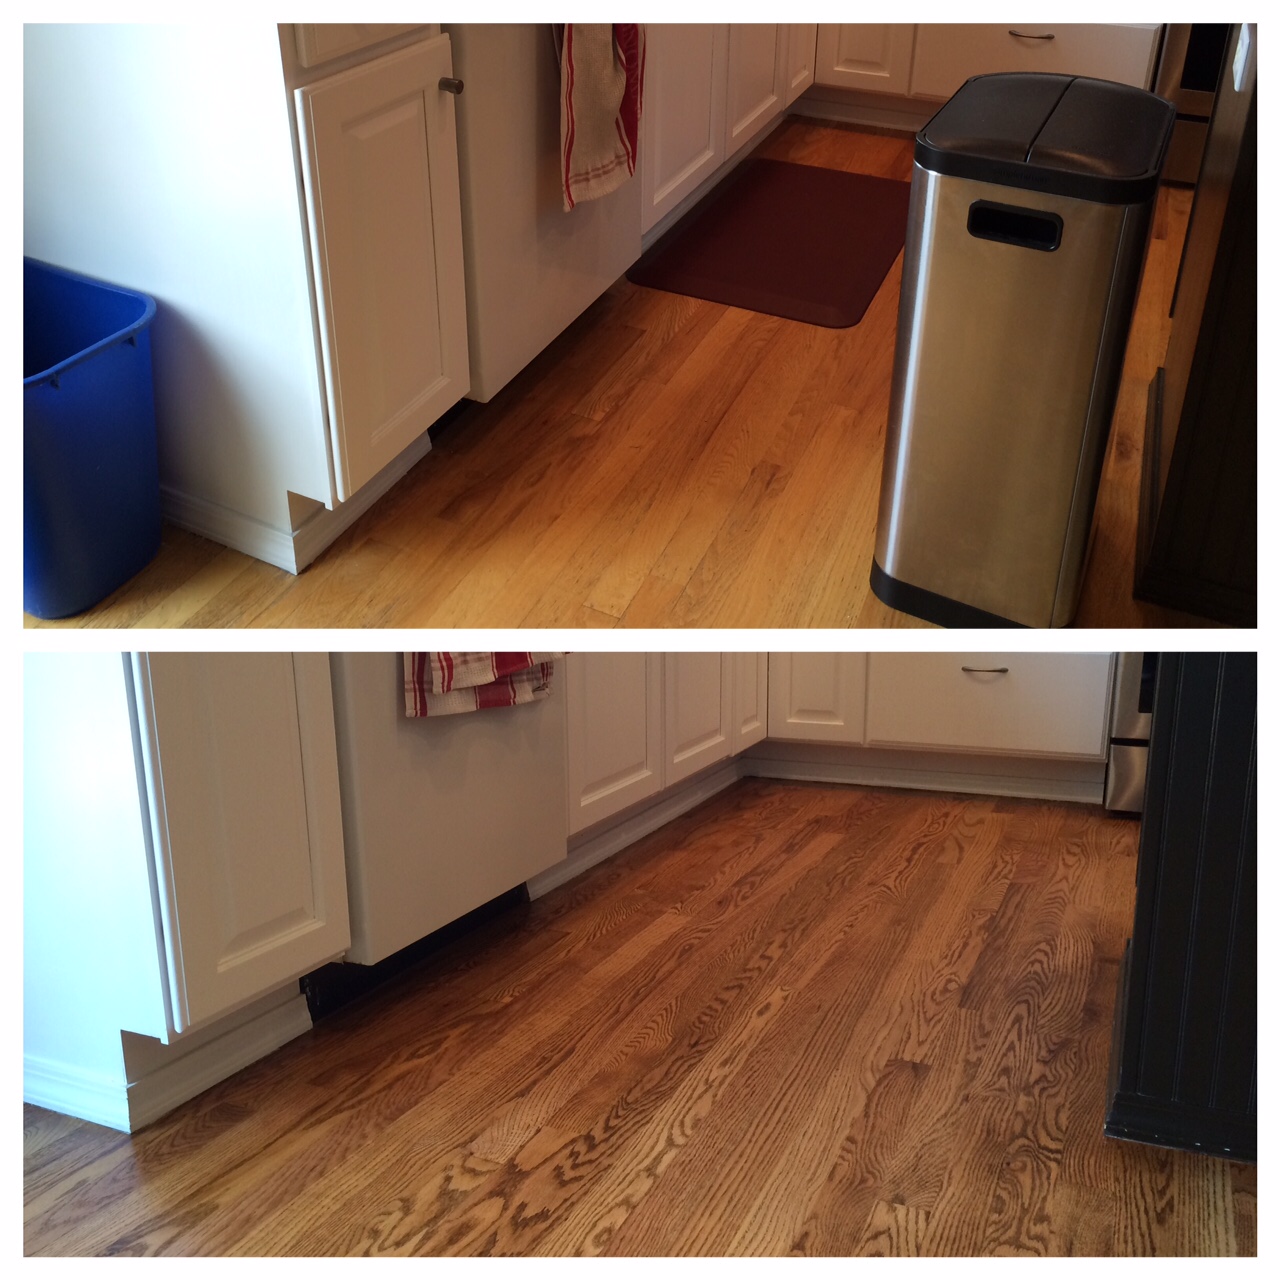
Can you see the difference?
Can you see the difference? The vibrant wood grain should be the biggest difference you see, but we also nudged the color a little bit to make it more brown…less yellow/orange in color.

On Thursday and Friday, we had a contractor come in to sand and re-stain our hardwood floors. Jeff from “A Cut Above Hardwood Flooring” was recommended to us by our carpet cleaning guy.

This piece of floor is continuous from the front door to the kitchen, and to access the front door, garage, basement, and staircase, you will step on the hardwood. I’ll discuss how we dealt with that in a minute.

As mentioned before, there were some areas to the floor that had clearly suffered water damage, but had subsequently dried out. The wood was structurally sound, but the sealer and stain color were messed up. It was important to me that those areas get extra attention, and Jeff did that very well.
Read more

DIY Kitchen Transformation: Overwhelming Choices

IMG_1756
So here we are again — time for the next installment of where we are with the kitchen transformation.

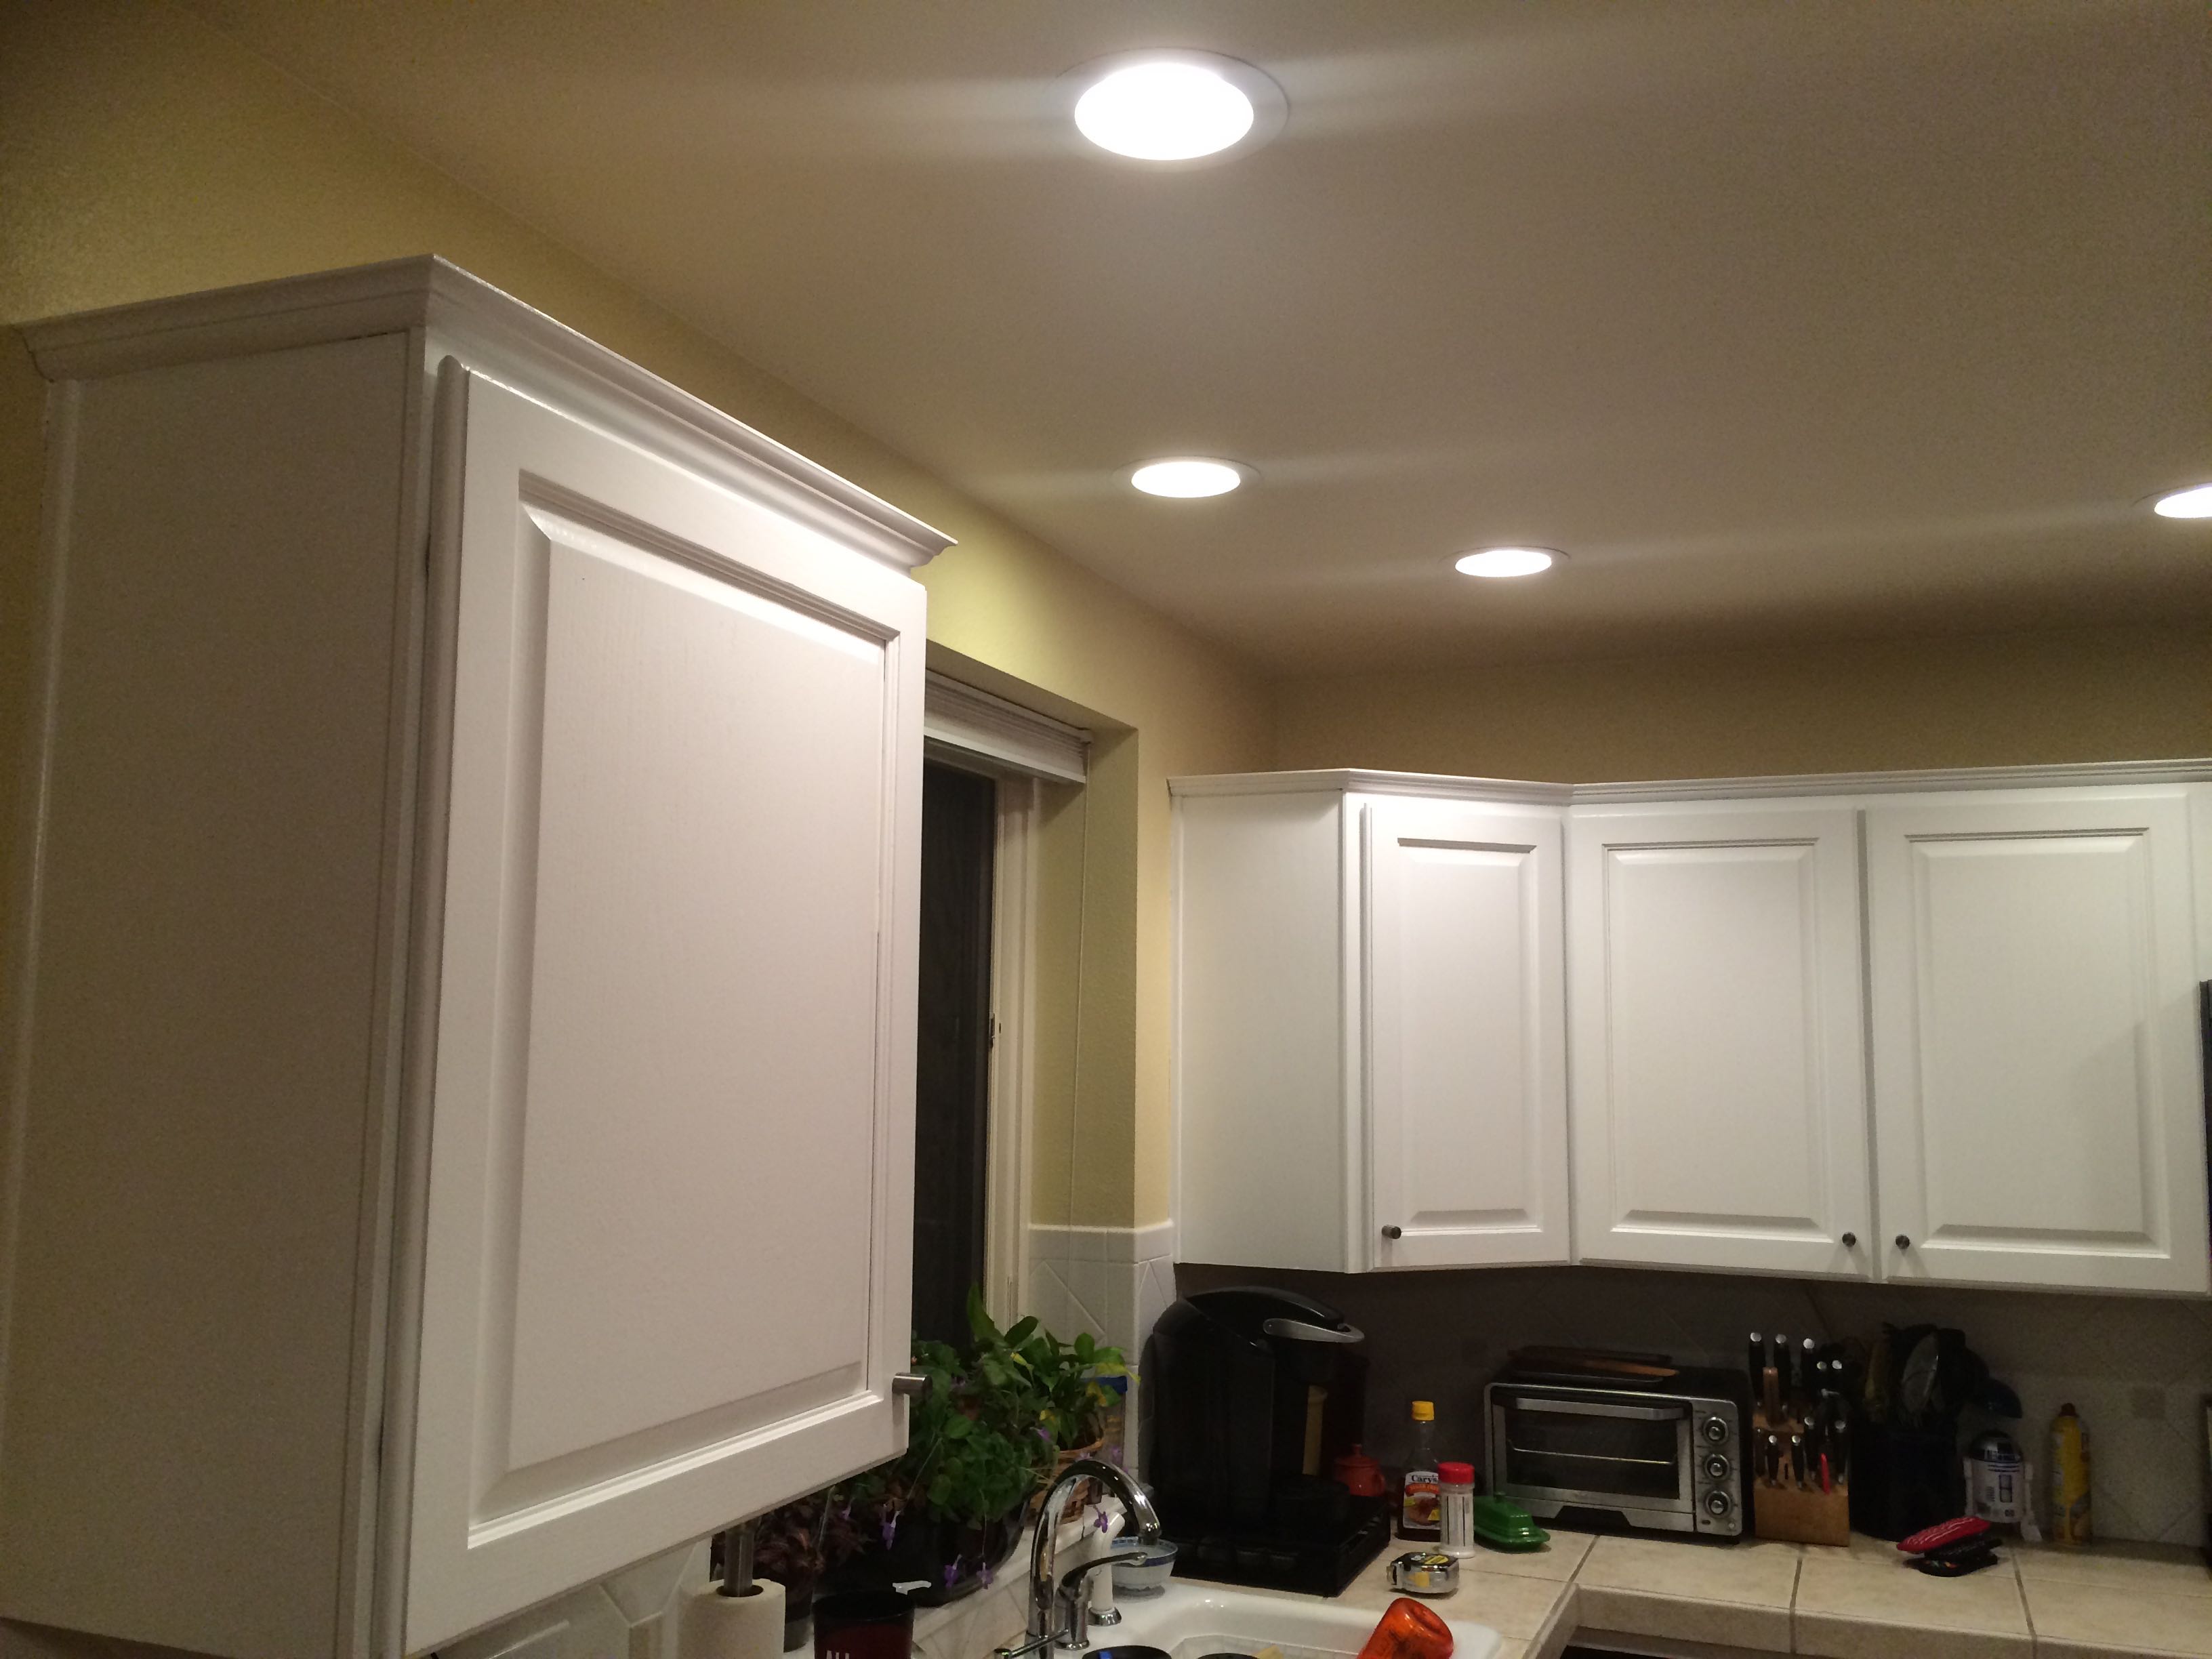
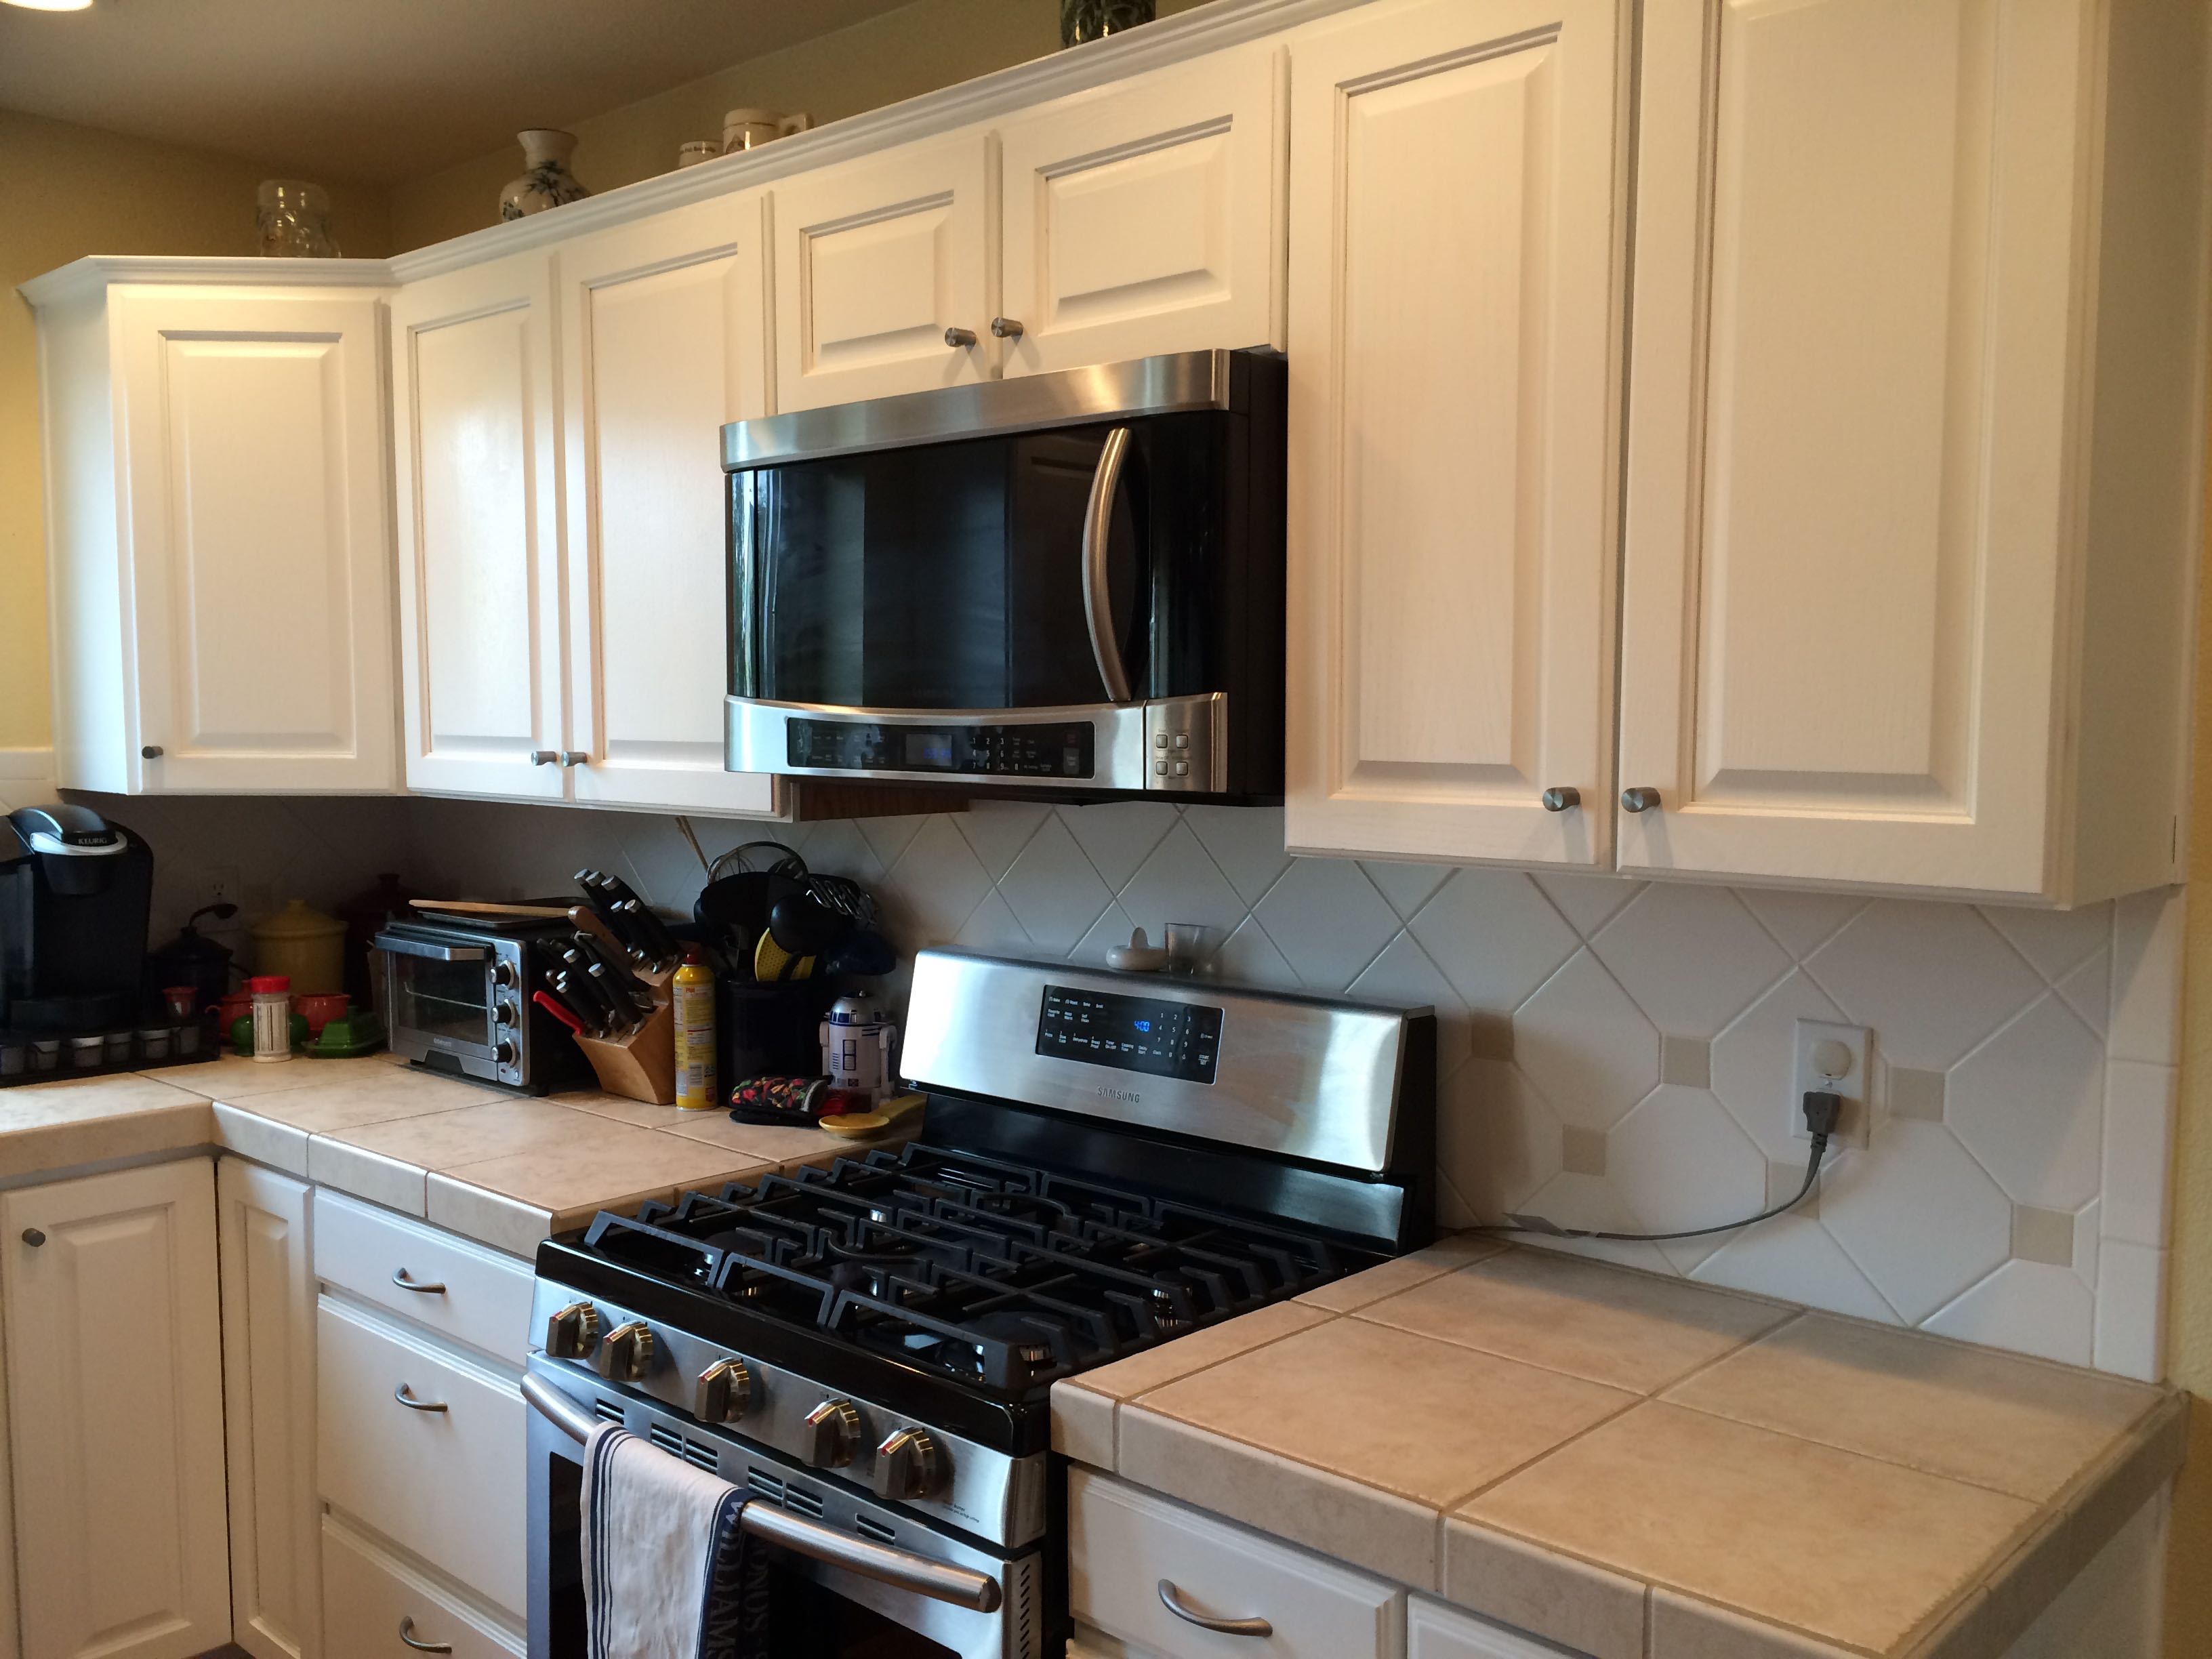
As you can see, we have a *very* white kitchen now. I absolutely love my “new” cabinets, and am excited for the next stages of our project. Those stages aren’t DIY, though.

Next up will be the floor refinishing. I’ll make sure to post before and after pictures when that project is done this weekend. The floor is in desperate need of sanding and refinishing, so we will take advantage of that work to darken the color some. I hope it turns out as well as I’m envisioning.

Read more

DIY Kitchen Transformation: Crown Moulding Installation

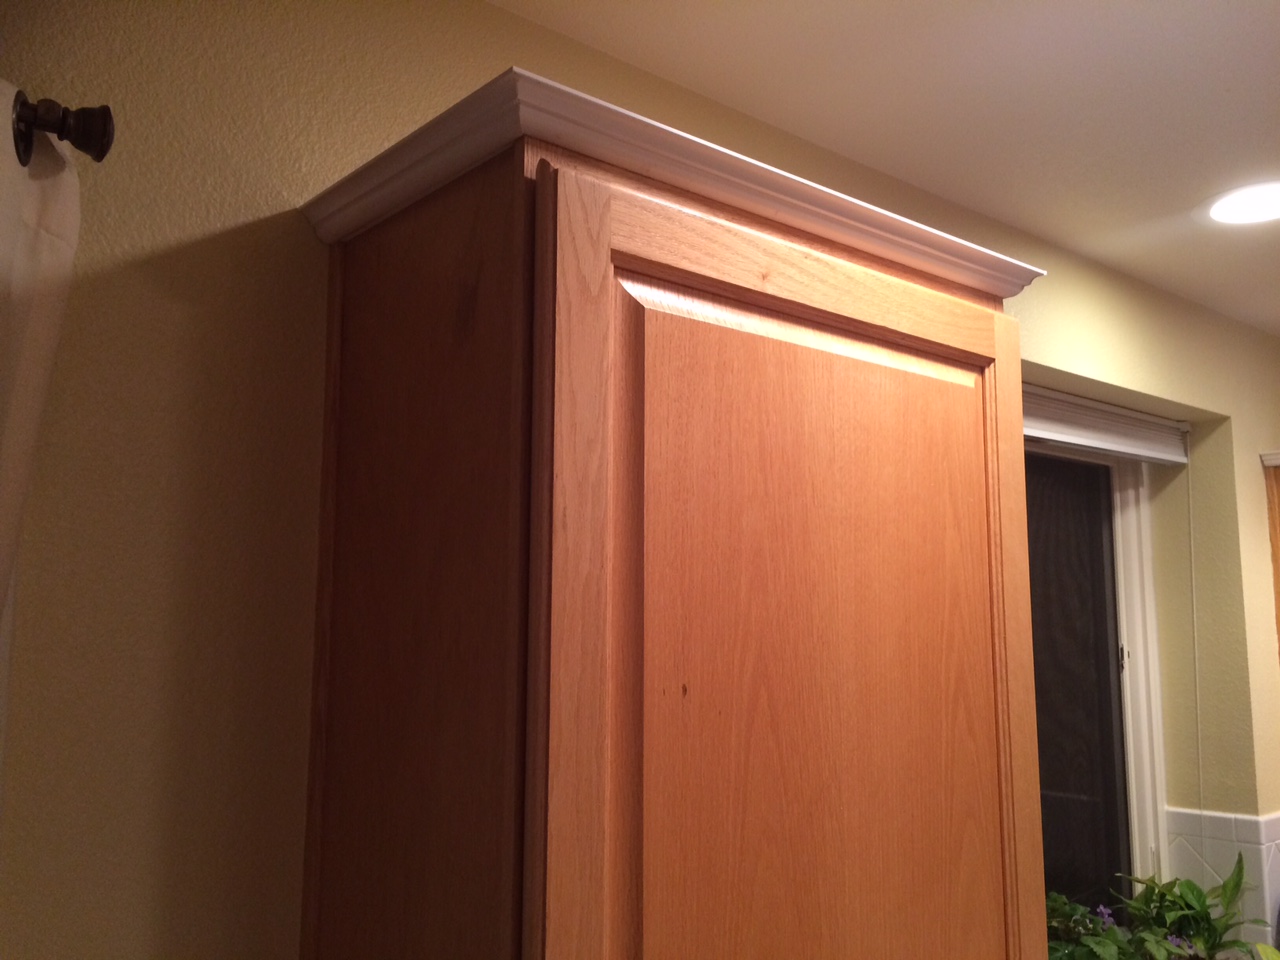
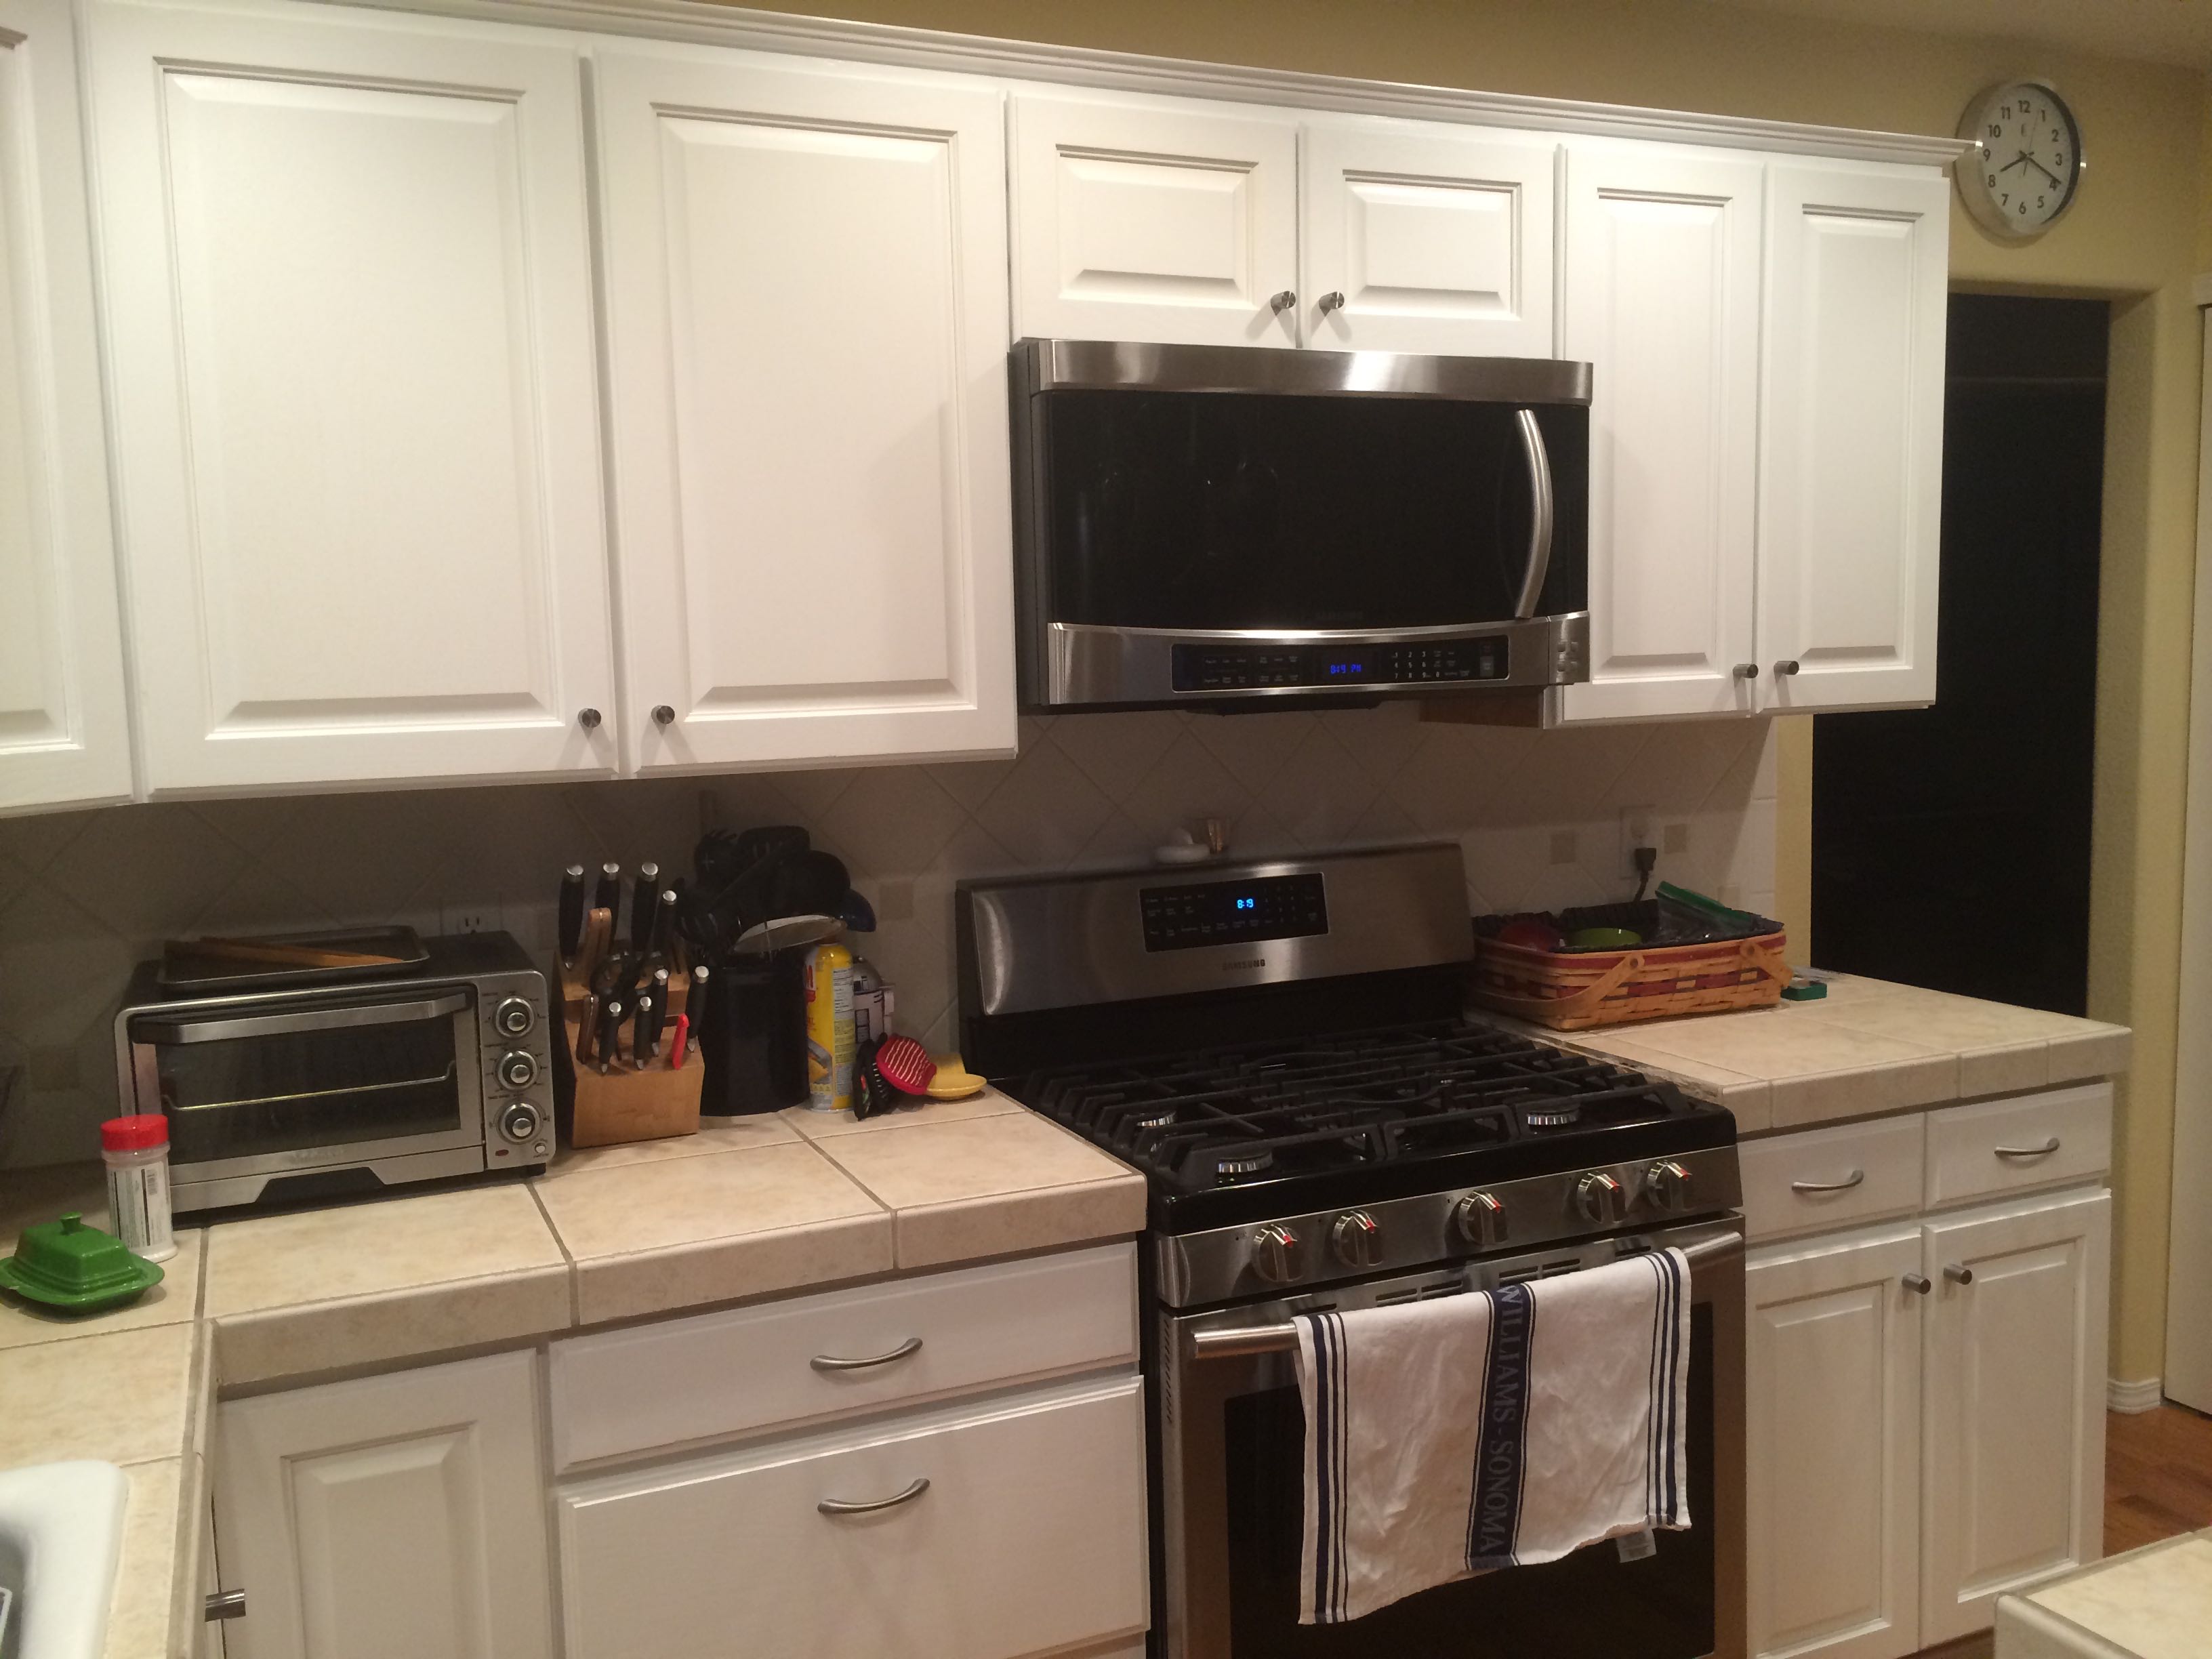
This past weekend Dave installed the crown moulding around the tops of our cabinets. This isn’t a super-tall design, we wanted something subtle, yet elegant.

Later this week and this weekend we will start the priming and painting of the rest of the cabinets. We have a paint sprayer to use for the doors, but will hand-paint the cabinet bases.

We also picked up our hardware for the cabinet doors and drawers. I can’t wait to see how awesome they look when installed.

IMG_1511
The moulding is white because we chose a PVC composite.

Read more

DIY Kitchen Transformation: Second Time’s a Charm!

This is after the first coat...I think it's going to be brilliant with the second coat!
This is after the first coat…I think it’s going to be brilliant with the second coat! Compare to the “before” picture.

So…um…yeah…we had the wrong kind of primer the first go-round.

This morning I picked up a can of Zinnser Bullseye 1-2-3 primer and it made a HUGE difference! I was able to sand down the blemishes in the primer job before applying the first coat of paint and it didn’t peel off in two seconds.

Read more

DIY Kitchen Transformation: The Importance of Thorough Prep Work

We had a pretty substantial setback today on our journey to (like) new cabinets. Dave and I had read plenty of DIY tips suggesting that if one’s stained and sealed cabinets are old enough, a simple chemical treatment with a “sander deglosser” is all we would need before applying the primer, then paint. Boy were … Read more

DIY Kitchen Transformation: Bead Board

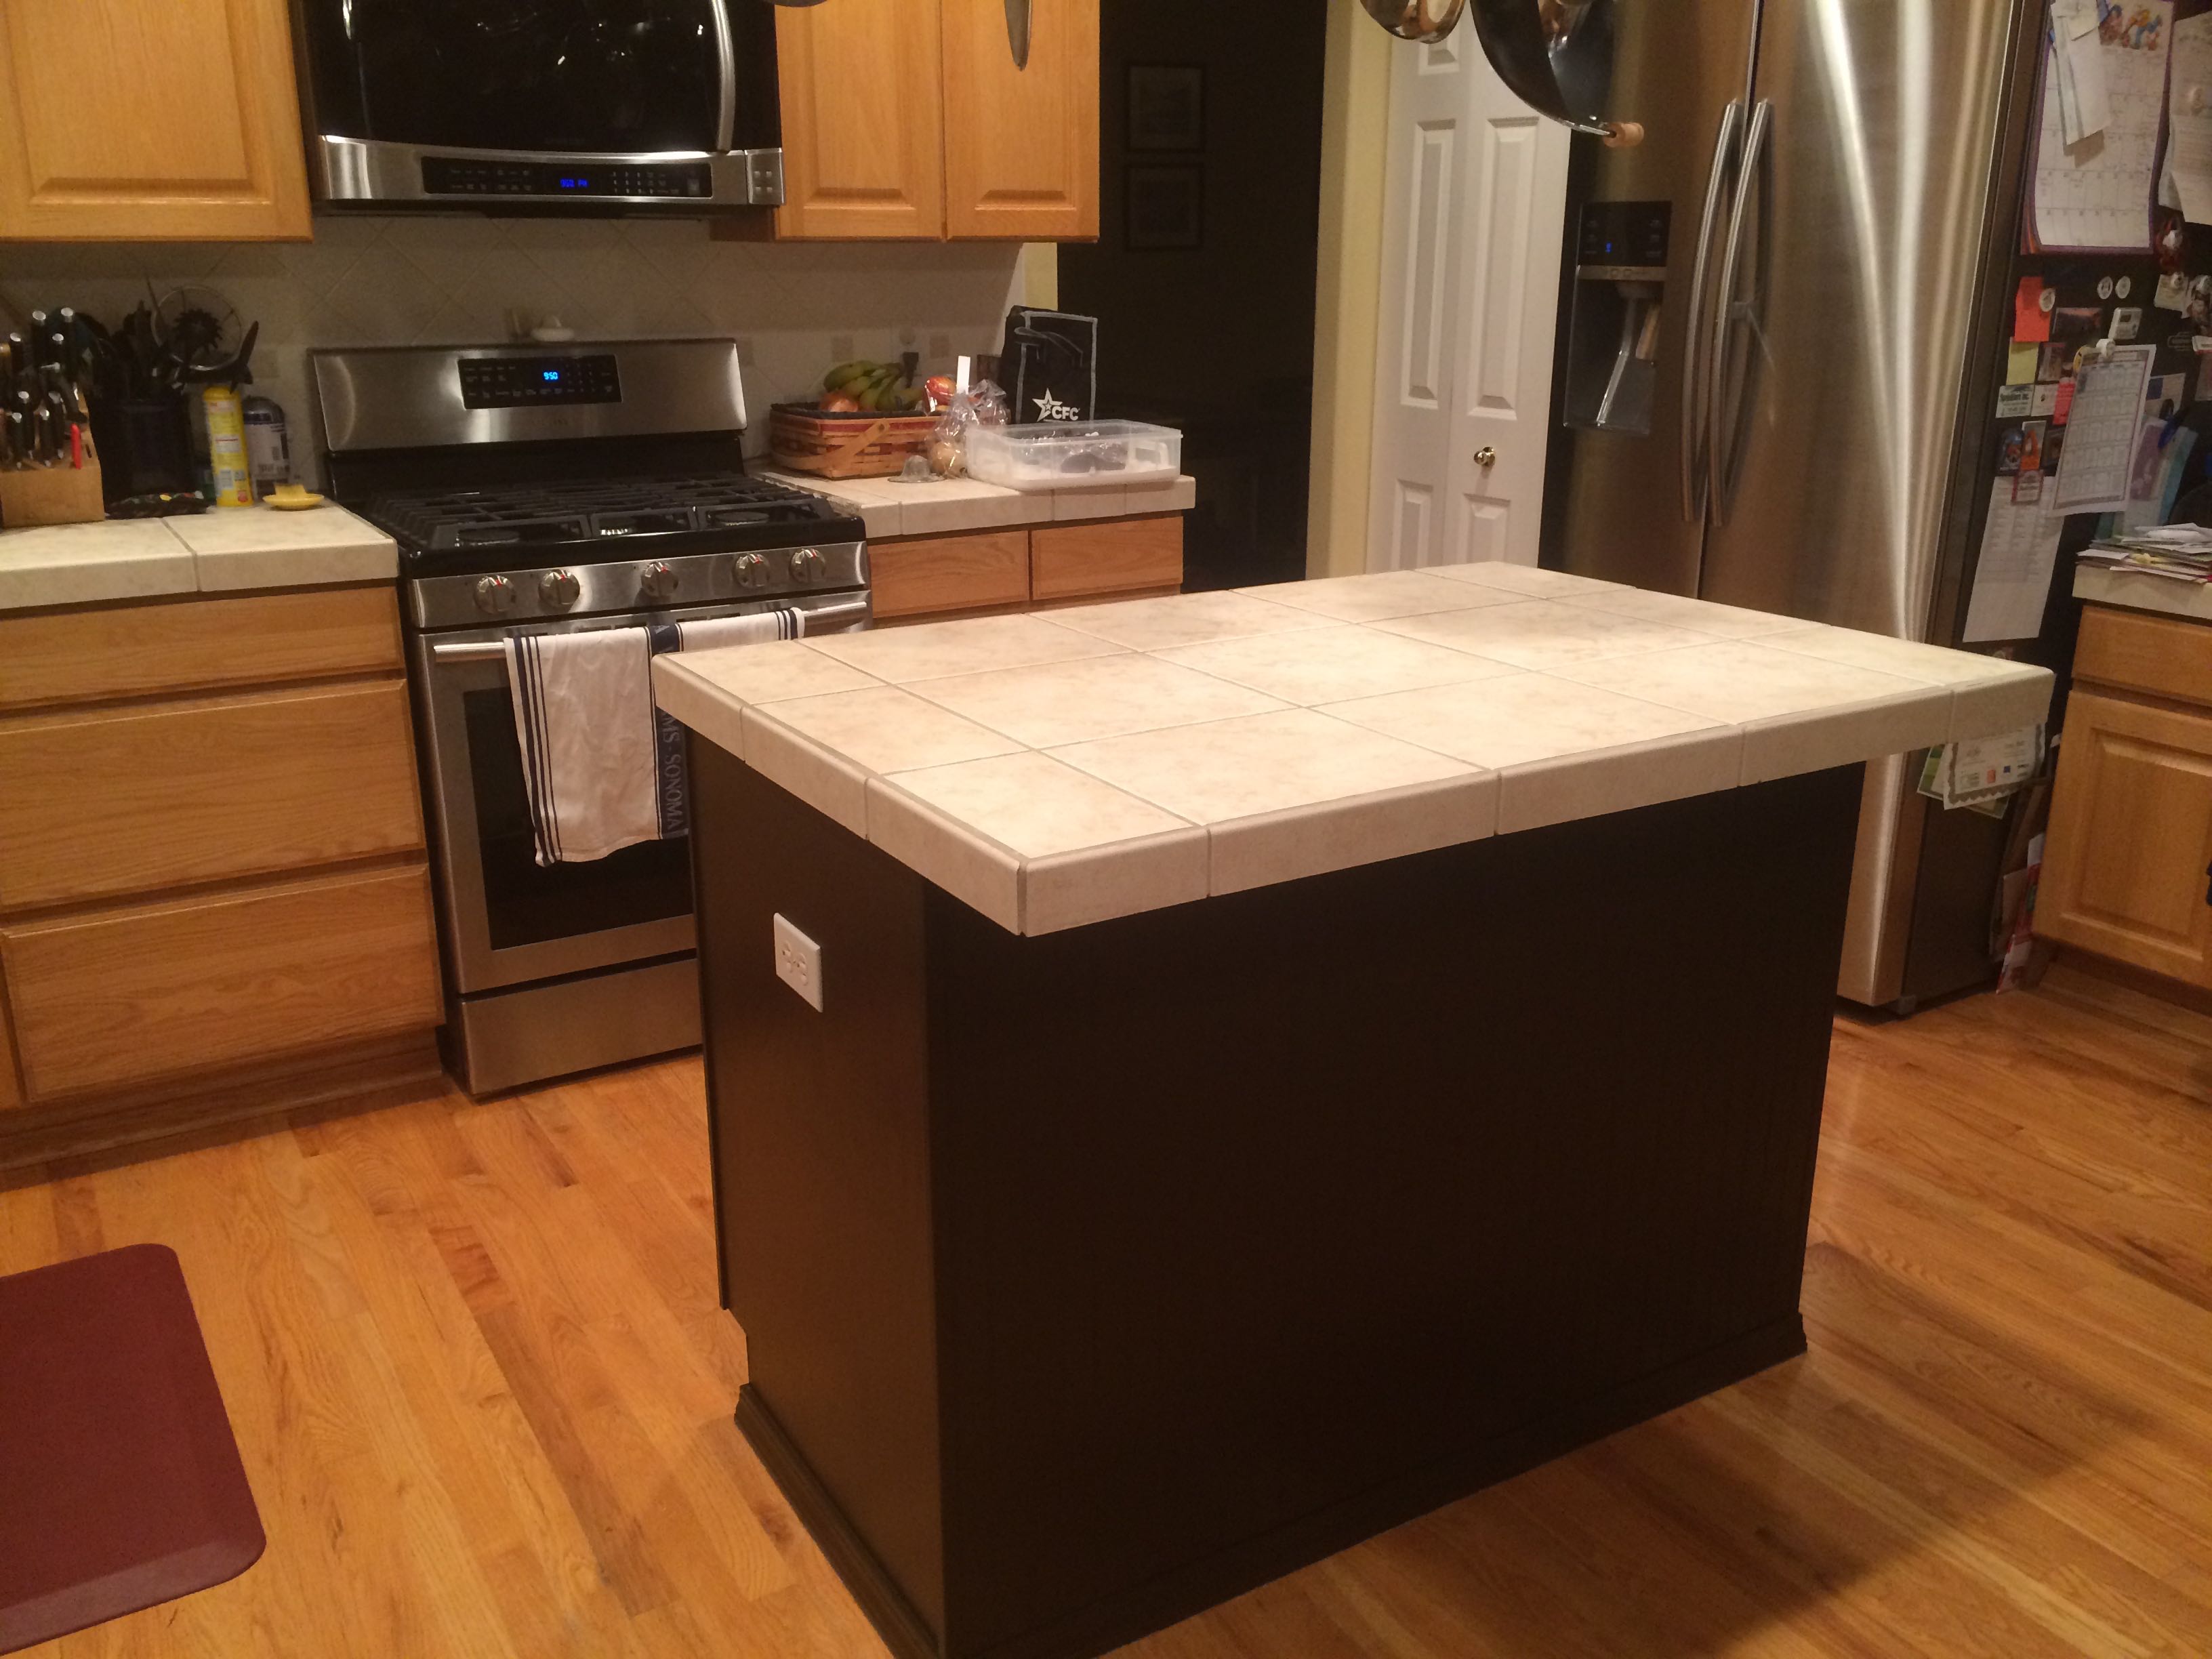
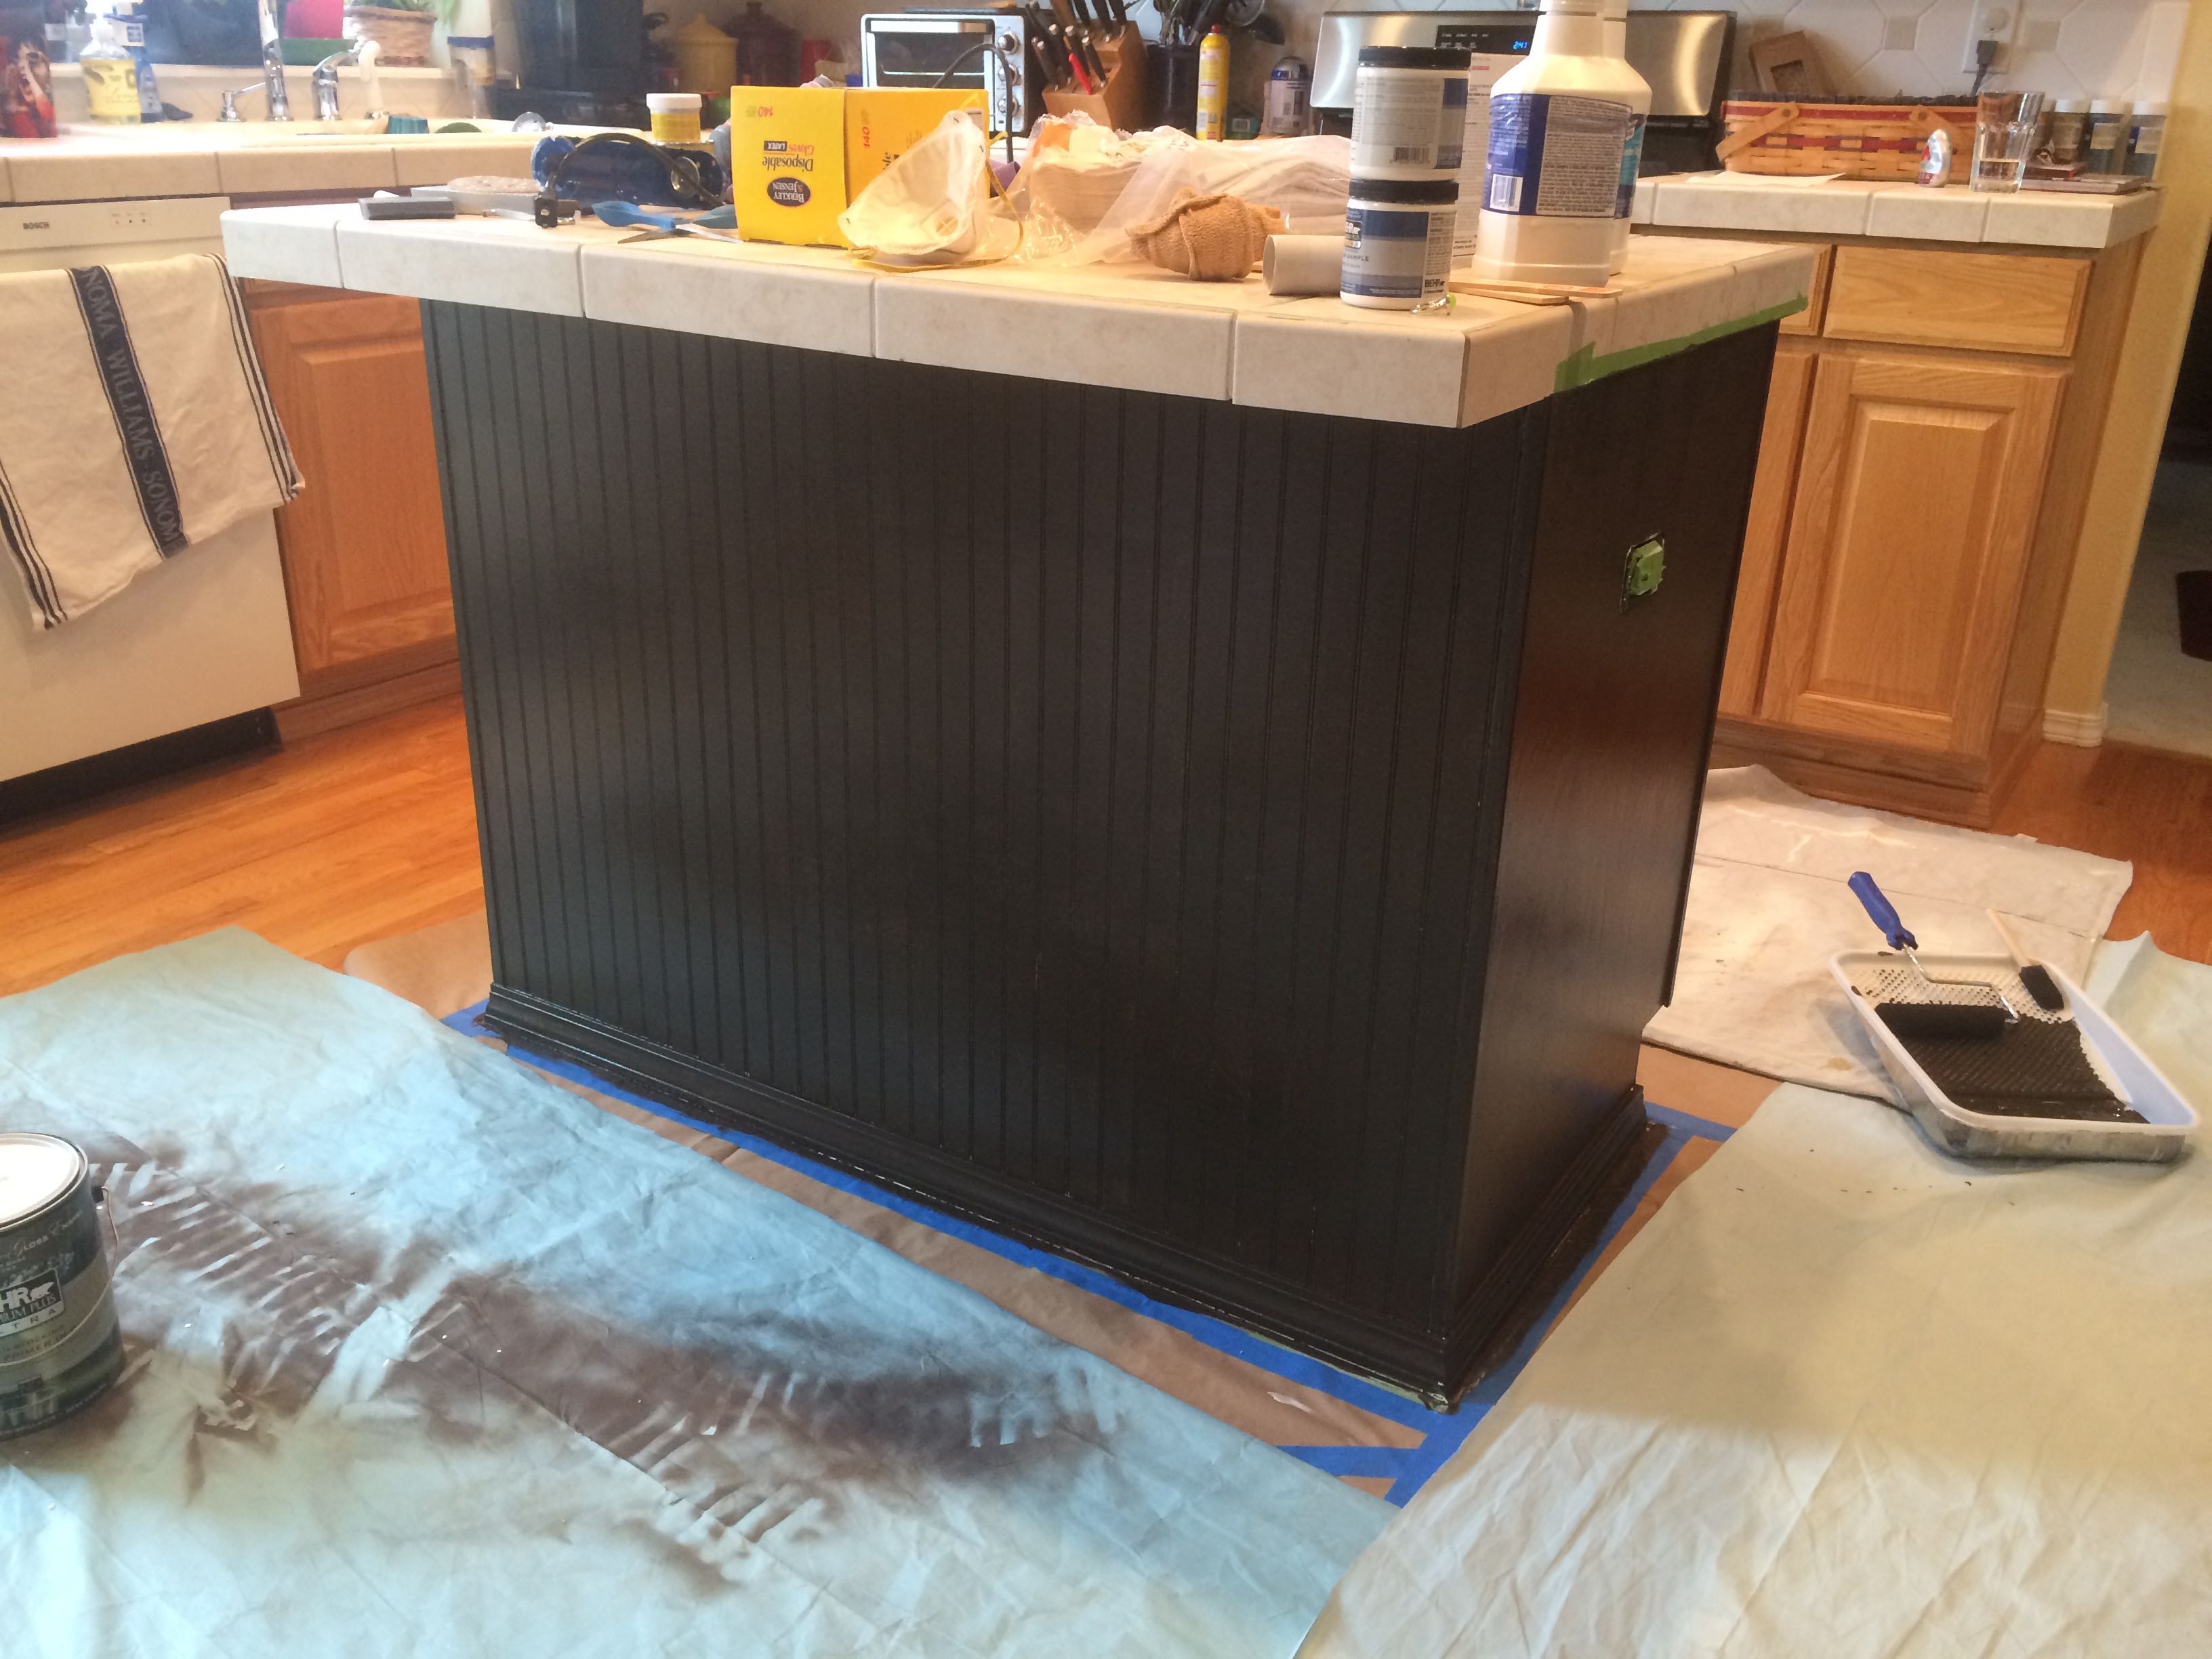
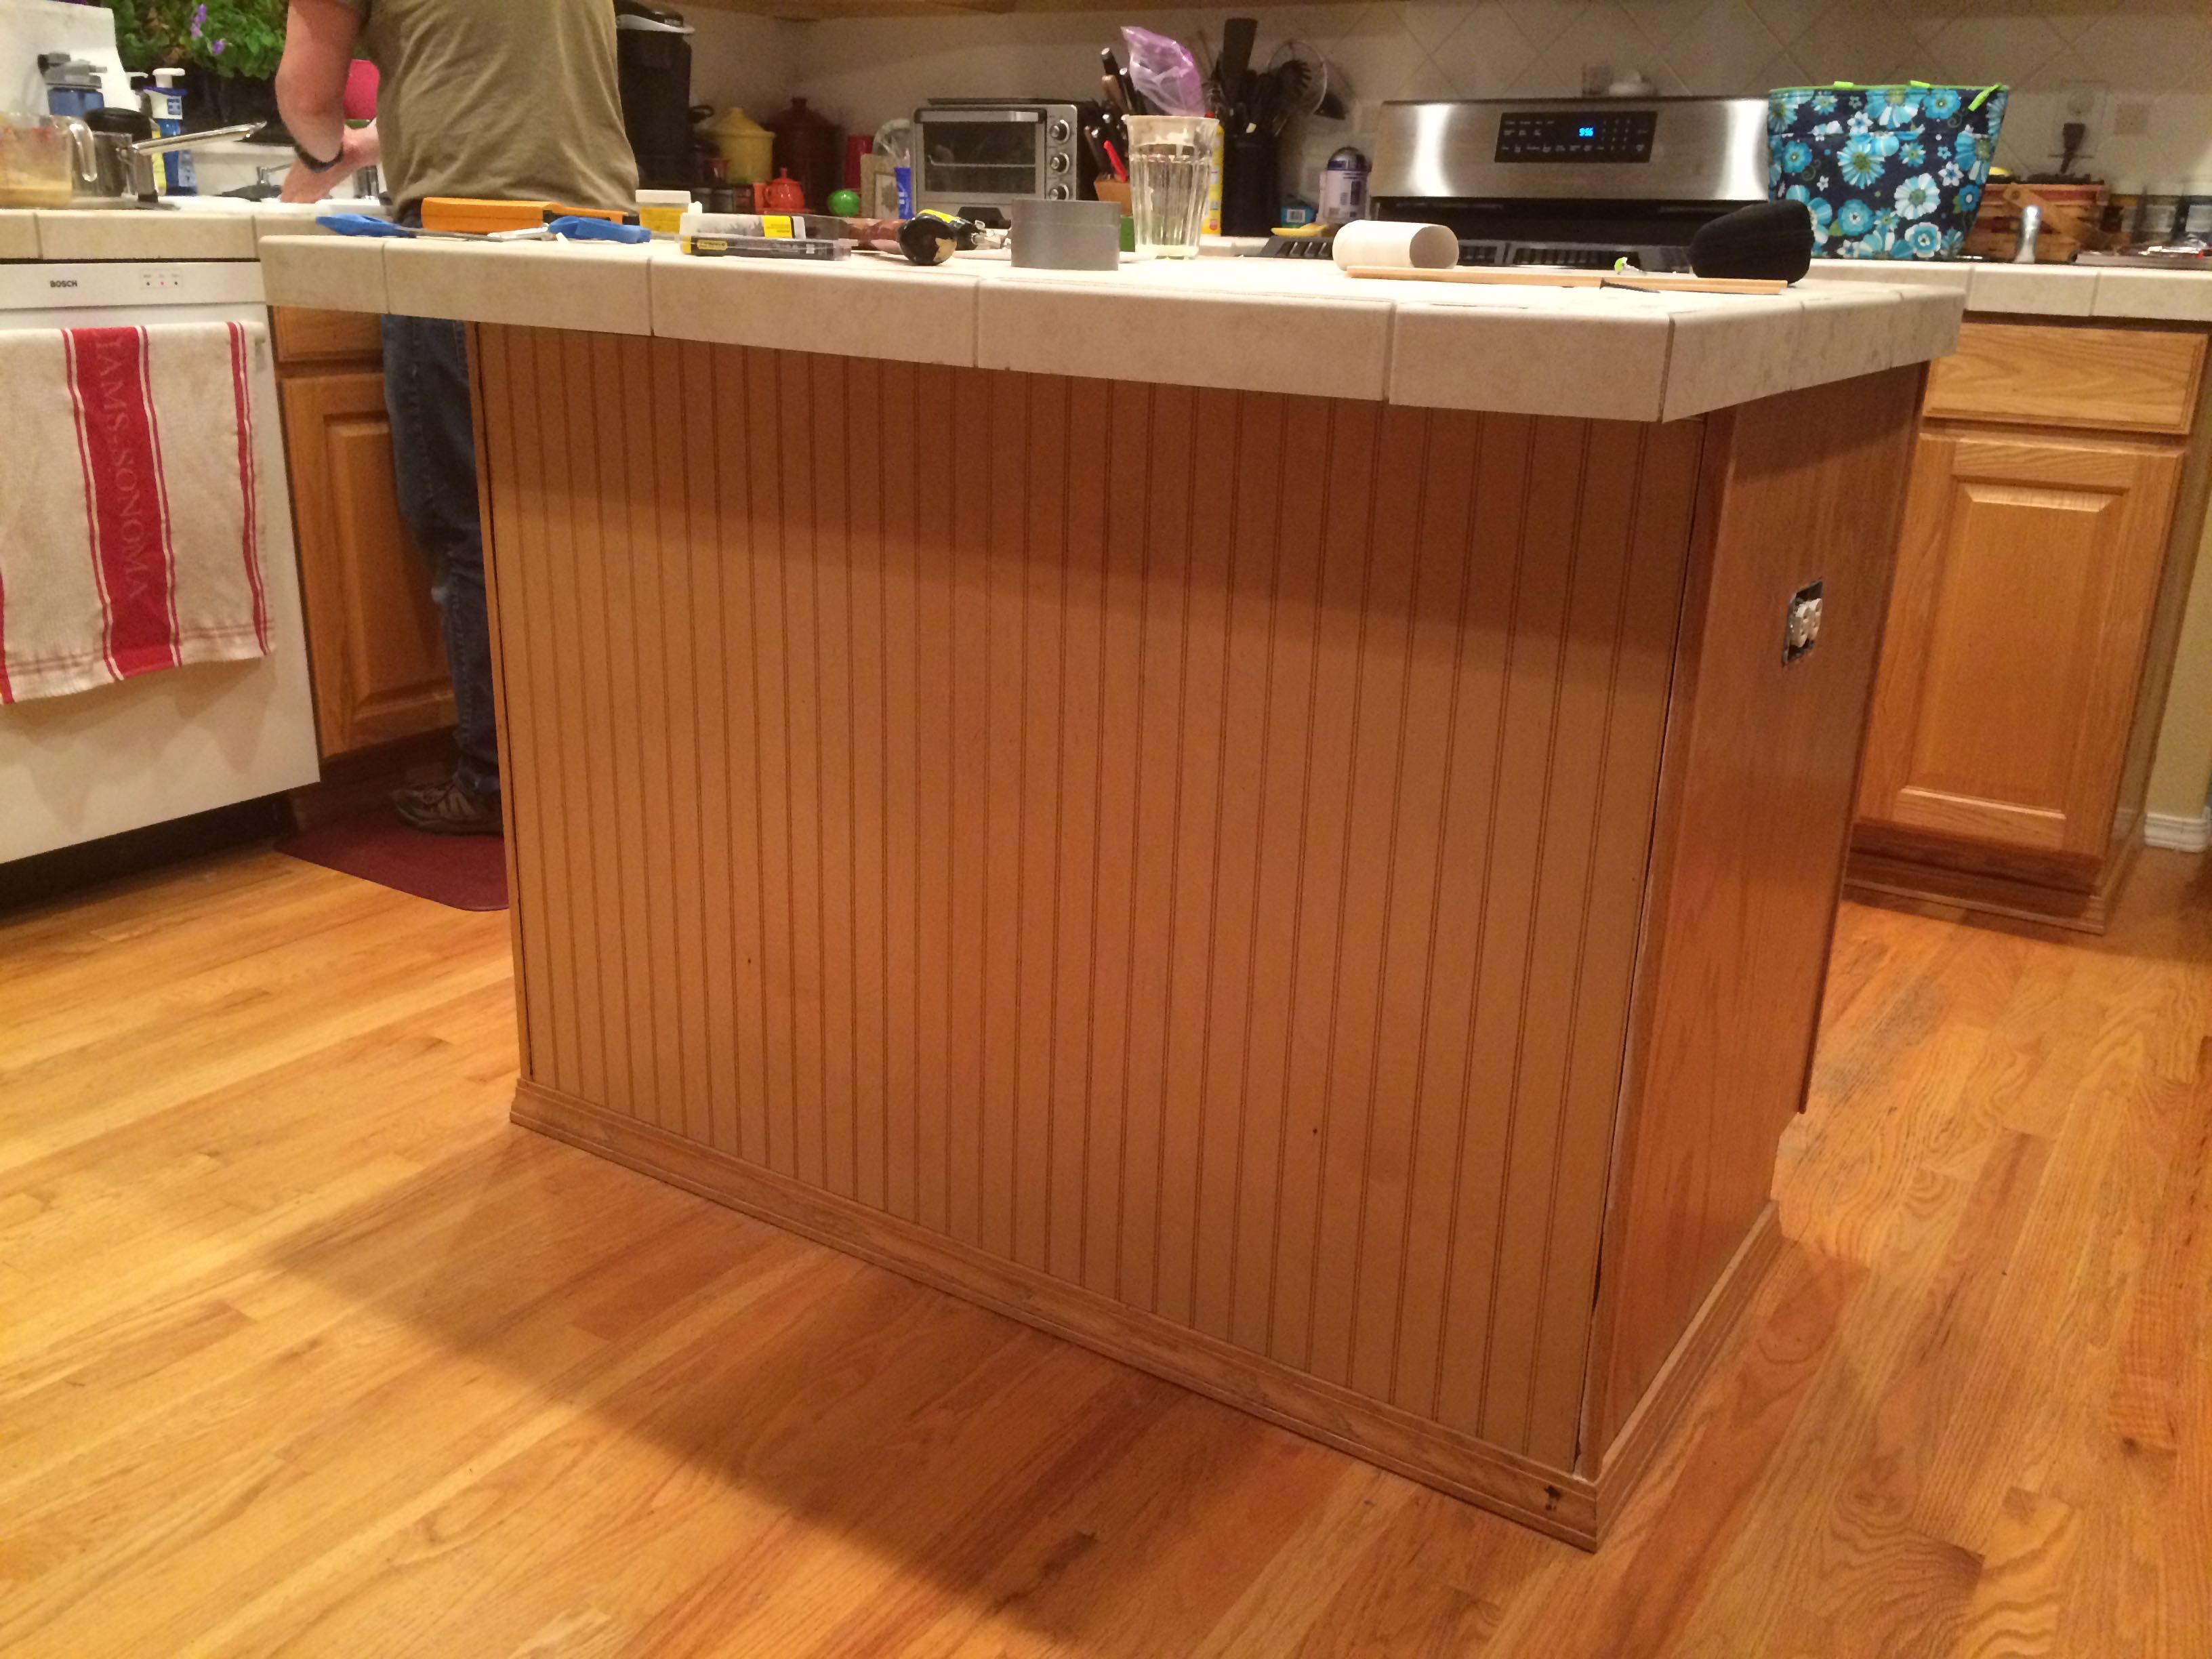
Tonight we added some beadboard to the kitchen island.
Tonight we added some beadboard to the kitchen island. This will all be painted by this weekend.

Tonight we continued our kitchen work by installing a panel of bead board to one side of the kitchen island. This was not only a cosmetic modification, but also somewhat structural: the original plain paneling was dried out and cracking. We simply glued the panel on with Liquid Nails and then nailed it into place.

We were challenged with cutting the board perfectly. While our table saw took care of the major cuts, we purposefully erred on not cutting it down enough. Dave chose to sand down any longer edges rather than risk splitting the wood with running it through our table saw for little slivers.

Read more